With the initial design finally done, it still had to be turned into real measurements. The best way to do this would be to make a full-sized front pattern piece from my favourite shirt pattern. This would allow me to see what decisions would look like.
The sketch provided me with the overall layout of the lines and areas. Now I had to decide the exact measurements of all those parts. One of the key dictating parts was the centre front. I figured that this should be a placket of sorts, and could therefore not be too wide. Having the black line be part of the placket seemed best to me. For the first try I used black lines that were 3/4″ wide. That only allowed for a middle section of about one and a half inches, too narrow for the design. So I shrunk the black lines to half an inch and the middle section to 2. This looked more balanced.
A lot of measuring followed and eventually I got to a representation of the sketch in exact measurements. At the same time I made a couple of small tweaks to the design.

The next phase would be figuring out the construction of the actual shirt. I had some requirements that had to be incorporated:
- The design must be made of fabric. No printed patterns.
- The shirt must be wearable.
- All seams need to be finished.
- No stitches on the right-side.
I quickly realised that although the colours of my fabric are very vibrant, the white, and the other colours to a lesser extend, are somewhat translucent. This is not an issue in and of itself, yet at the seams it may be. I would not want a darker colour to be shown through the lighter colour. So all seams would have to be pressed open, or towards the darker colour.
With my self-imposed limitation of not having any stitches or unfinished seams, it would have to be constructed with French seams. But I didn’t think I could be as precise with those as I would need for this project. And some experimentation proved me right, I couldn’t make those seams with a precision of less than 1/16″. I would have to sew the seam first, and then do the finish to get an acceptable result. No other solution would give me the precise parallel seams that something this geometrical requires. So the solution would have to be a mock French seam. Sew the seam first, iron both seam allowances into the seam, and then stitch them together. It would be just like a French seam, but with the stitches showing on the wrong side. Initial testing showed that this would be doable.


Going back to the final design, and the width of the black lines, I realised I did not have much space for the seam finishes. Two mock french seams would have to be pressed towards each other and fit inside the half an inch the black lines are wide. Seam allowances of 3/8″ would give me finished seams of 3/16″, and that would fit. It would be small and finicky, but it would fit.
With all of these decisions made, I could finally start cutting the pieces out. First a whole lot of long black strips, both vertically and horizontally cut, to keep the grain correctly. Then the coloured squares and rectangles. And then the white ones. I quickly figured out that I would have to keep track of each white piece, and where it is supposed to go. I wrote letters on the final design and attached pieces of paper to the white fabric as I cut them out. A whole stack of fabric pieces appeared that somehow had to become a shirt.


Now it just became an exercise of joining all the pieces together in the right sequence. I figured out before getting really into it that I had to join certain pieces before others. Basically try to do short seams before long ones.
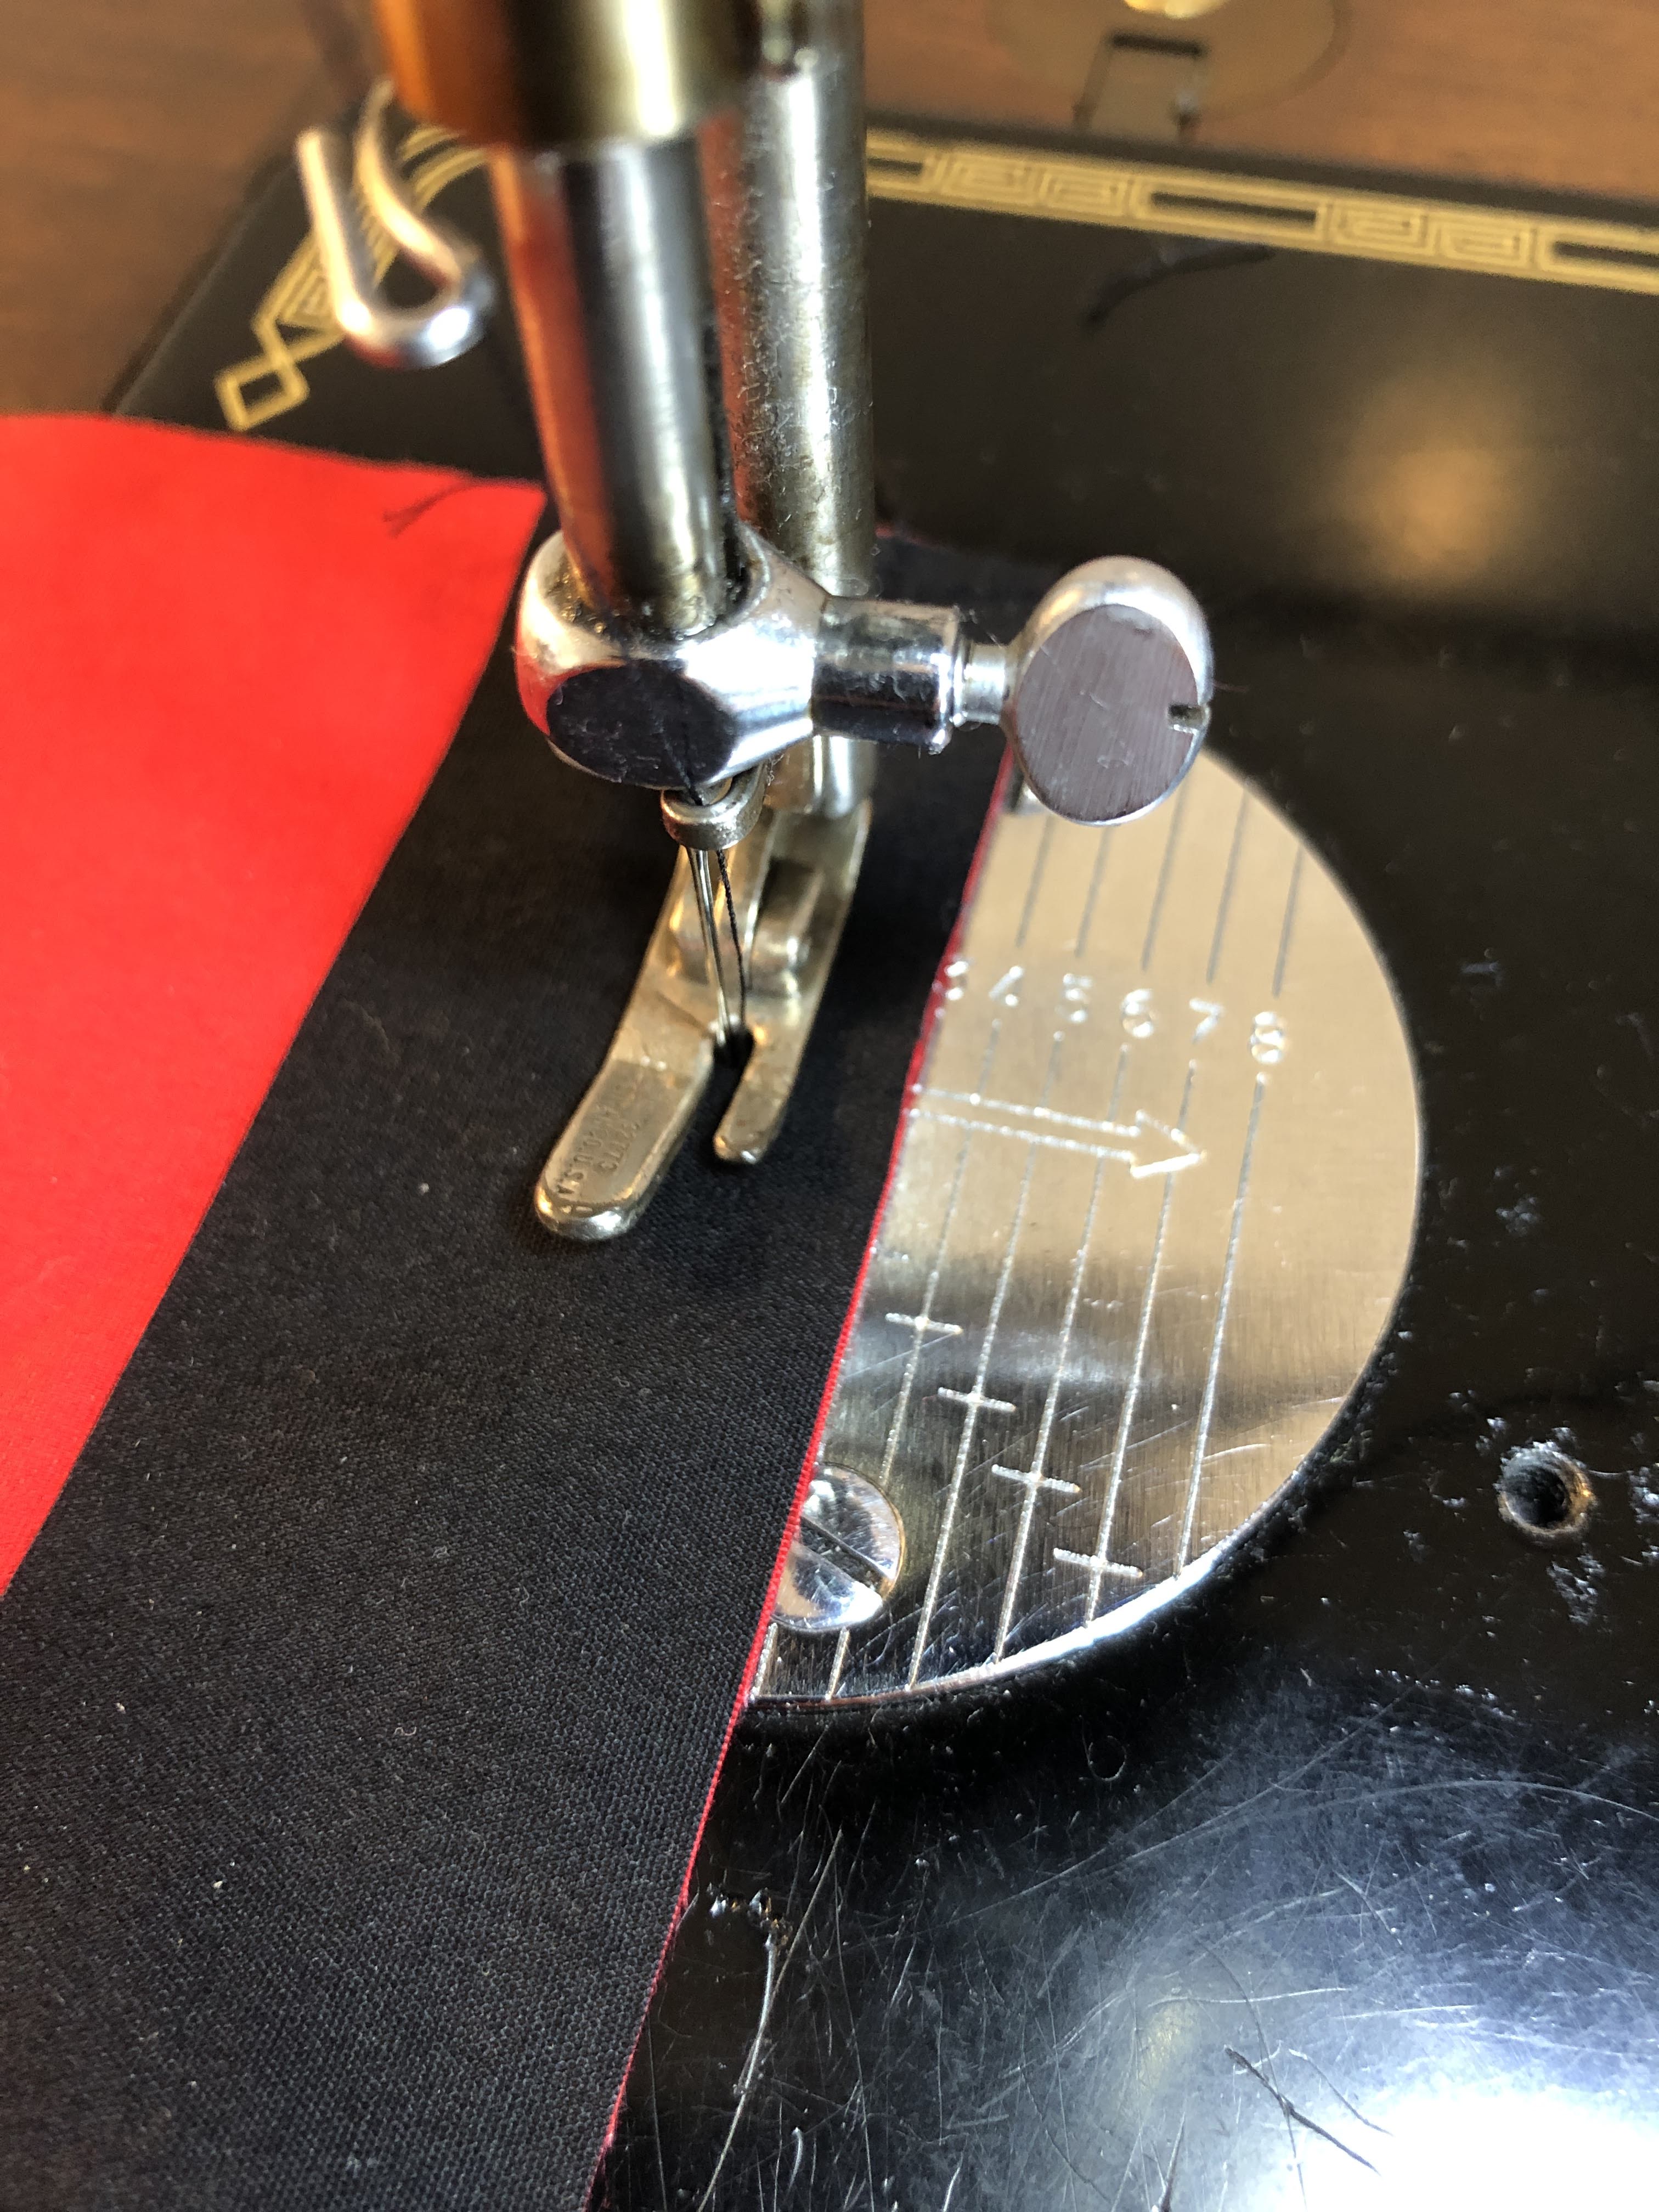
Sew the seam 
Press the seam allowance in 
Press the allowances together 
Create the mock French seam 
Mock seam done 
Sew the next seam 
Press the wrong side 
Final press
I never dreamed it would be this much finicky work. Almost constant concentration for long periods of time. In the end I decided that I would only do half an hour to an hour at a time. Then do something easy – a different shirt – for the rest of the evening.
Slowly but surely the mosaic started to take shape. And after over 430 inches – almost 9 yards! – of mock French seams, I had the two front panels done.

In progress 
Both panels done 
Sketch and result
Now all the was left for the fronts was to cut them out according to the pattern. That took quite a bit of courage. And measuring twice before cutting. Or maybe three times? I probably measured a dozen times before I dared to cut into it.

Thanks for reading.

Wow! I mean, the sketch looked amazing but in the fabric it’s just stunning!
The colours and clean lines look great. Well worth all the effort with those fiddly seams!
Great! 👍🙏👏
LikeLiked by 1 person
This is just really really cool!
LikeLiked by 1 person
That looks fabulous and the care over the design really shows so well worth your efforts.
LikeLike
Pingback: Mondrian shirt – Completion | shirtartistry