It all started with an Instagram post from mainlymenswear of a vintage McCall’s pattern he found. This pattern had an interesting twist to the yokes, and it therefore intrigued me. So I made a remark that I should try to find it. To which Duane said; “you could probably draft this yourself!”
And with that, the challenge was created. I just could not go and buy it without at least trying to make the pattern first. With only the photos of the front and back of the pattern sleeve, I set out to recreate this as well as I could.

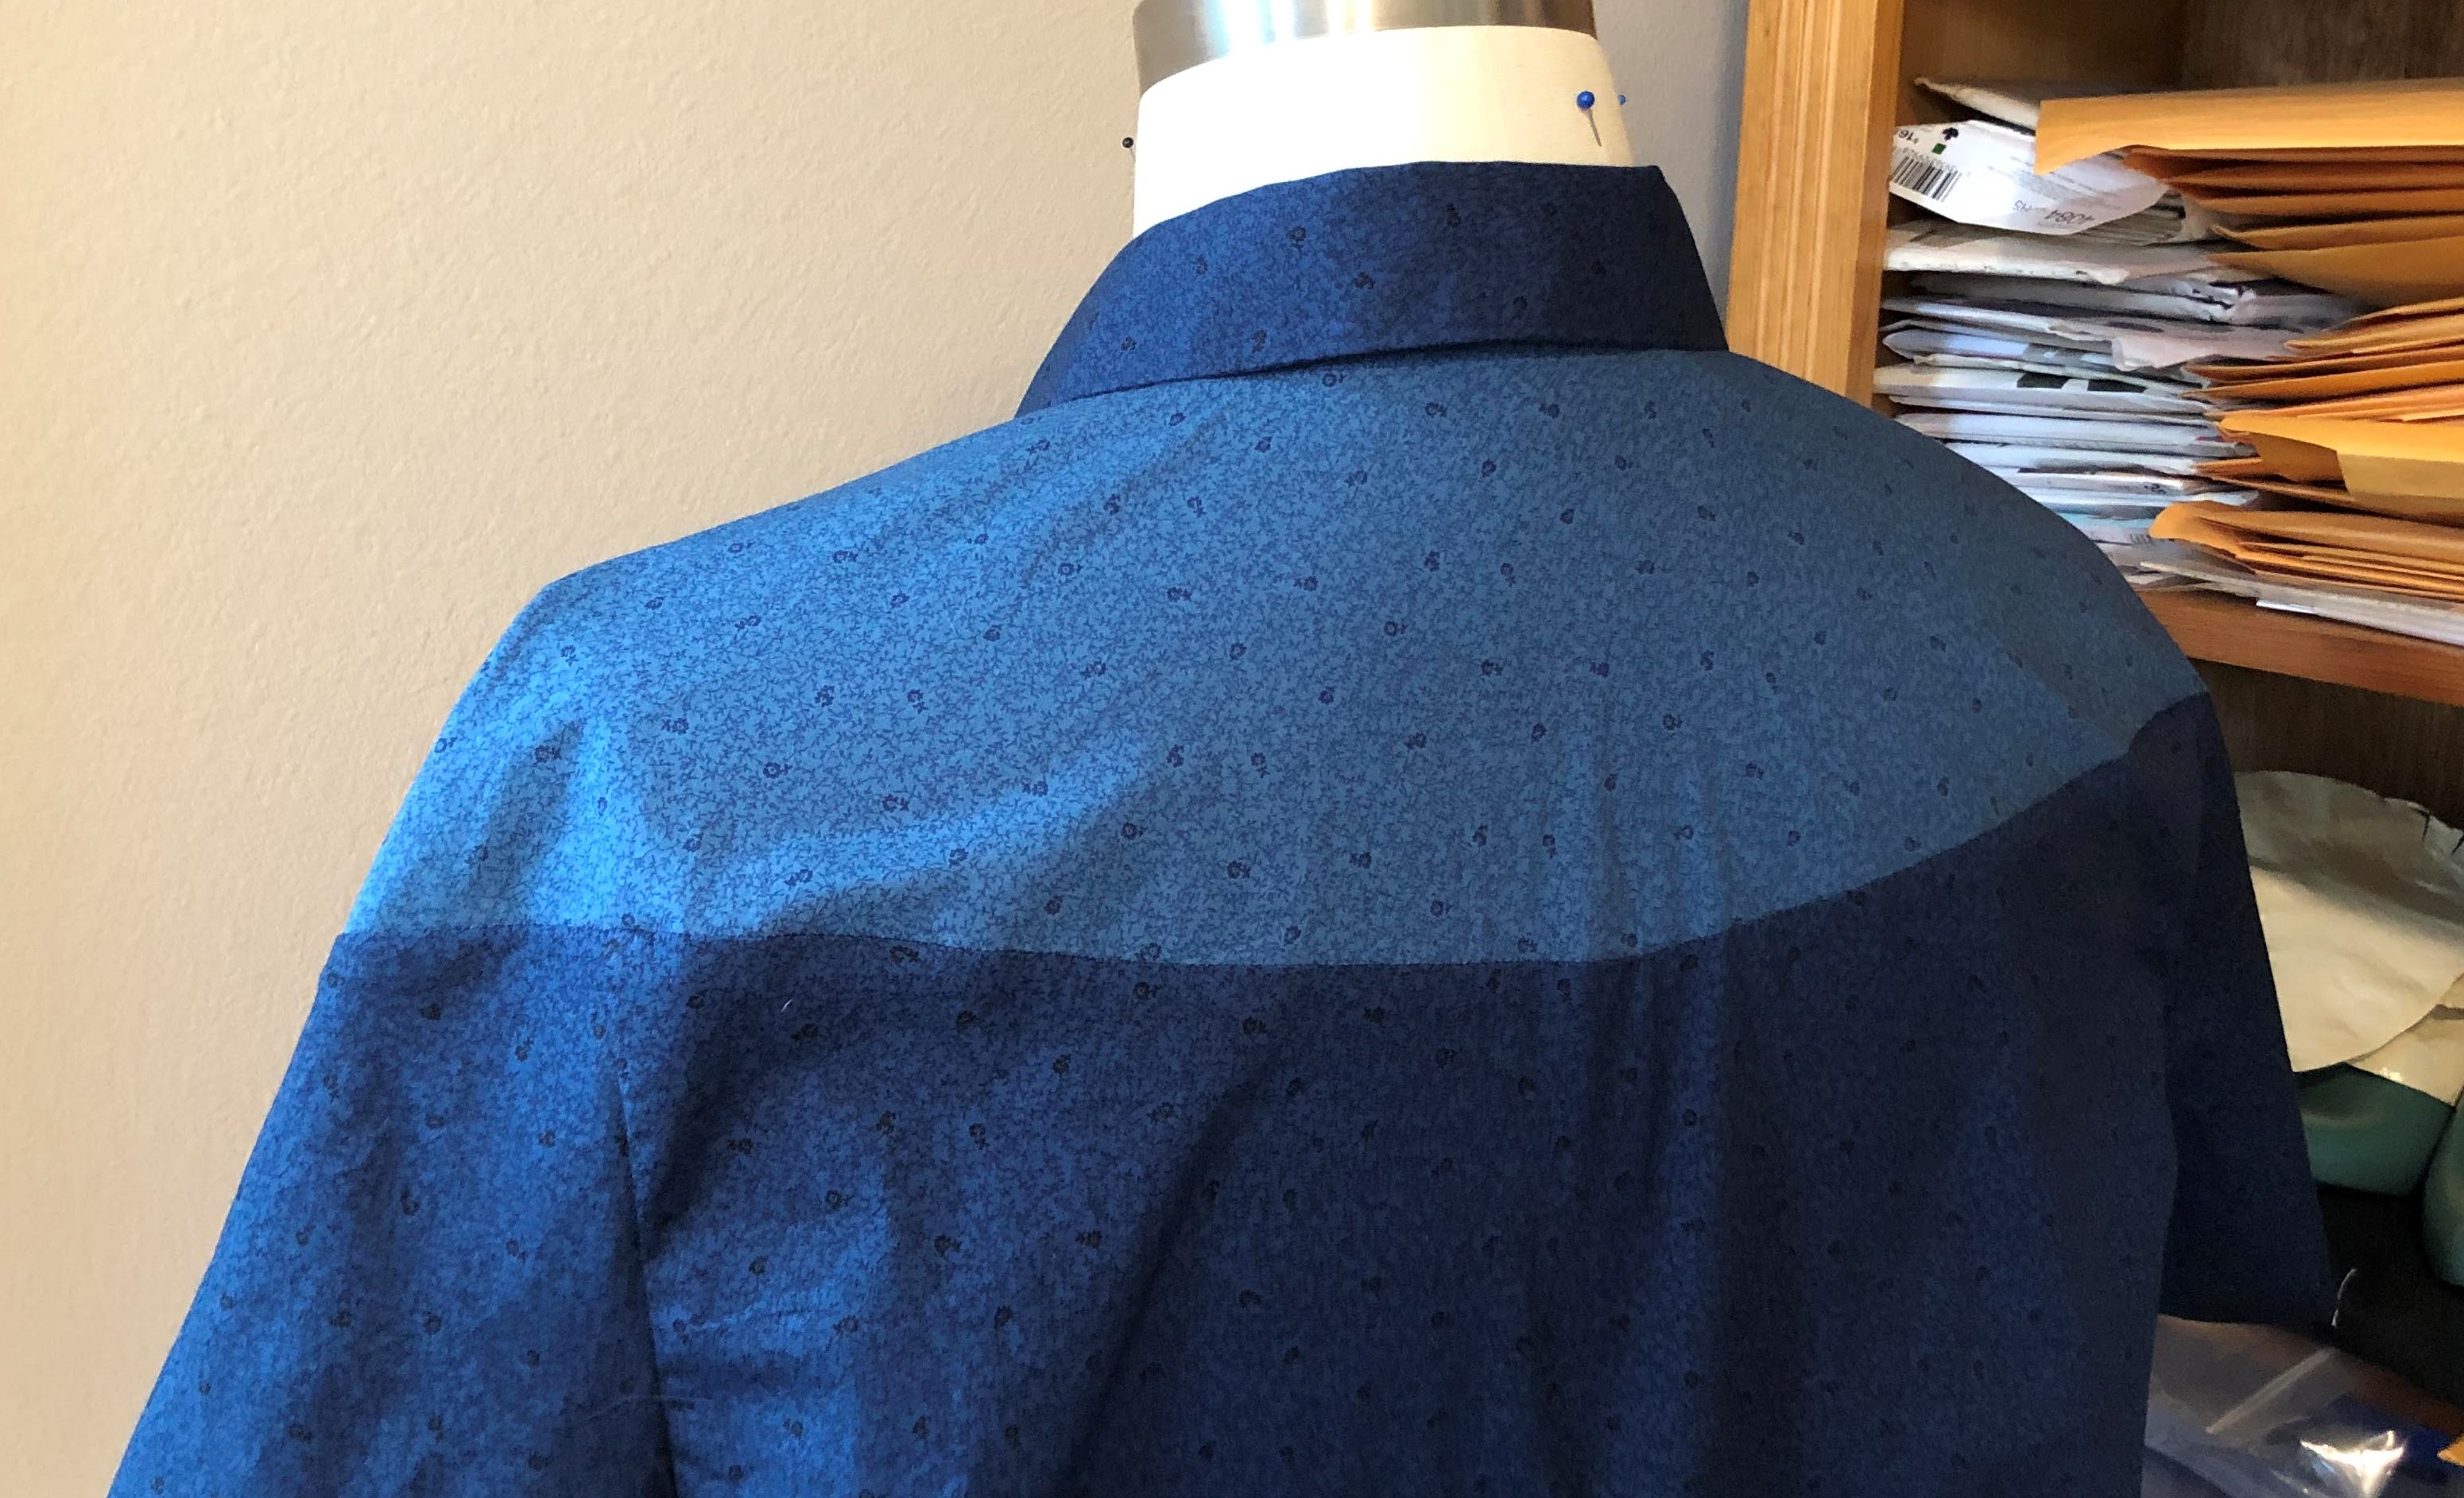
This pattern has a front and a back yoke that extend into the sleeves. Those sleeves themselves are made of two pattern pieces. The front below the yoke is cut on fold. It has a type of a camp collar, without a collar band. The two front yoke pieces come together without overlapping and don’t have any buttons, other than the usual camp collar loop and button at the very top. The yoke in both the front and the back angle down towards the middle. This gives the impression of a diamond shape if you look at it from the top. Specially if you use contrasting fabric, as one of the examples on the pattern sleeve does. And it has a front pocket whose opening is hidden in the seam of the front yoke.
Starting completely from scratch seemed silly, so I pulled out a pattern that had a similar collar. First approach was to just make a muslin and then start drawing on that. The combination of an old bed sheet, unfamiliarity with this pattern, and rushing made for a poor and unusable muslin. So I decided to go with my tried and true shirt pattern, new and good quality muslin fabric, and make a new one.
The first decision was to see how low I should make the yoke in the front come down. This would be dictated by the front opening. I figured that I should be able to wear it with the button undone. For that, the opening should not extend too low. I measured one of my shirts and decided on 4½ inches.
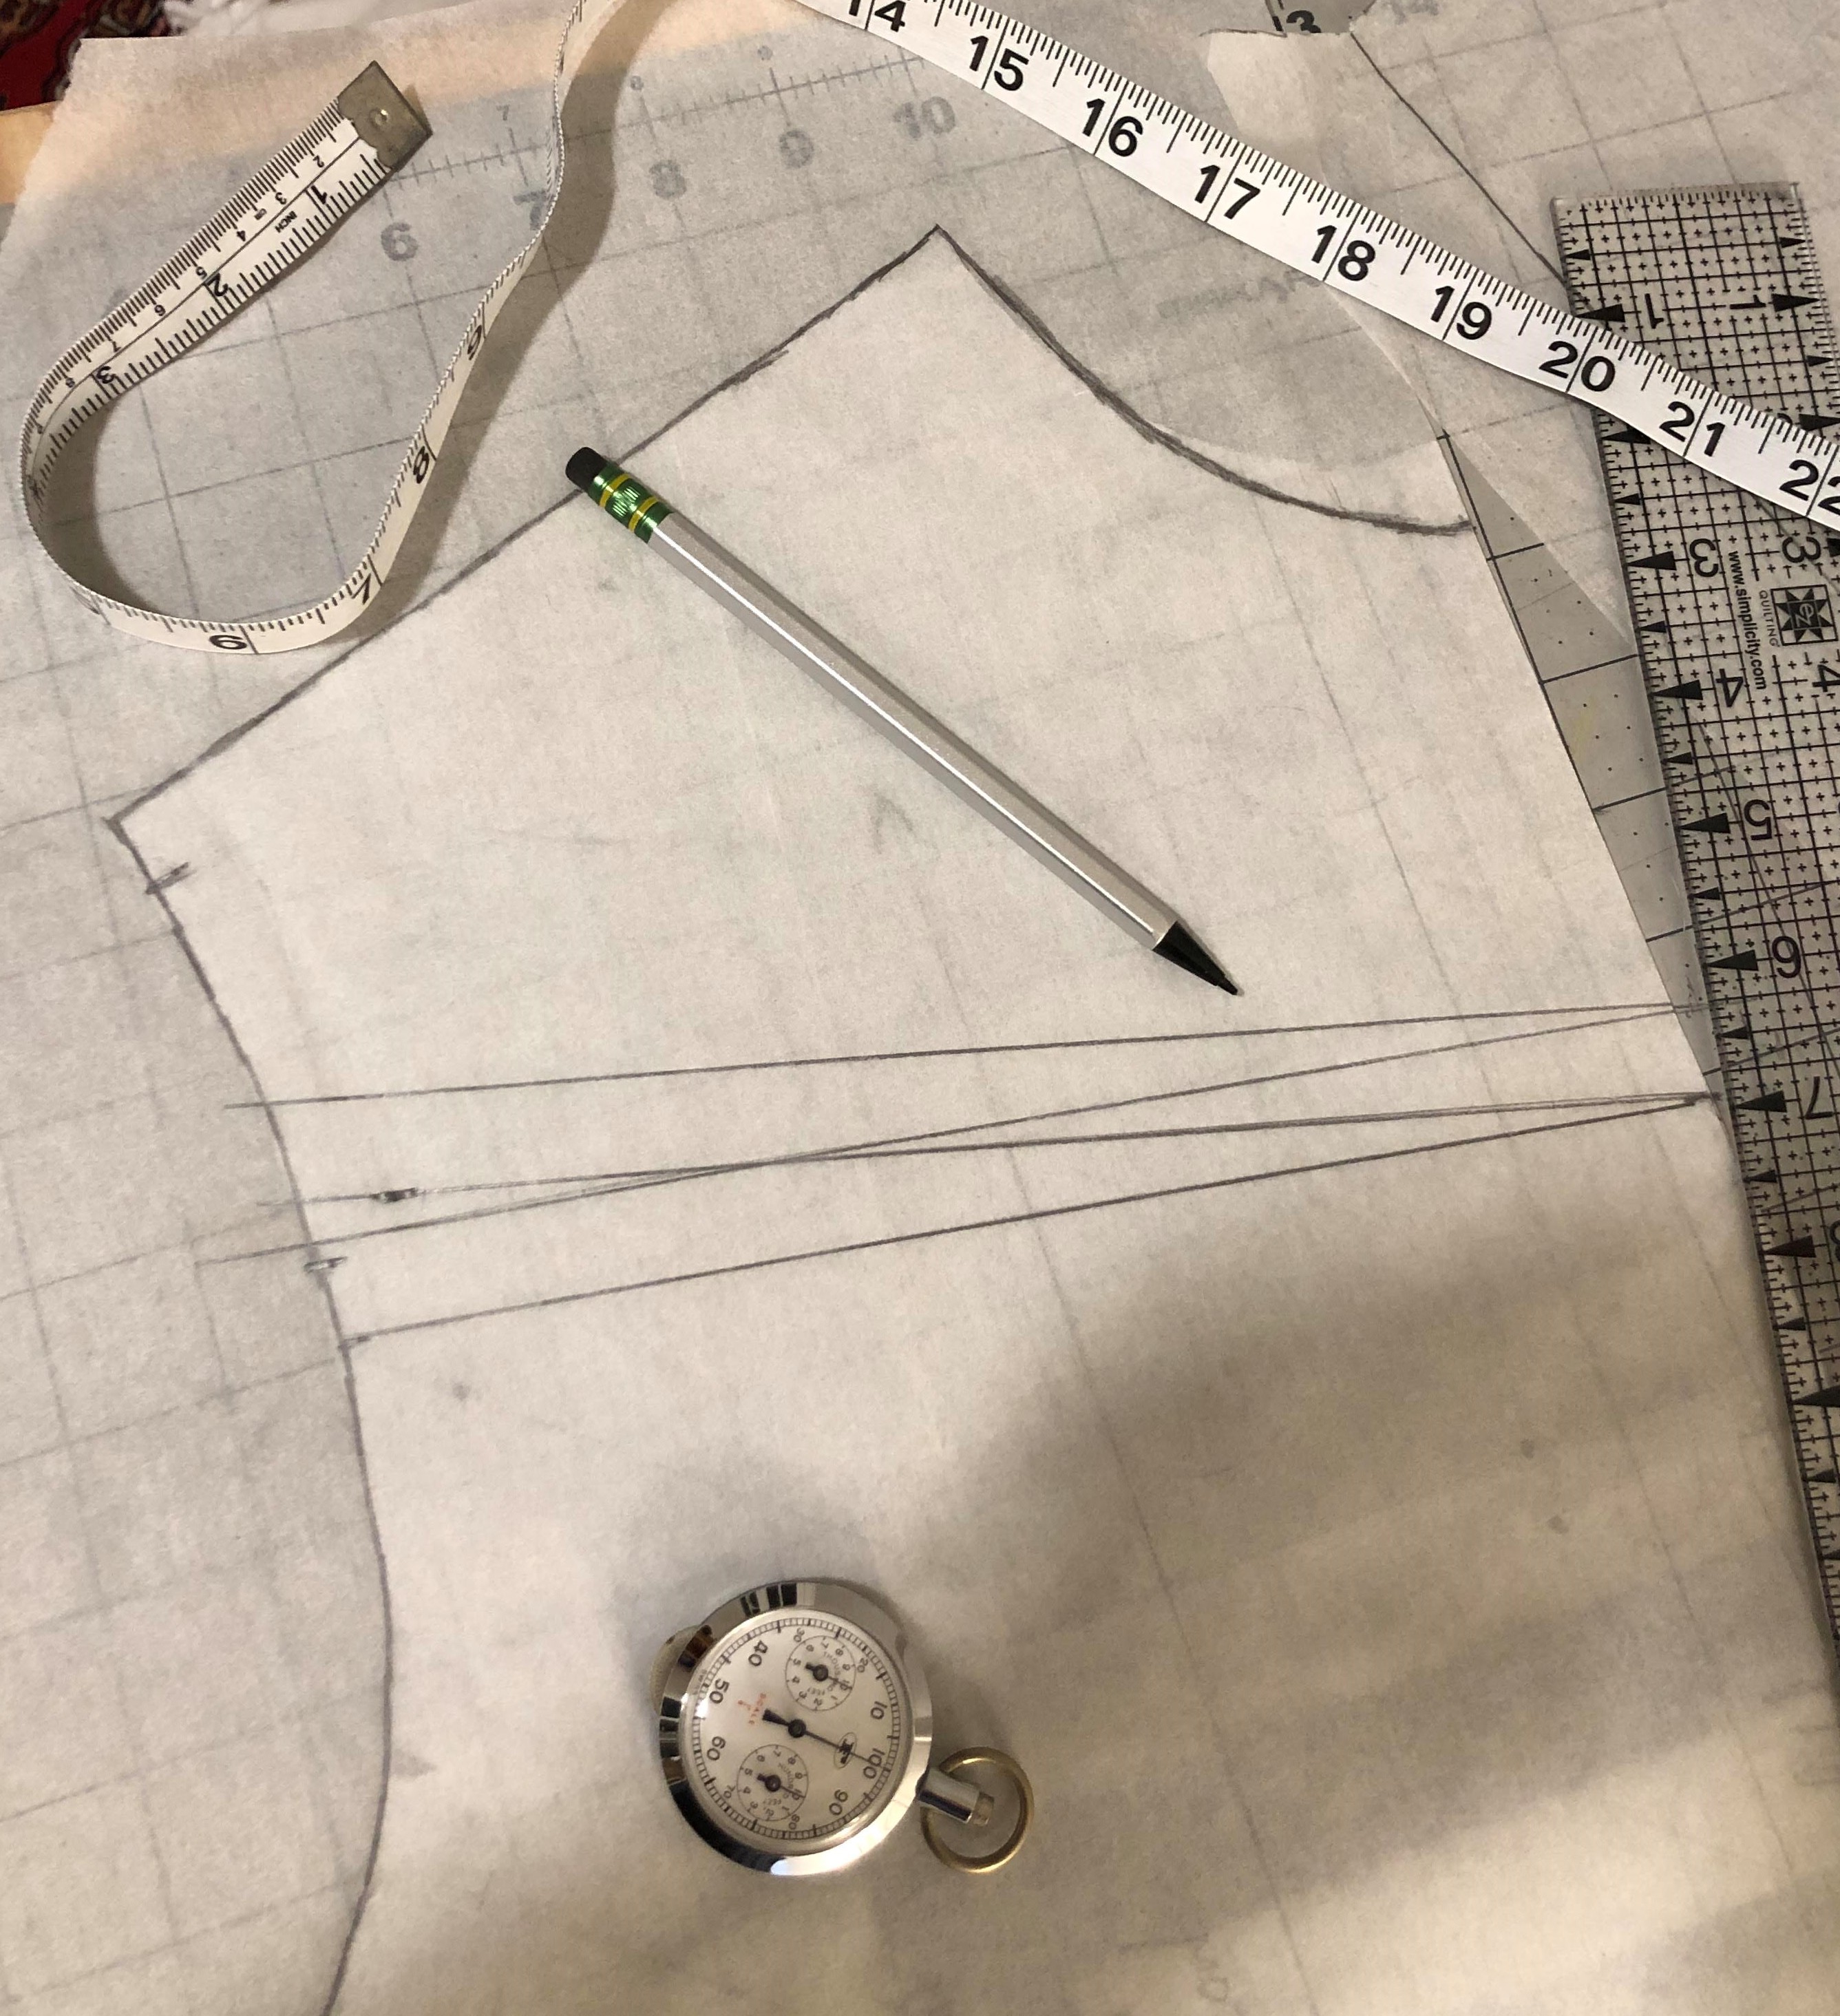
Looking at the pictures, it seemed that the yokes should extend beyond halfway down the sleeve, but not much more. That gave me two points to base all the changes to the pattern on. I used my dress form and some string to draw straight onto the muslin. Then transferred the measurements over to the original pattern pieces, and create new ones based on that.
To create a straight seam across the front for the yoke, I found that a straight line was close enough. But on the back you actually need to make a curve to make the seam look straight.


As you can see, there are a lot of opportunities to make mistakes. With the front piece, I forgot that the original pattern piece had seam allowances included when I transferred the measurements. So you see two sets of new seam lines there. Figuring out how to align the sleeve piece to that back piece so I could draw the new seam is still a mystery to me. I just winged it and it worked.
Now I could take the muslin apart and use it to create some of the new pieces. The body of this first try came together easily enough. Now it was time to address what I had dreaded; the collar.
I have drafted new collars and collar bands. Some of my art shirts have quite intricate collars. But I had never created a collar without a collar band. And I’m not as comfortable sewing shirts without collar bands either. Using another shirt as an example to work from wasn’t an option, since this shirt would not have a front button placket, and all my camp collar patterns do have that. I decided on the trail and error method. Just use paper to sculpt something that is close, tweak it a bit, make a new one, and repeat until you’re happy. Then transfer this to fabric, and see if you can figure out how to make the corresponding facing.


I’m not completely happy with the collar, I think the points are a bit too big, but I’m not going back to change them.
Here are all the pieces I ended up with (without the pocket piece, I still had to make that one):

While I was putting the final muslin together, it occurred to me that there’s a lot more to this than just making the pattern pieces. I have no construction instructions, and it is different enough to have the potential for lots of additional mistakes. I didn’t want top stitching, so (faux) French seams everywhere. The hardest part would be the sequence of sewing everything together.
To attach the front and back yokes, I would have to attach the sleeve pieces to the front and back first. I would not be able to sew the front yoke until I sewed the facings to the yoke because of how the facing must be caught in the French seam. But to sew the facings, I would need to have the collar in place. And for that the shoulder seam must be sewn. Since the shoulder seam extends all the way into the sleeves, the yokes must be attached to the front and back. A circular problem.
I was glad I was thinking of the construction while I was designing the pieces, so I could actually devise solutions before I needed them. In the end I decided to attach the front yoke half way, and make part of the (faux) French seam. This allowed me to sew the full shoulder seam and attach the collar. Once that was done, the facing could be attached and the final parts of the front yoke seam could be finished. Below you see part of the seam finished, while the rest is still pinned.


For all the headaches that the construction of the shirt itself caused, the one thing that went easily, yet that I thought would be a problem, was the hidden front pocket. Both the design and the construction was straightforward.
I’m rather pleased with the end result. Does it resemble the original McCall’s pattern? I don’t know. All I still have to go by are the two photos of the pattern sleeve. It doesn’t matter all that much though. I set out to make a shirt that looked like that one, and I think I succeeded in that. I (or Duane) challenged me and trying to meet that challenge felt great. And I ended up with another shirt, one I’m wearing now.

PS. Making a muslin is a very good idea. The 4½ inches of front opening was based totally on aesthetics. It also turns out to be just about the minimal opening size that I can still get my head through. Good thing I could test this before cutting into the real fabric. It would have been really funny if I would have made a shirt I could not actually put on.
Thanks for reading!


I love your choice of material for this shirt and the yoke extension does add a certain interest, a great job of drafting from scratch as well which is very satisfying. A very nice change from the basics and a great job.
LikeLiked by 1 person
Thank you!
LikeLike
Great job! This looks really refreshing and I love the fabrics.
The collar sits perfectly!
LikeLiked by 1 person
Thanks!
LikeLiked by 1 person
Thank you for this post! So much good information on your process here. And the shirtutrned out so well!
LikeLiked by 1 person
Thank you!
LikeLike