About a year ago I bought some fabric from Miss Matatabi, a cotton dobby with a print reminiscent of the Waves shirt I had made some time ago. I bought it without having a project in mind for it. I just liked it a lot and didn’t want to regret not buying some.
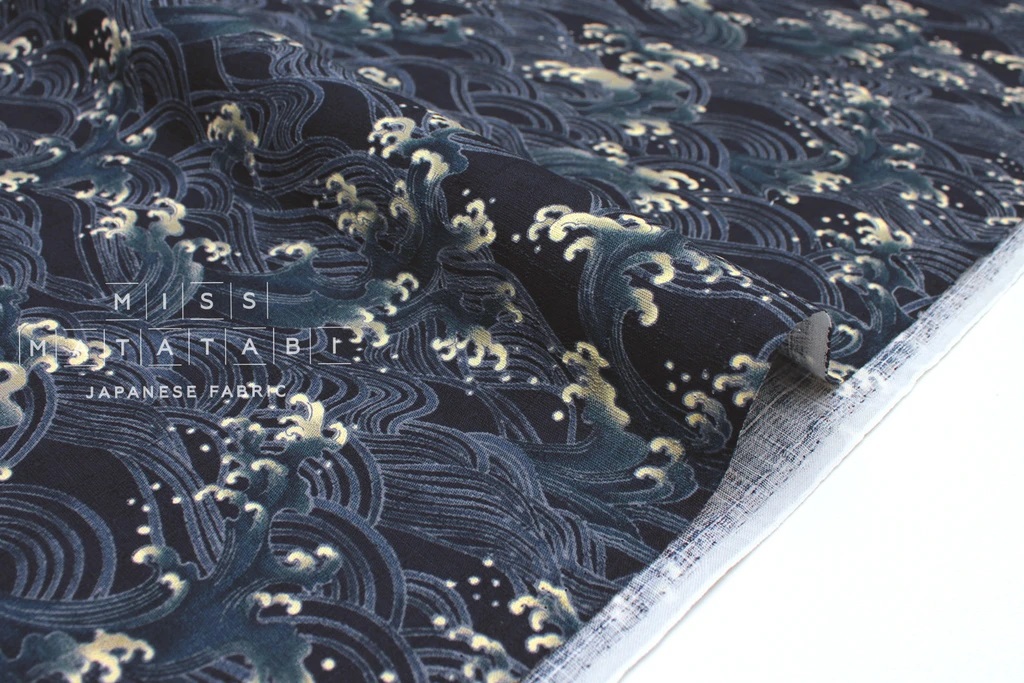
After laying in my stash for a while, I finally decided to make a shirt with it. The fabric, being a dobby, has quite a different feel and drape than the normal cottons I sew with. It is a little stiff, like it is a light canvas. And so as usual, my mind starts to drift and wonders what changes I should make to make this a more interesting project. With the Japanese print, looking for inspiration in Japanese garments seemed logical.
Making a Kimono seemed too easy, too obvious. And I don’t know when I would ever wear a kimono. Exploring this a bit further brought me to Samue. This seemed like something I could use. The patterns I found were all comparable to a kimono pattern; angled pieces with straight seams.
I figured I could create a combination of a button-up shirt and a samue. Use my shirt pattern and adjust it for the different front opening. Make the sleeves somewhat wider at the cuff. But keep the shaped sleeve-head. And keep the back yoke and pleat. Add cuffs like a normal button-up shirt.
First thing to tackle was figuring out where I wanted the diagonals for the closure to go. With a current shirt of the same pattern, a string, and my dressform, I quickly came to something I found pleasing. I transferred the line to a copy of the front pattern piece and made a muslin with that.
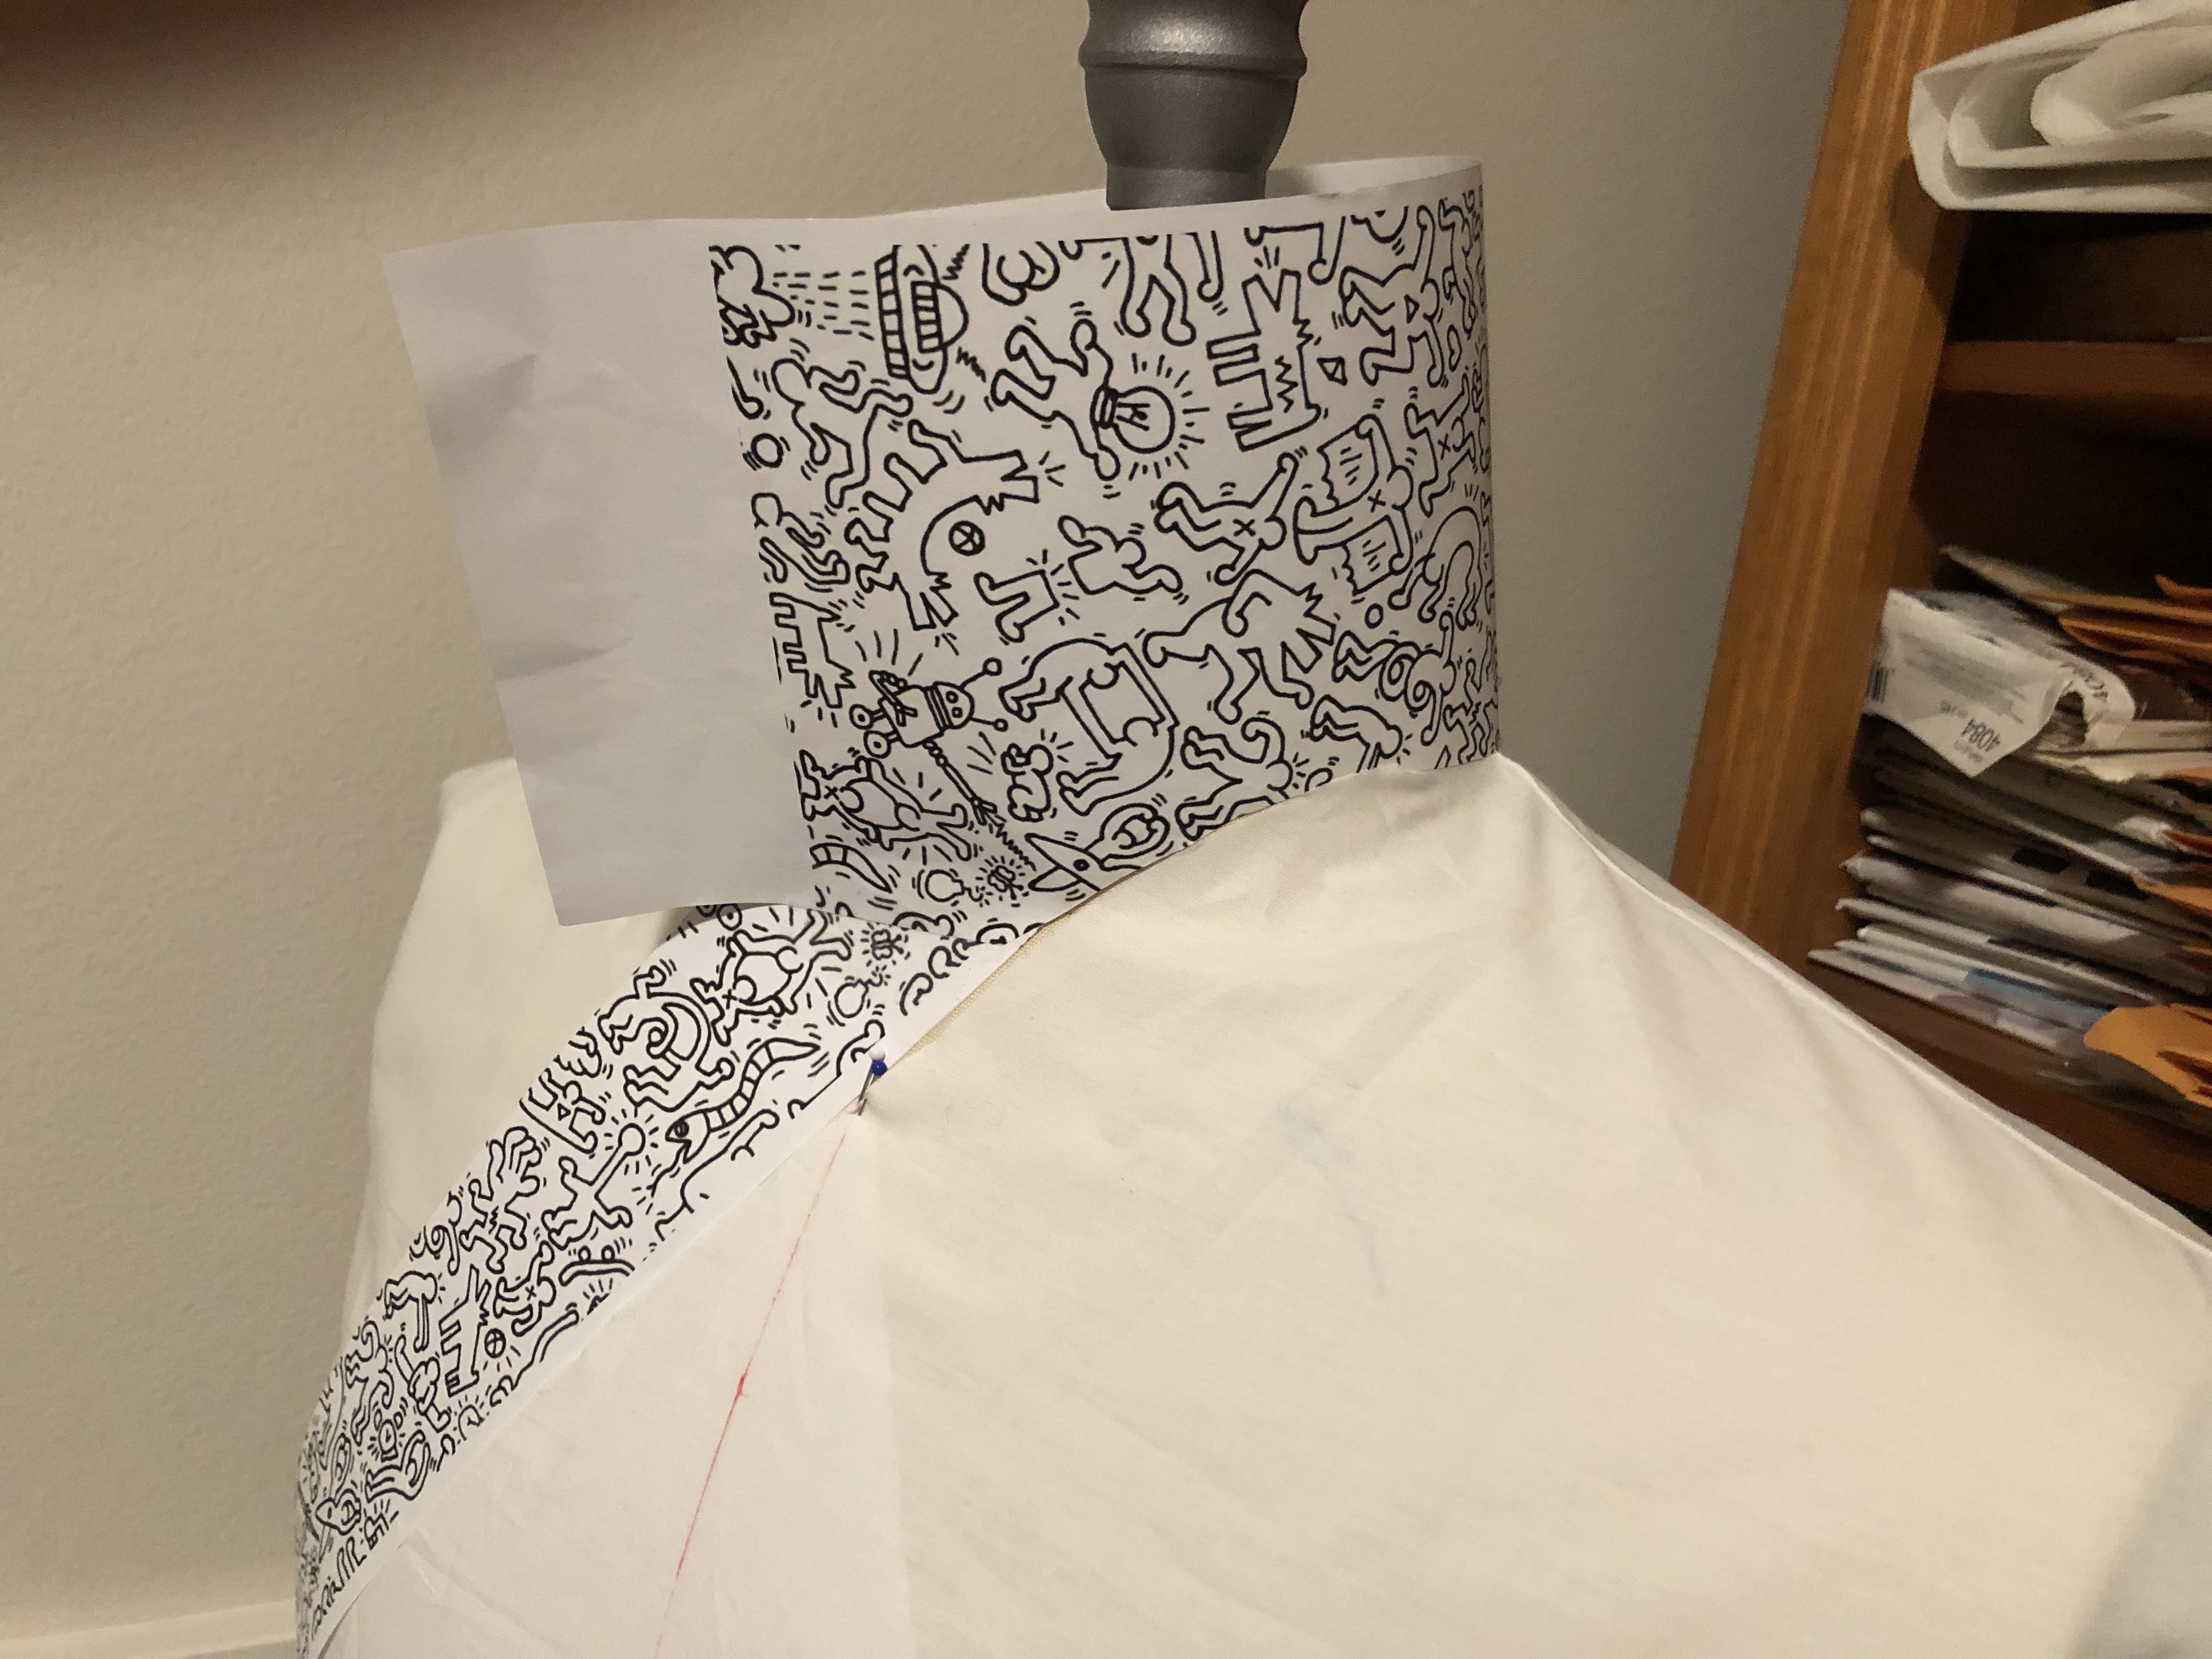
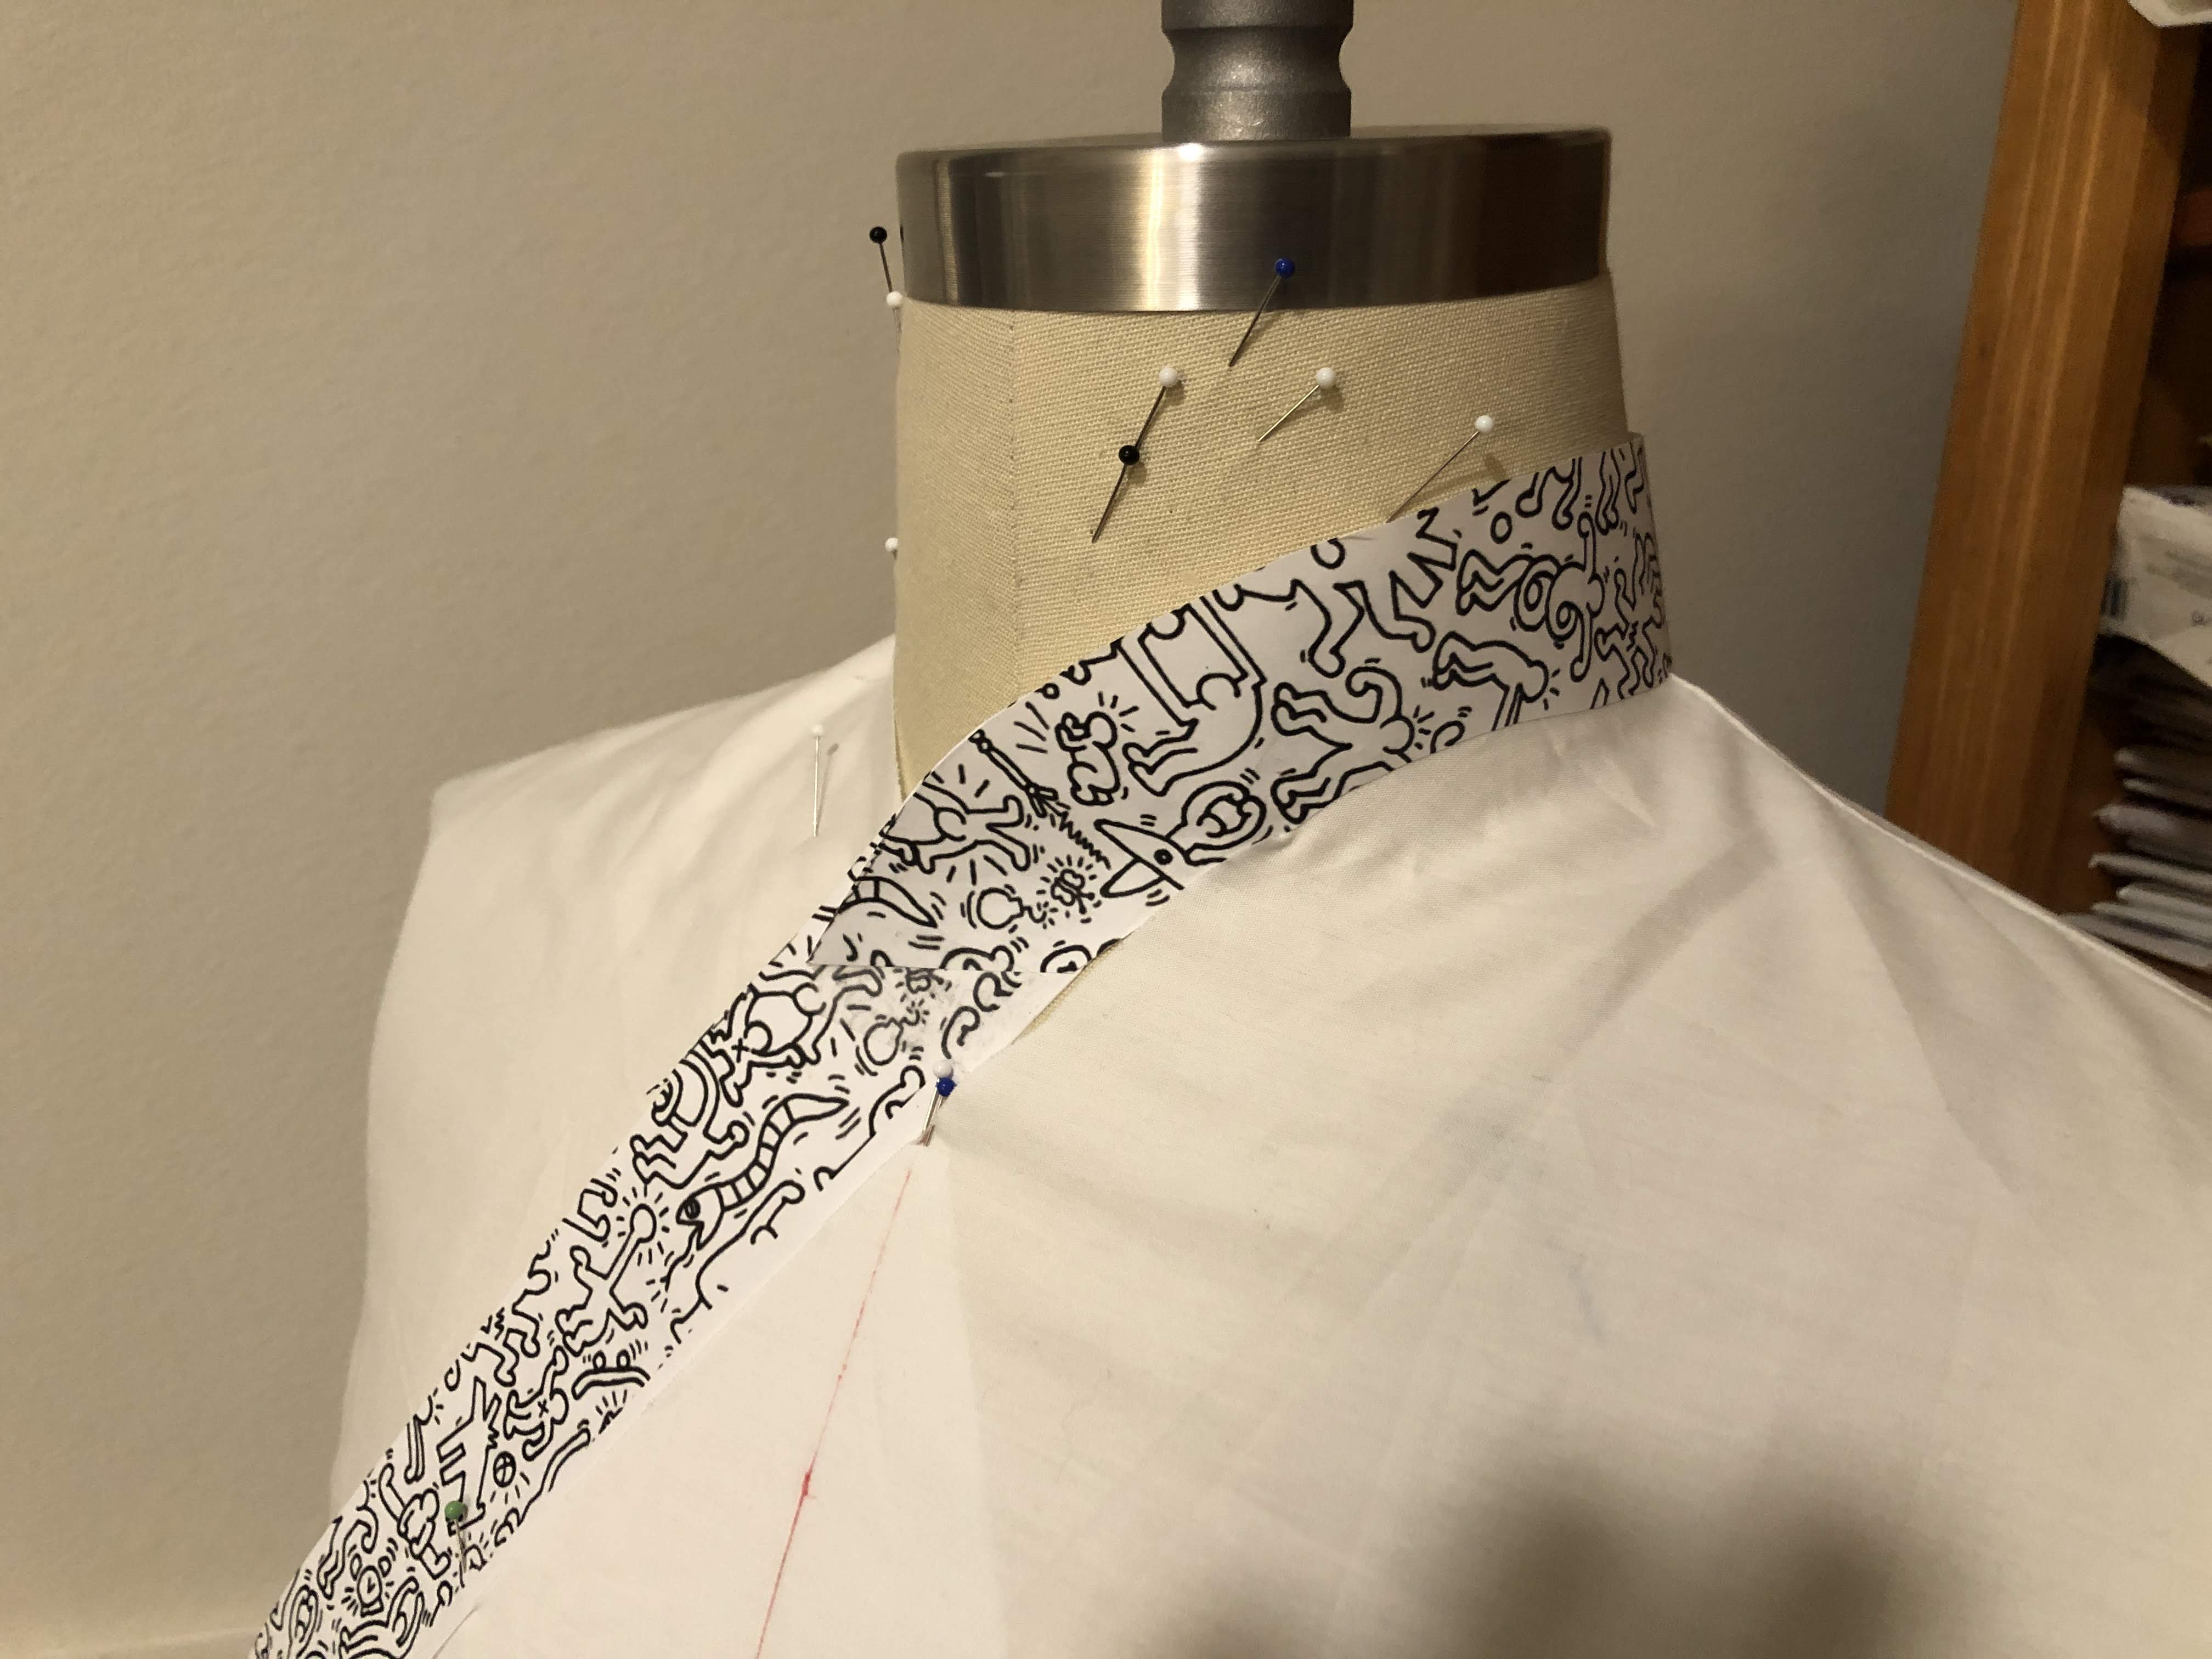
Now I could work on the more challenging part; the collar. With the Japanese patterns, it’s all straight lines. I wanted something that would be more form-fitting. When presented with this problem before with another shirt, I just used paper. Tape it in place, draw where a seam needs to be, cut away what shouldn’t be there, and repeat. Eventually you’ll get to something that resembles what you had in mind. And that you can transfer over to a pattern piece and then onto fabric.

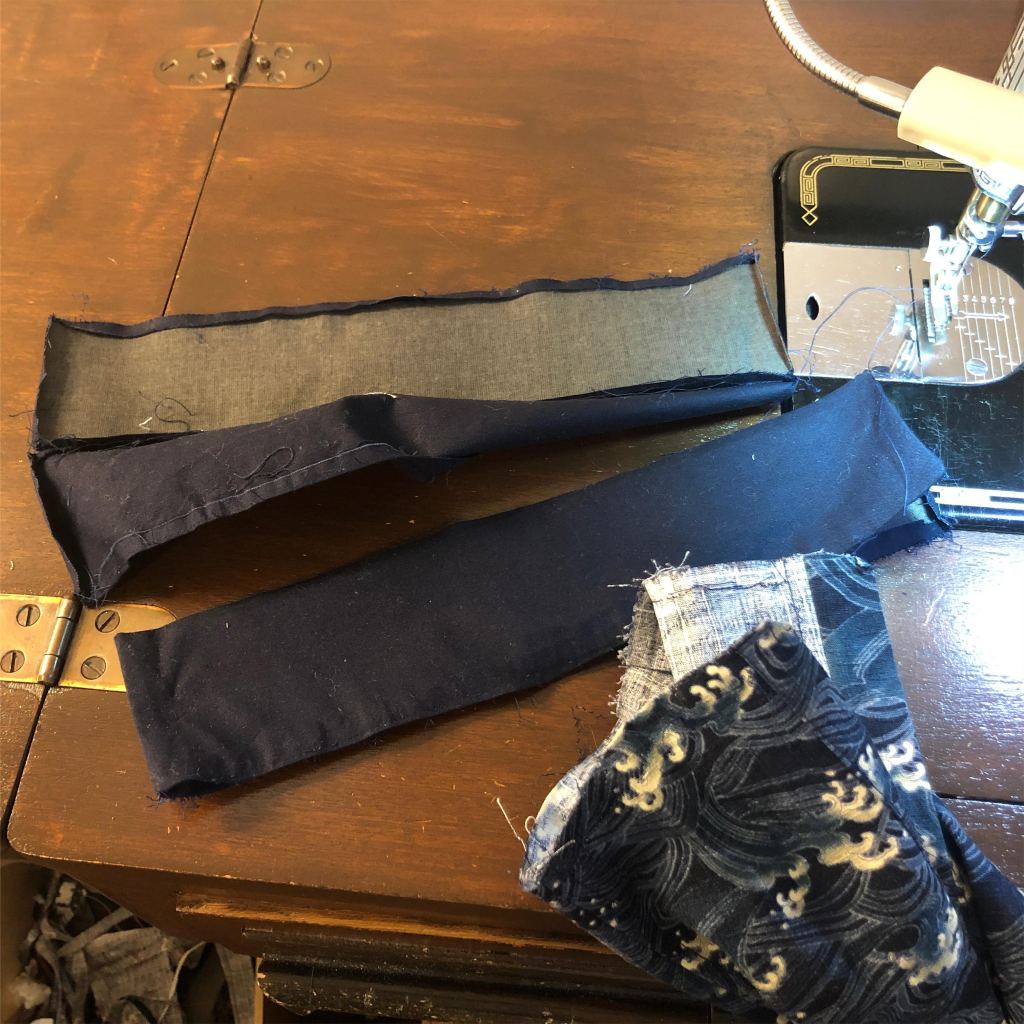
Now that this major hurdle was out of the way, I could start working on the real shirt. This required me to go shopping for some contrast fabric for the collar/placket combination. Creating the idea is one thing, having all the things necessary to put it in practice is another.
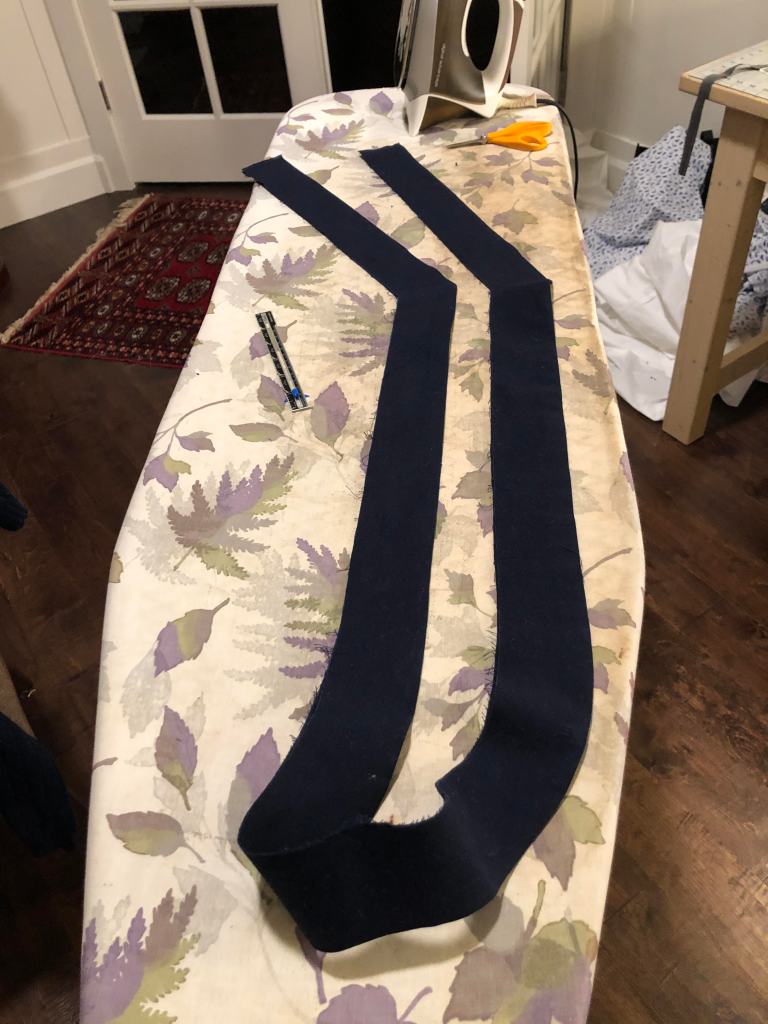
The shape of the collar/placket is really weird, and I made it out of a total of 8 pieces. From the centre back down the front is one piece, and the short vertical part that is almost at the side seam is another. This, of course, is mirrored on the other side, and then every piece has a corresponding one for the inside. It turned out to be the longest collar I’ve made by far.
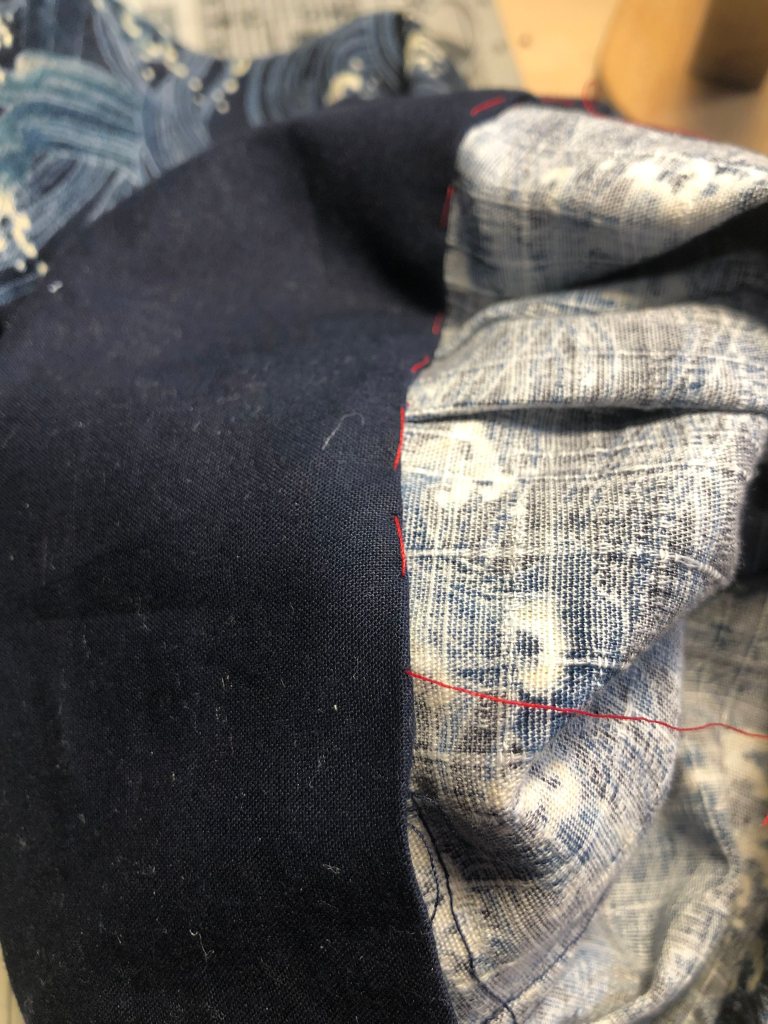
With this completed, I could do the normal work on the big shirt pieces and join this collar to them. Then add the sleeves and the cuffs. With all of this, I realised that I did not want to see any top stitching. I don’t actually know if this is true, but I don’t think kimonos and such have top stitching. This meant that I needed to stitch-in-a-ditch the collar and cuffs. And that required a lot of hand basting.
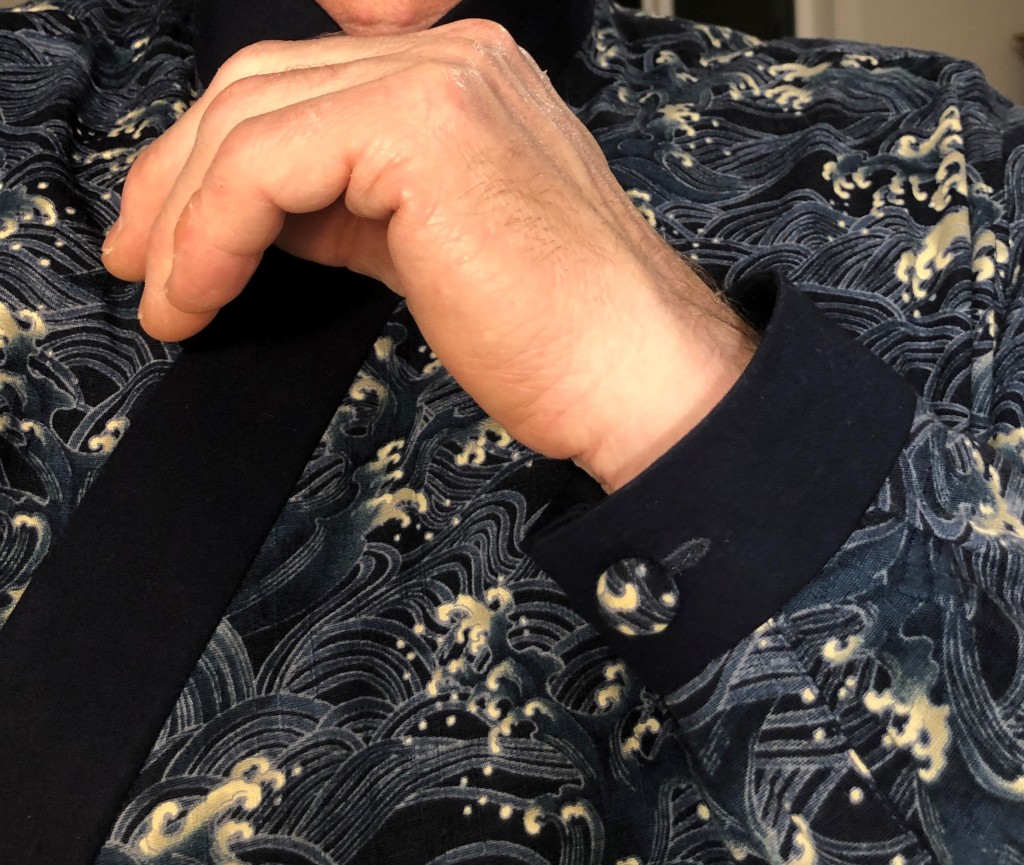
I had made the sleeve 3 inches wider at the cuff, to give it somewhat of a feel of a Samue. And once I tried it on, I realized I didn’t like the way I had done the pleats. Nor the size of the cuff. So off it came and I had to redo all of that work.
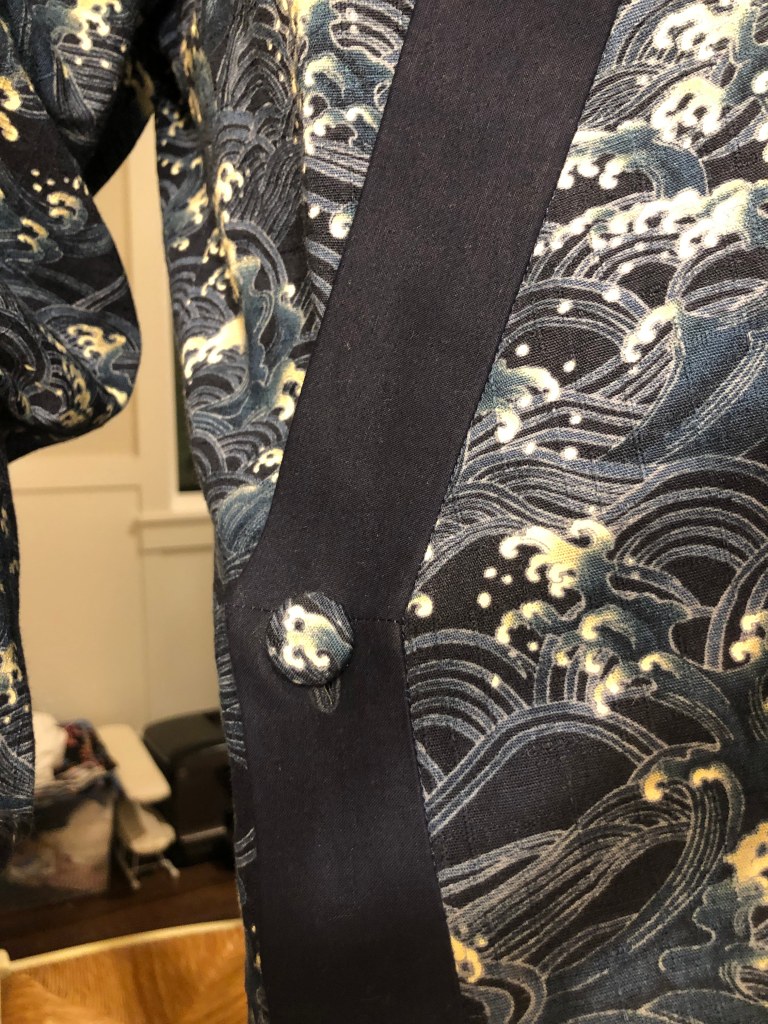
Now that I had almost everything in place, I had to figure out where the buttons needed to be to keep the front closed. A single button at the corner seemed to be enough. The exact placement was more difficult. Where I had initially placed that corner, using my dressform, didn’t work at all. Apparently, My body is different enough from the form to change the whole dynamic of how the shirt fits. This has never been much of an issue, yet for this type of closure it made a huge difference. I ended up taking 4 inches out at the waist, and moving this corner point quite a bit down.
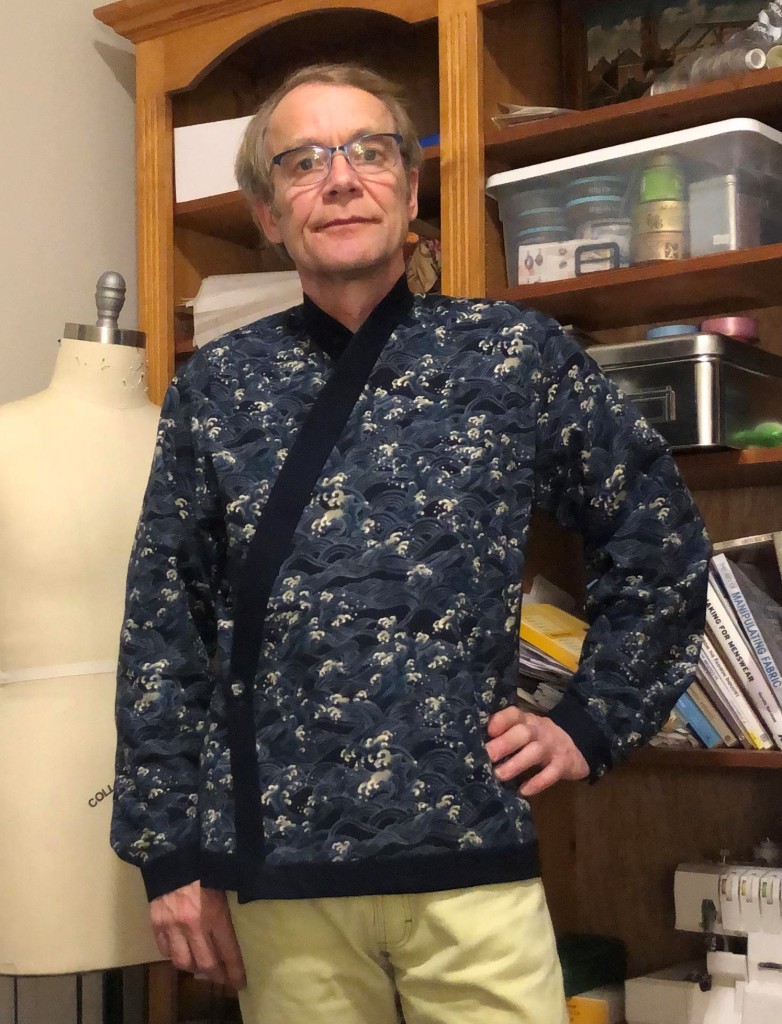
All this time I had the idea that I would just hem the bottom like any of my other shirts. Then when I saw the shirt on me, I realised I should create another band of contrasting fabric along the bottom. And the bottom should be straight. This meant that I needed to buy some more contrasting fabric, and wash it a couple of times before I could continue. Some trail and error , and a lot of looking in the mirror showed me where to cut off the hem. The rest was easy and it came together well.


I’m quite happy with the result, while at the same time I wished I could have taken more time to make it even better. I will have to remember to check designs on my own body and not just on the form.

Holy smokes!!! This is amazing, every bit of it. Seeing your latest creation has completely made my day.
LikeLiked by 1 person
Thanks! Your makes are always so wonderful, I don’t feel worthy of your praise.
LikeLike
I think that I have a small pice of the same fabric in my stash that I purchased many years ago but I didn’t have enough to make any sort of garment as you did. I am amazed by what you did and your thought process. I really think that it honors the tradition of the print.
LikeLiked by 1 person
Thank you very much!
LikeLike
This is so different and a very clever design, love it, colours complement well and make the design look
great. Well worked and thought out.
LikeLiked by 1 person
Thank you!
LikeLike
Very nice.
LikeLiked by 1 person
Thank you for sharing your journey on this one – most impressive!!
LikeLiked by 1 person