?

Another art shirt. This time without a special print. Just nice white shirting fabric.

It is one of those ideas that had been sitting and brewing in my mind for a long time. Thinking about it, throwing the concept around, and never daring to give it a go. For at least three years I didn’t think I had the skills to make it. Until one day I got enough courage to try.

When I just started making shirts I looked at all the parts that make up a shirt. And pondered why they all were the way they were. And how you could change them. Different collars, different closures, different sleeves. I started looking at where the collar meets the placket. And then it struck me that a collar looks very much like a placket. Could I make a collar that turns into a placket? Or a placket that turns into a collar?

Making this possible would require a lot of experimentation on the dress form. Start with a shirt and a lot of paper, and keep tweaking until you have something that looks like what is in your mind. That was the plan.

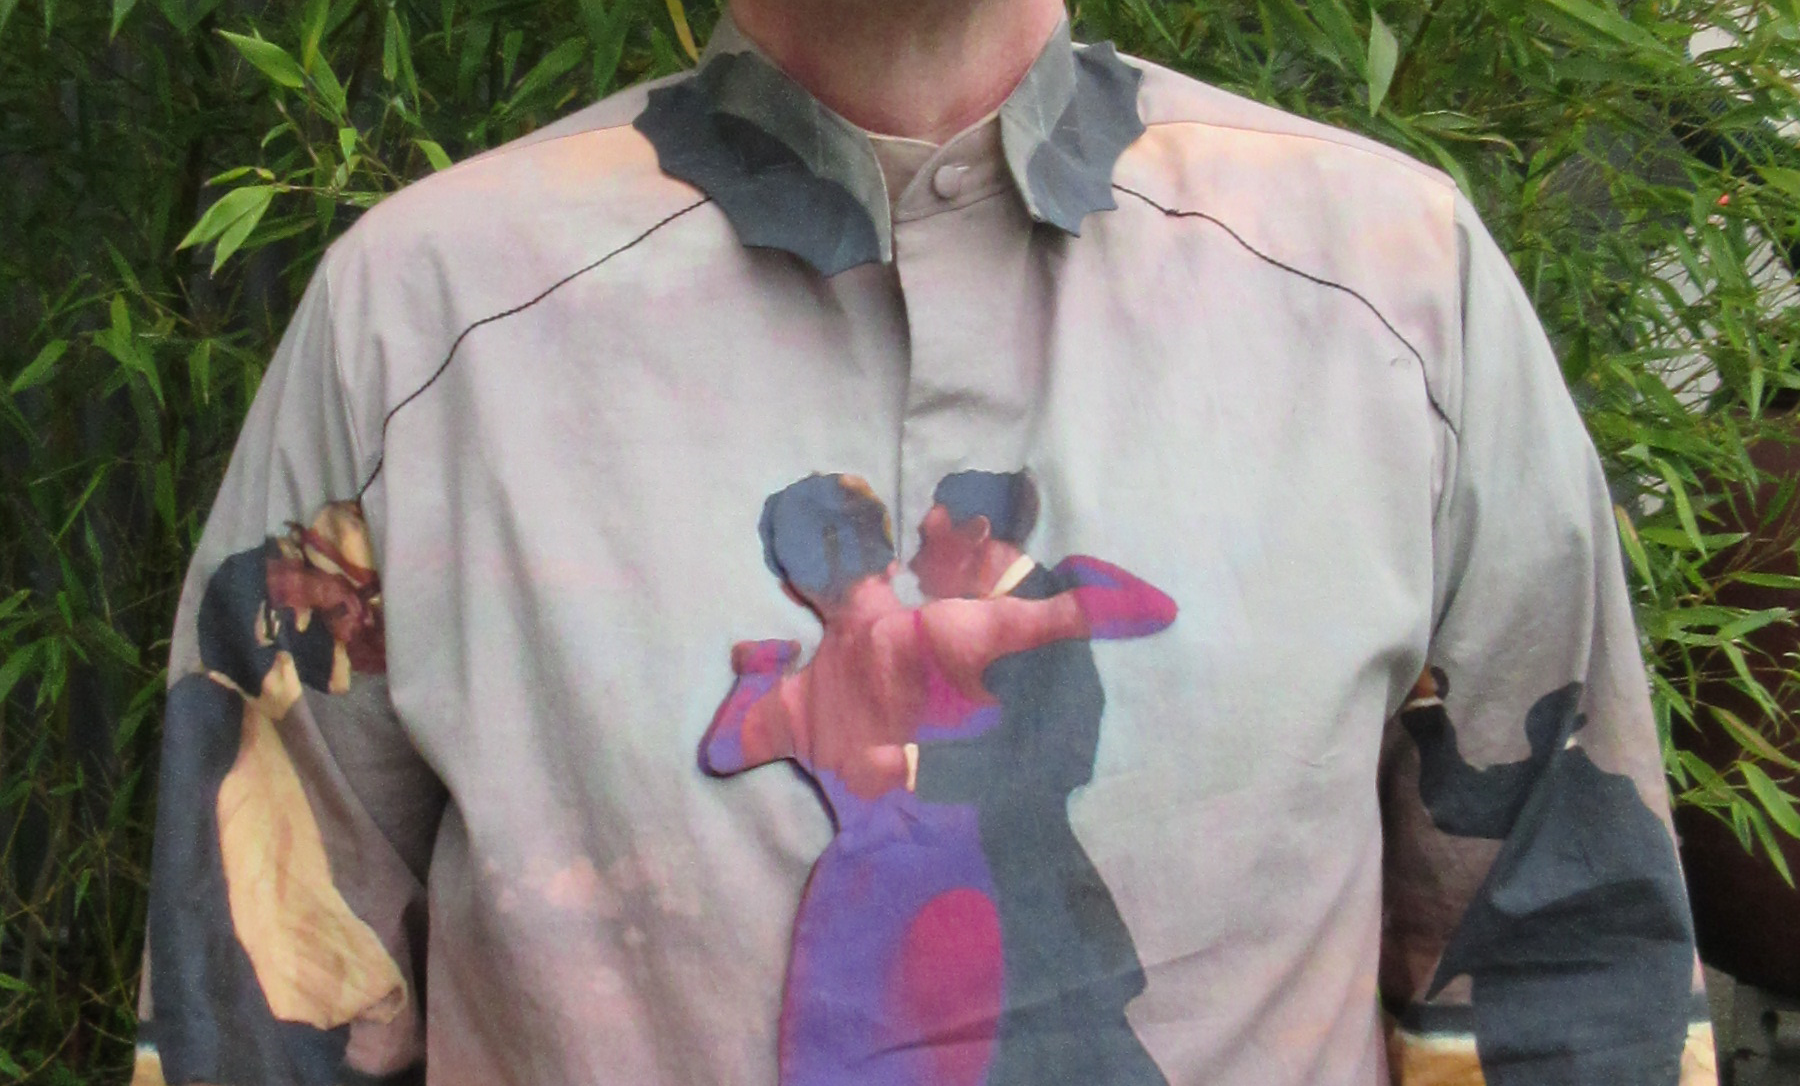
There were multiple things I could do with the placket; have it extend from the collar in a diagonal and let it disappear somewhere in the side seam, go straight down the front, or some thing else? Down the front would not work, for you would not be able to make the collar turn into a placket smoothly. Making it go into the side seam seemed to distract from the concept I was trying to create. So I decided on making it go in a slow curve that would go down the right side of the shirt, just 4 or 5 inches right of centre.

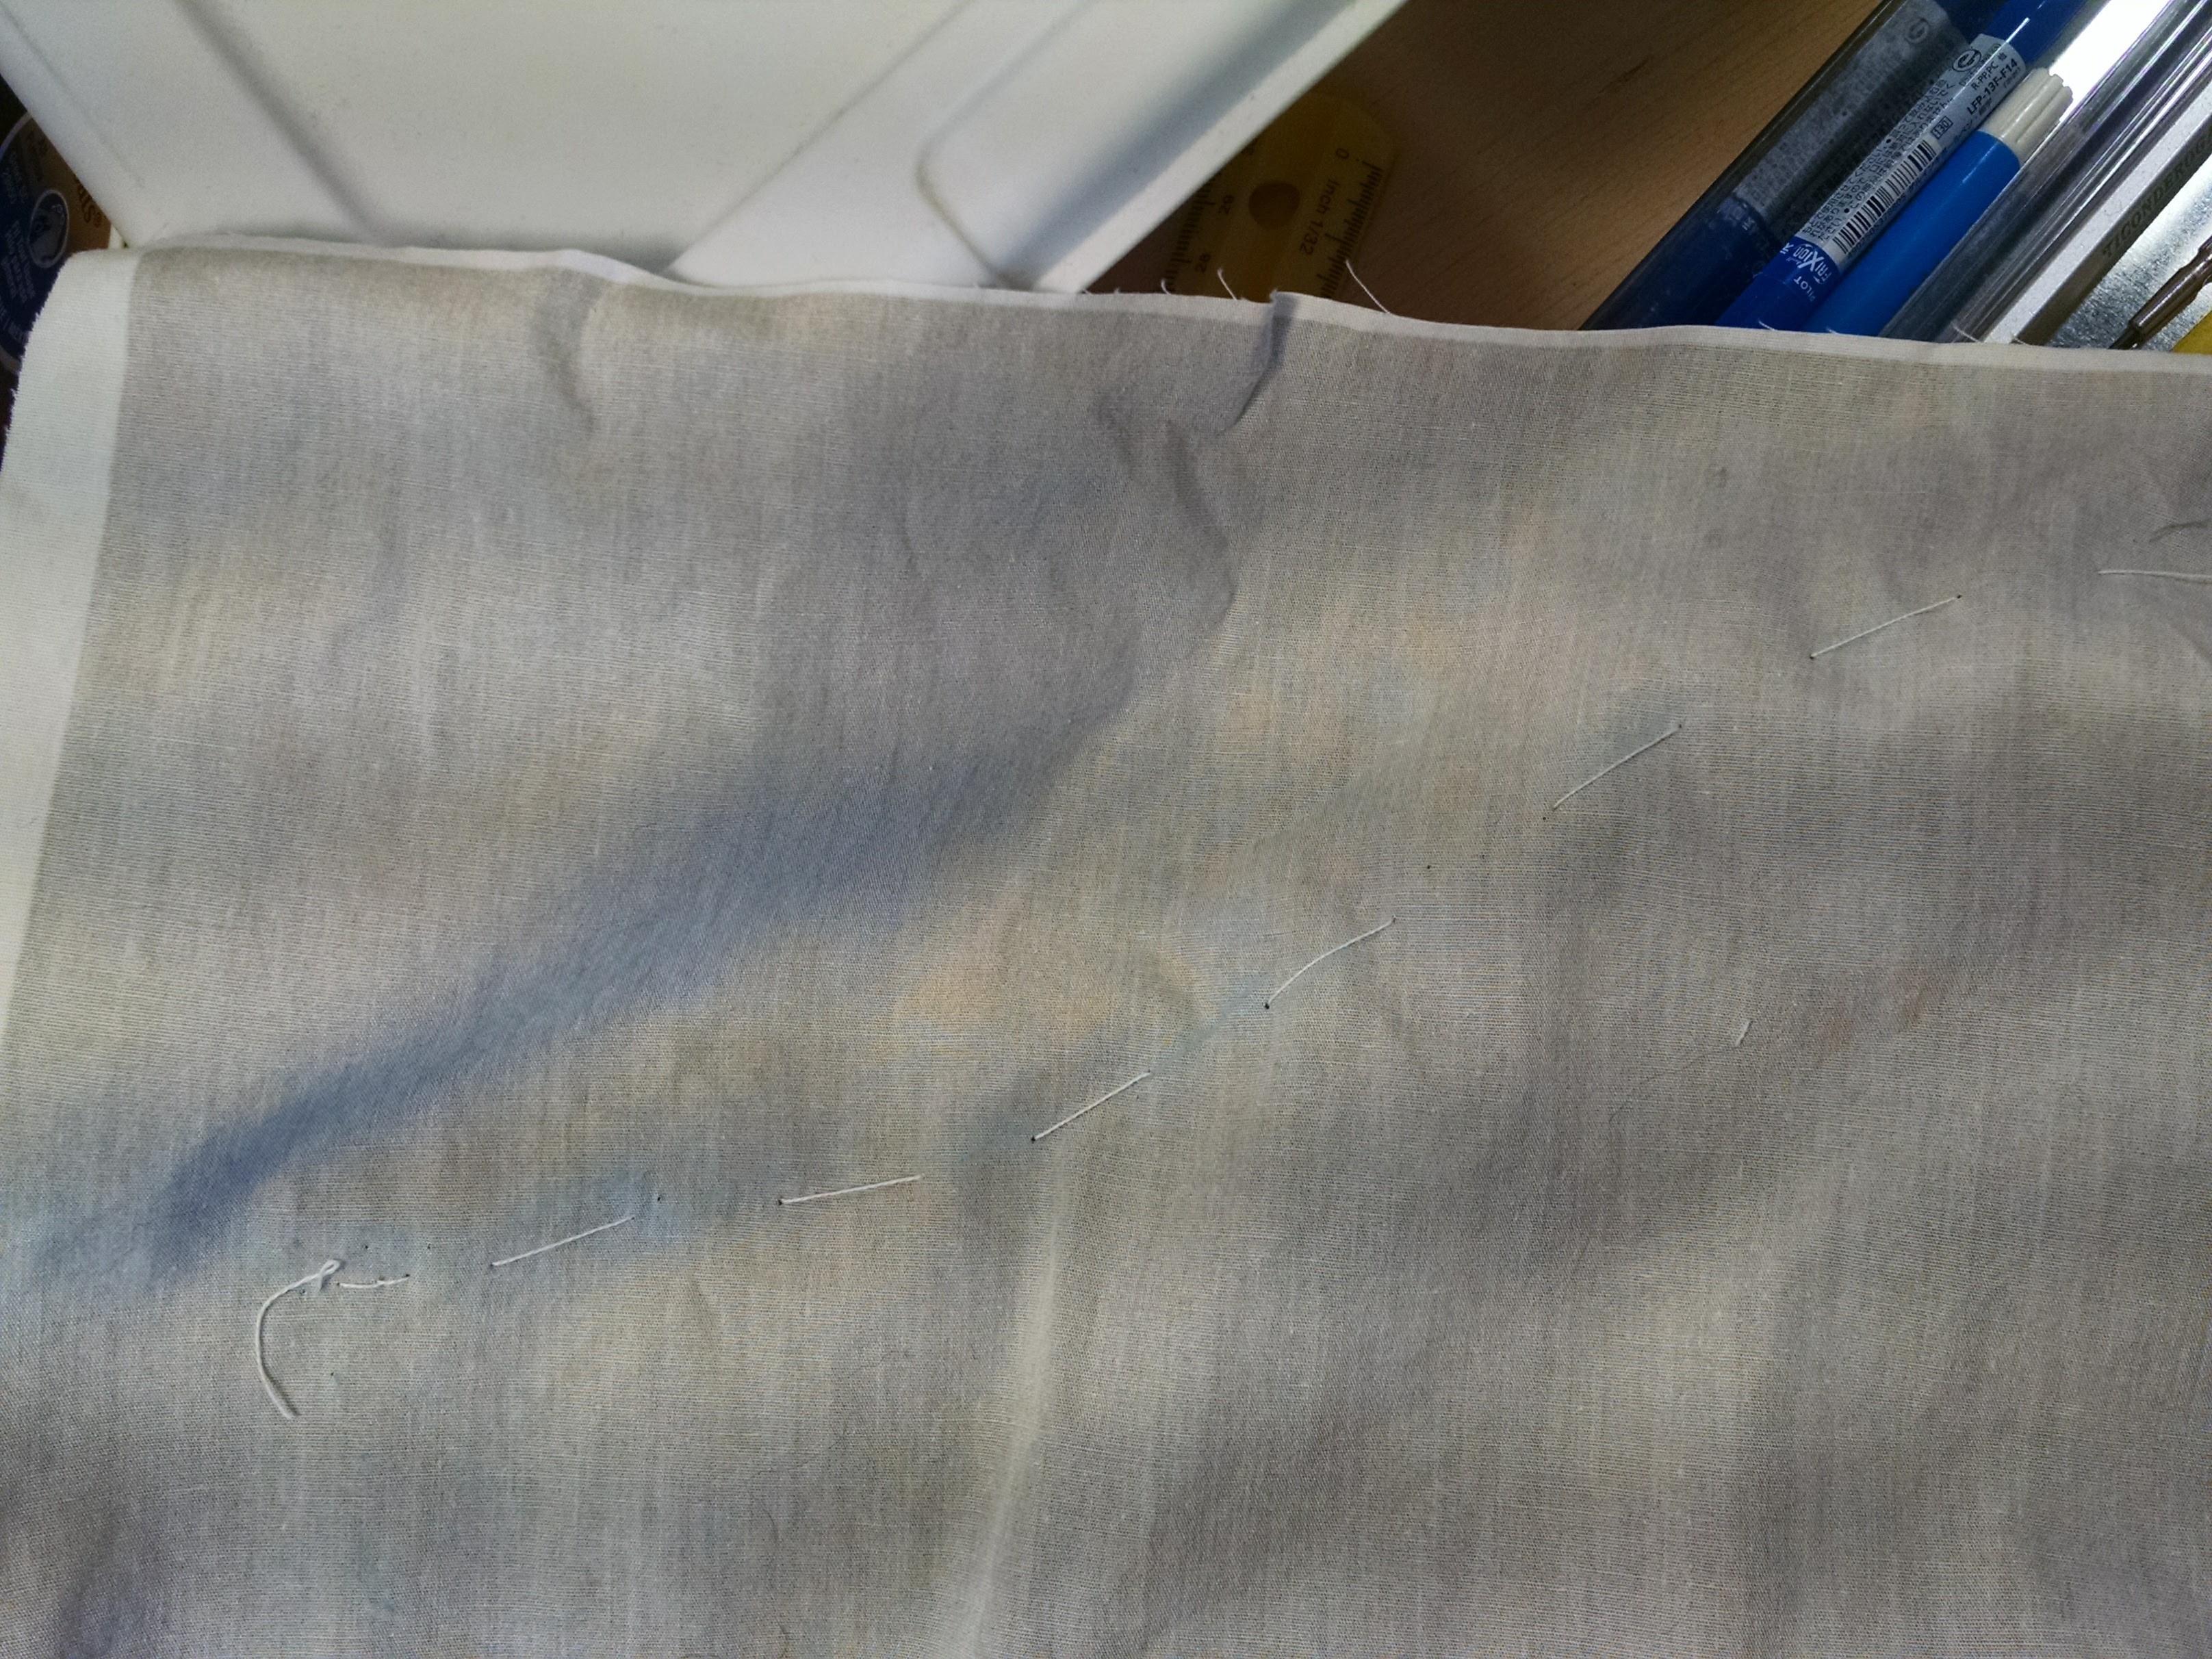
I started with the collar pattern piece of my standard shirt, took off the seam allowance, and pinned it in place. Then added some paper to make the right side point straight down along the centre front. Traced that onto a new piece of paper and added a large piece to the left side. Pinned that in place and started sketching where the natural sweep of the collar would end up. With that established, I could start sketching where the curve down the front would end up on a larger piece of paper.

The transition from collar to the front of the shirt presented some issues. It was rather difficult to get it to follow the contours of the form. To solve this I started from both ends, the collar on one side, and bringing the placket up from the other. Then join them where they would meet, at the junction of the shirt front and the collar band. This turned into an interesting pattern piece.

With the collar drawn, I could start transferring the parts onto my regular pattern pieces. Using the centre front of the shirt and the collar band as a reference, I just positioned them on top of each other and traced onto a new piece of paper. It is a tracing paper I buy from art supply stores that I use almost exclusively for my pattern drawing and tracing. It is not flimsy, easy to see through, and available in long rolls of different widths.

What I could not figure out well was the shape the collar band should get. The collar is supposed to flow from collar to placket, but the collar band cannot flow into the front piece. The collar band would have to remain separate. I decided to just leave extra fabric on it on the left side and sculpt it while it was on the form. Even using the muslin to figure this out didn’t give me consistent results.

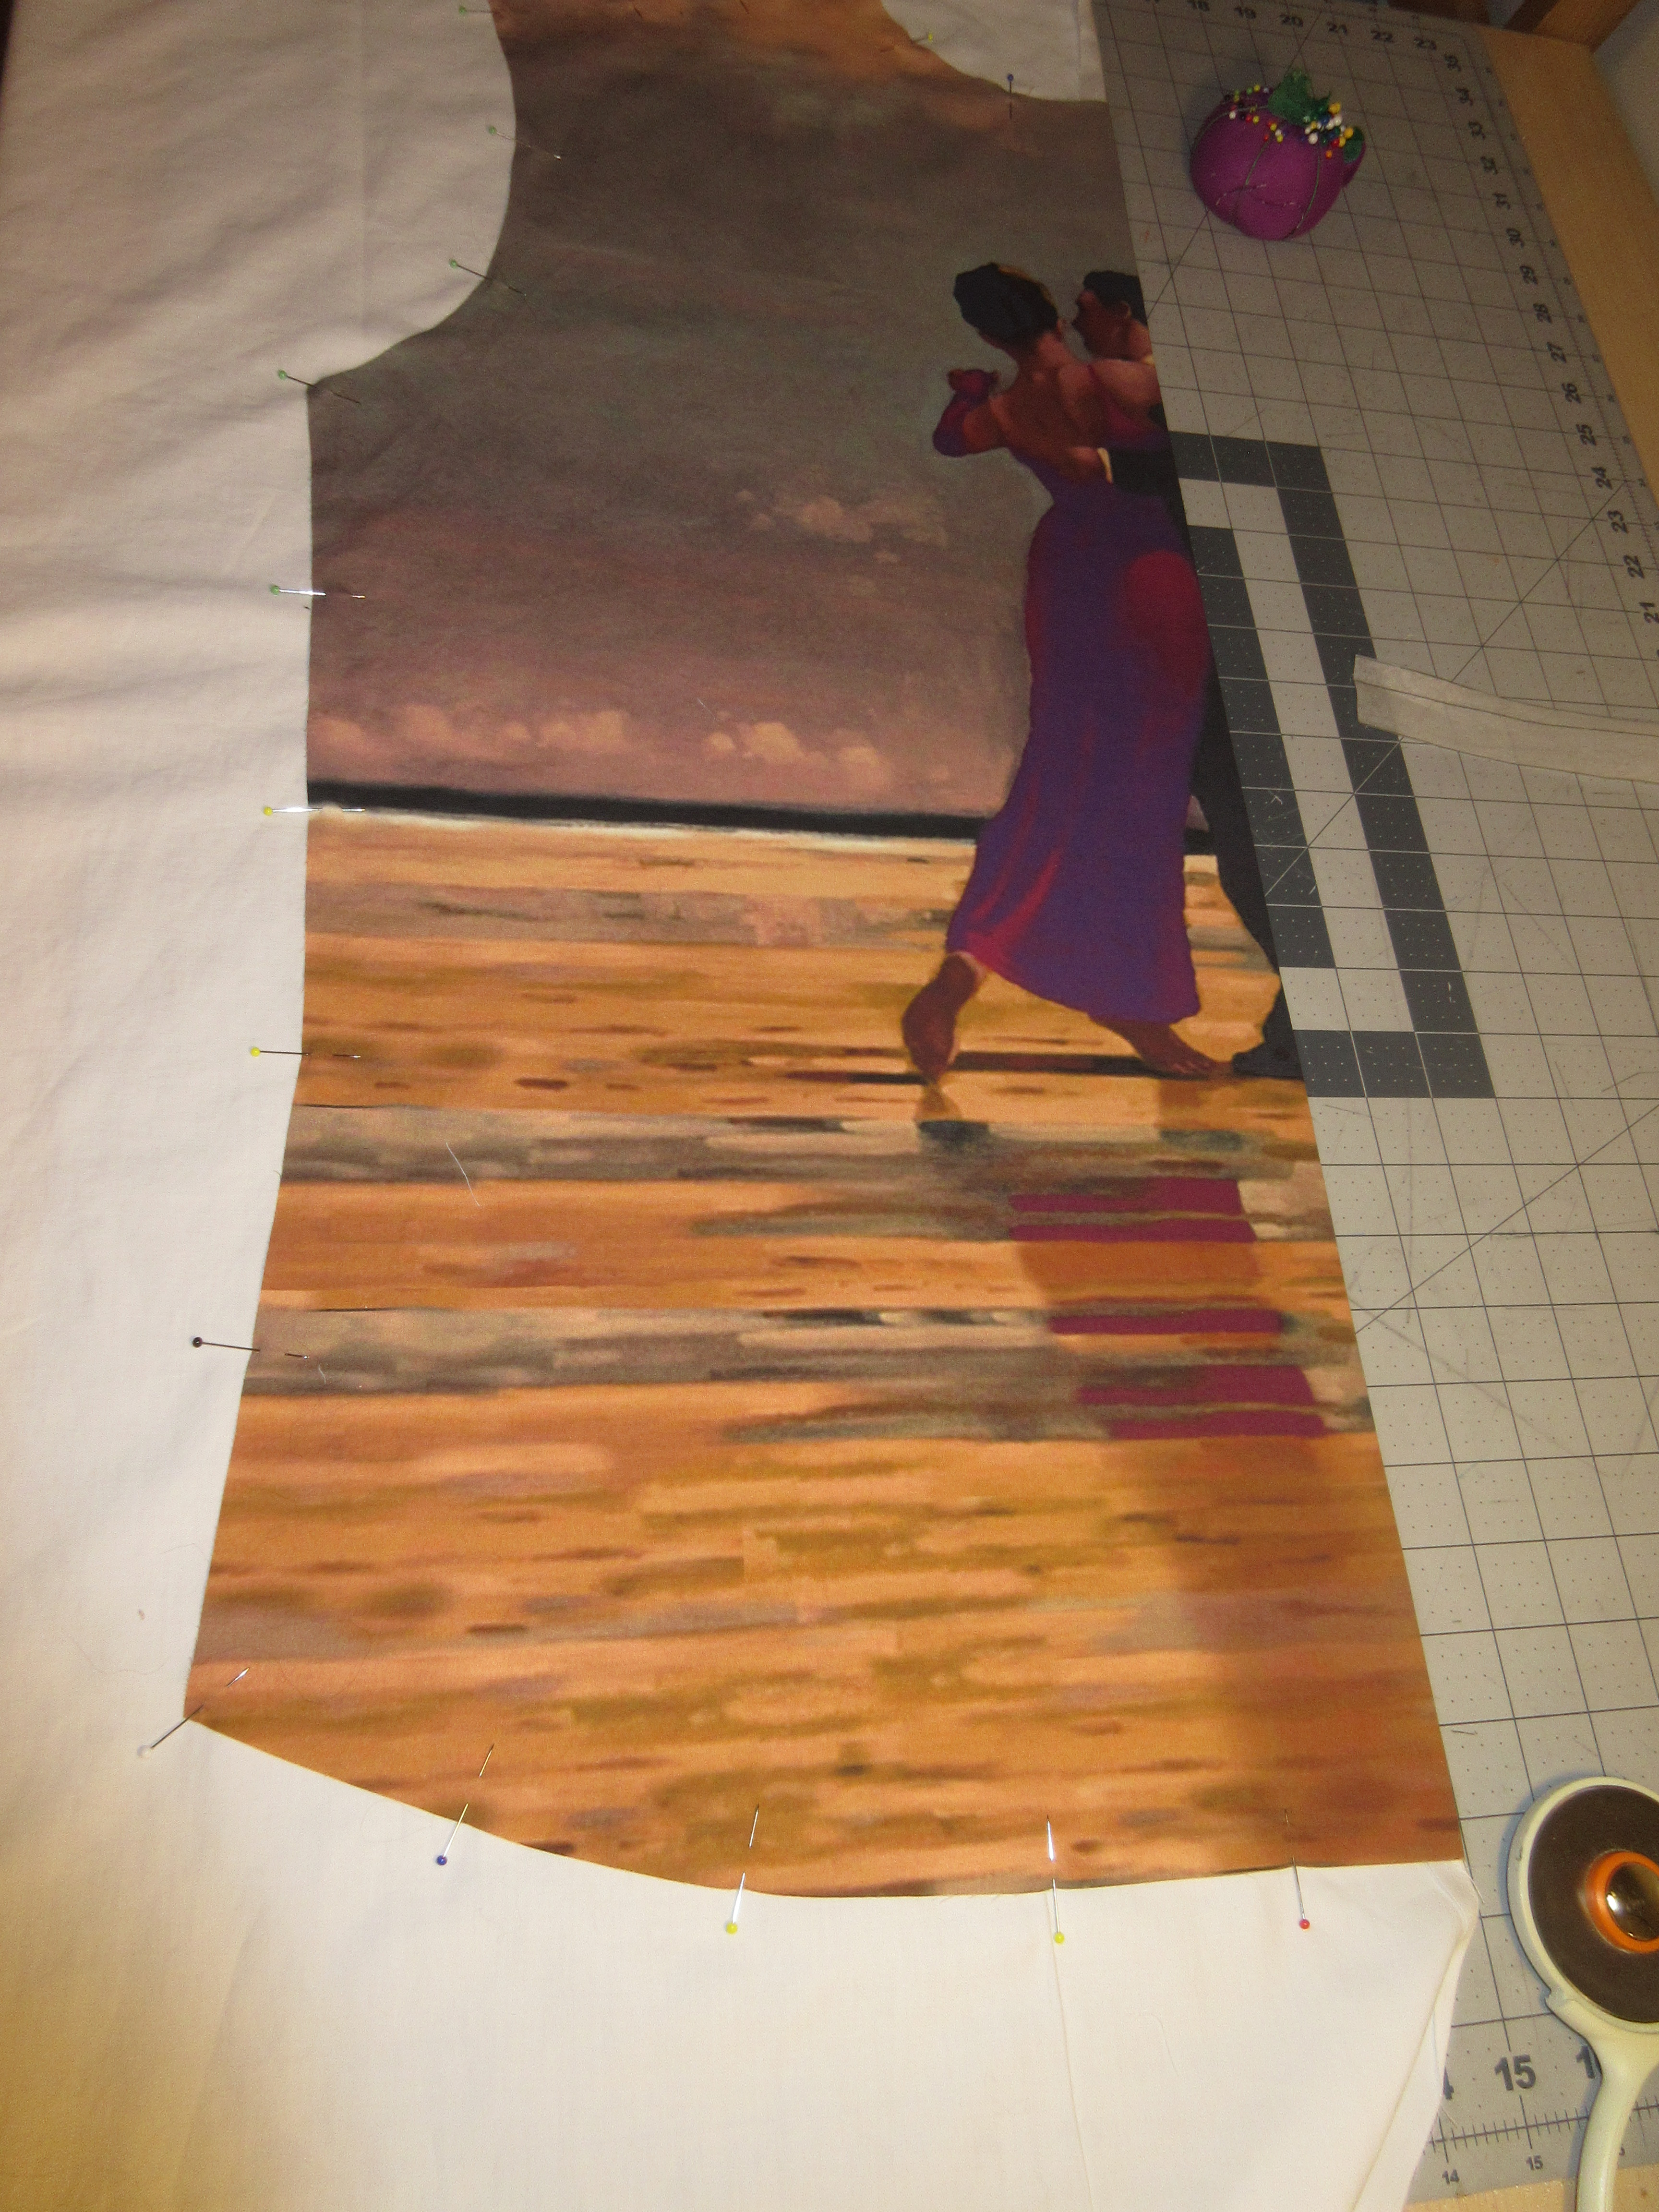
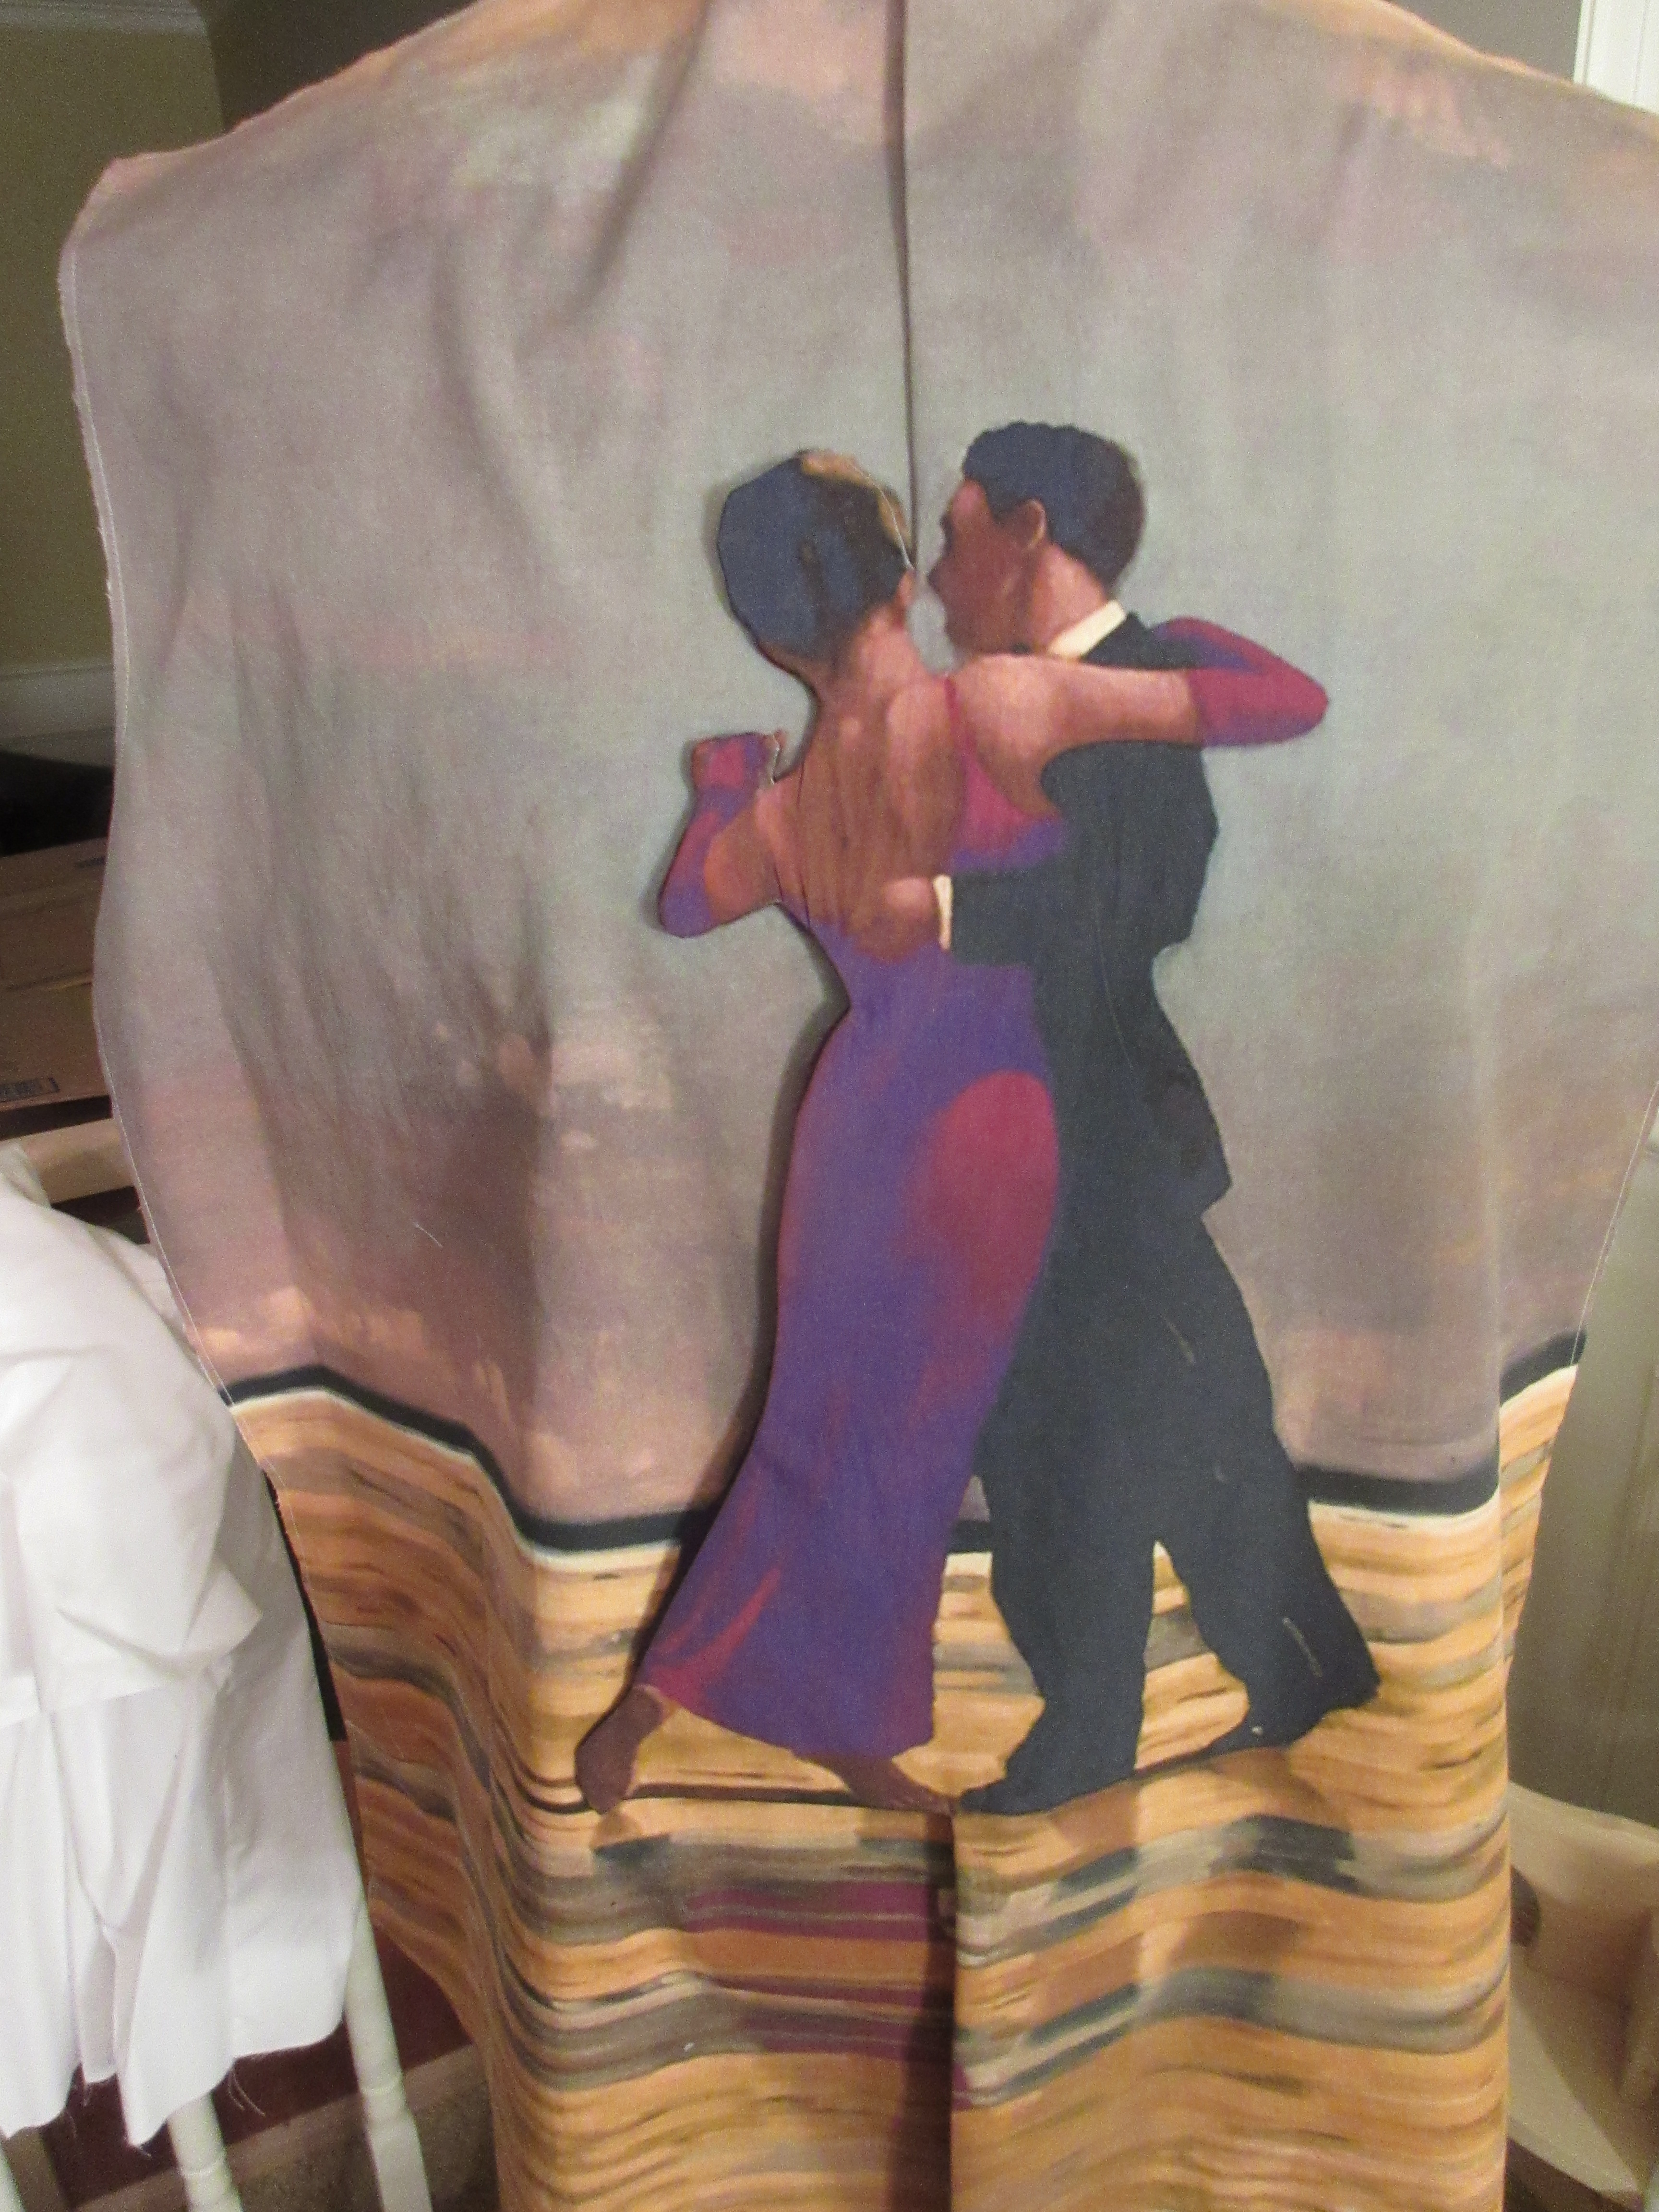
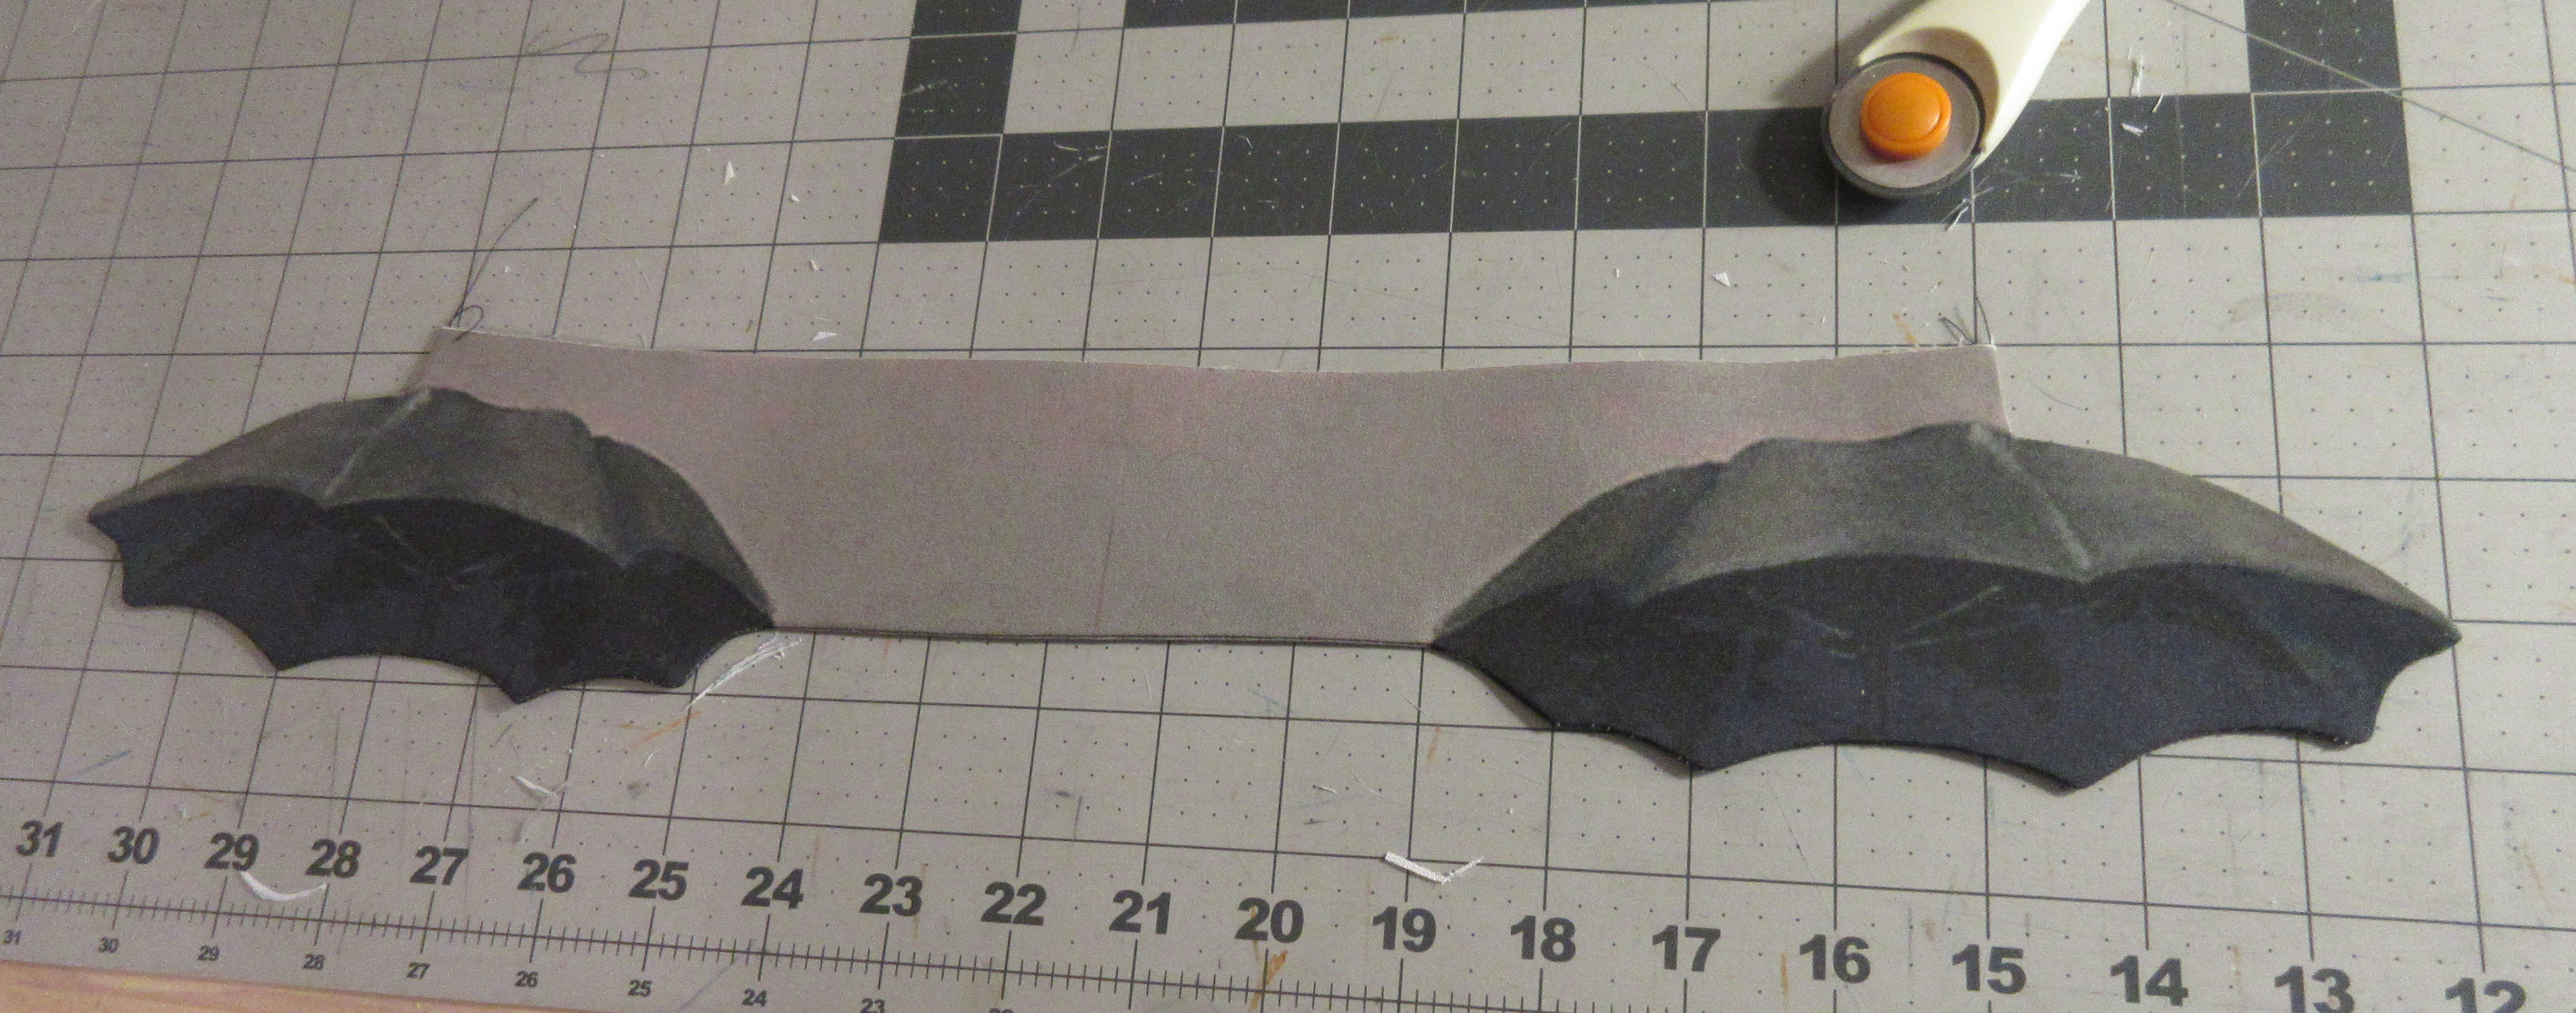
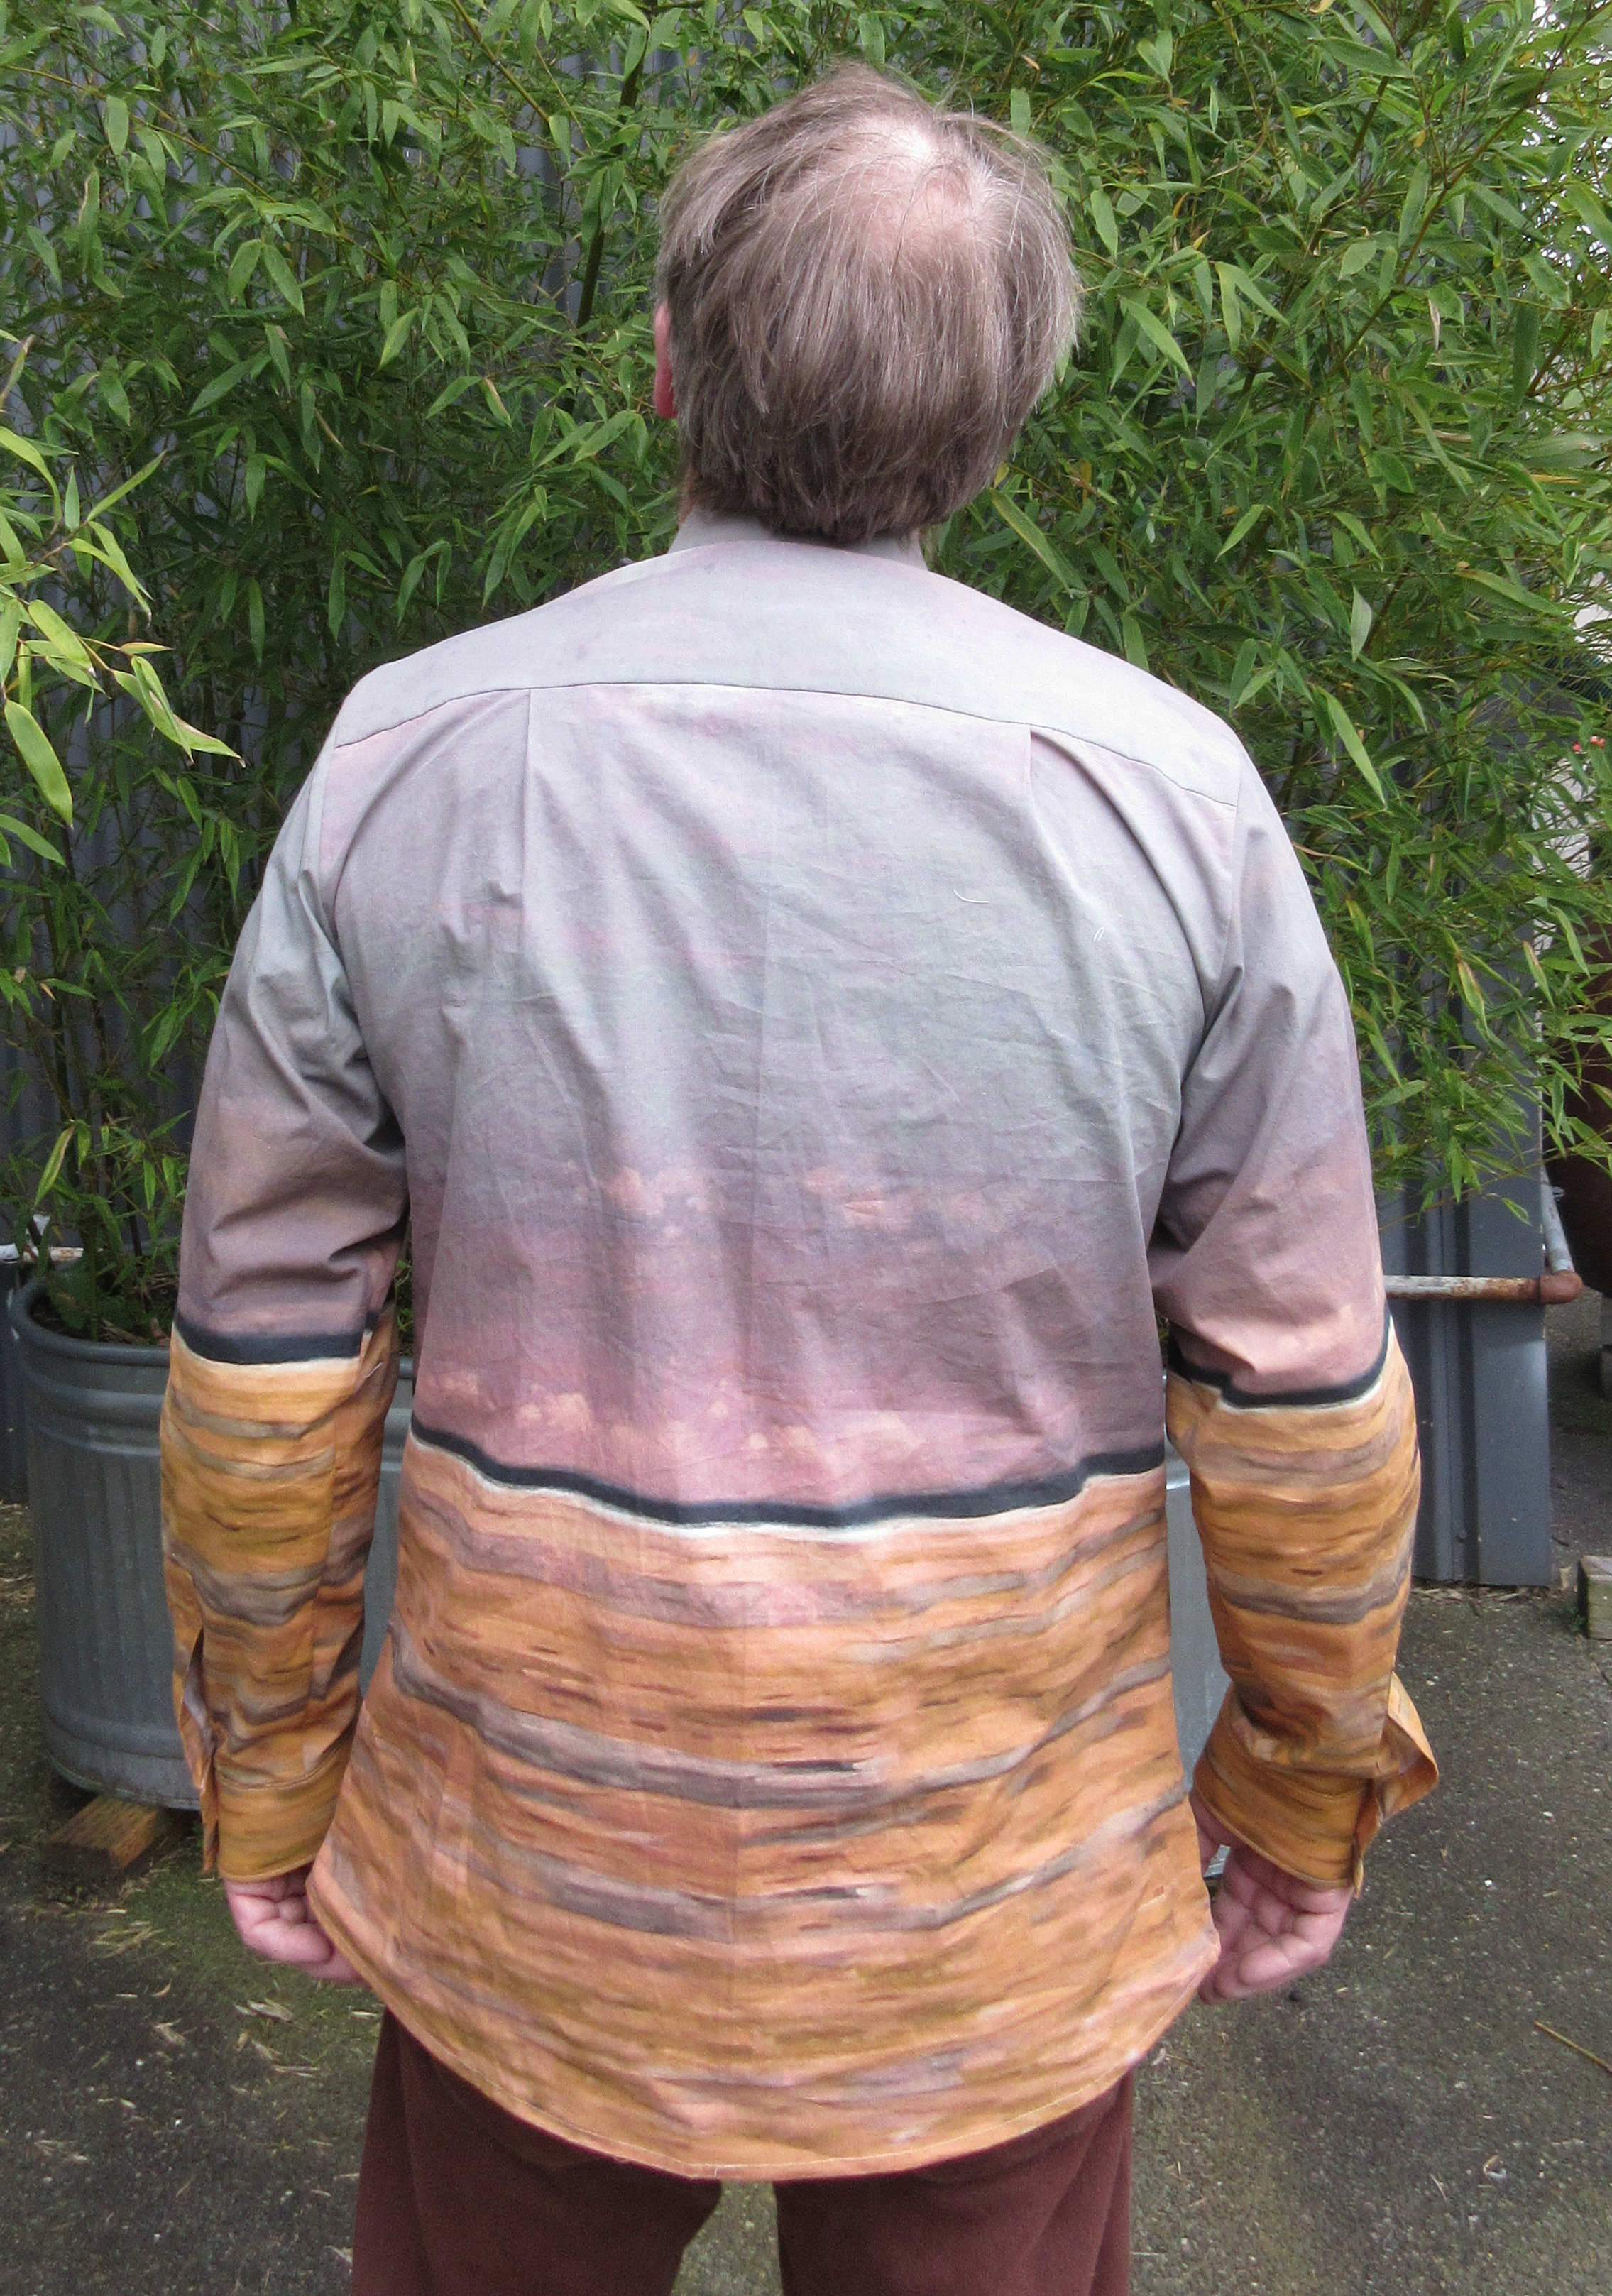
I had some beautiful dobby shirting in my stash that seemed perfect for this project. Making these weird pieces was an interesting experience. Only the back, the yoke, and the sleeves were normal. All the rest made me feel like I was learning how to make garments all over again. Because of the weird shapes, it also took a lot more fabric than a shirt normally would. Specially the collar and the back of the right-side placket.

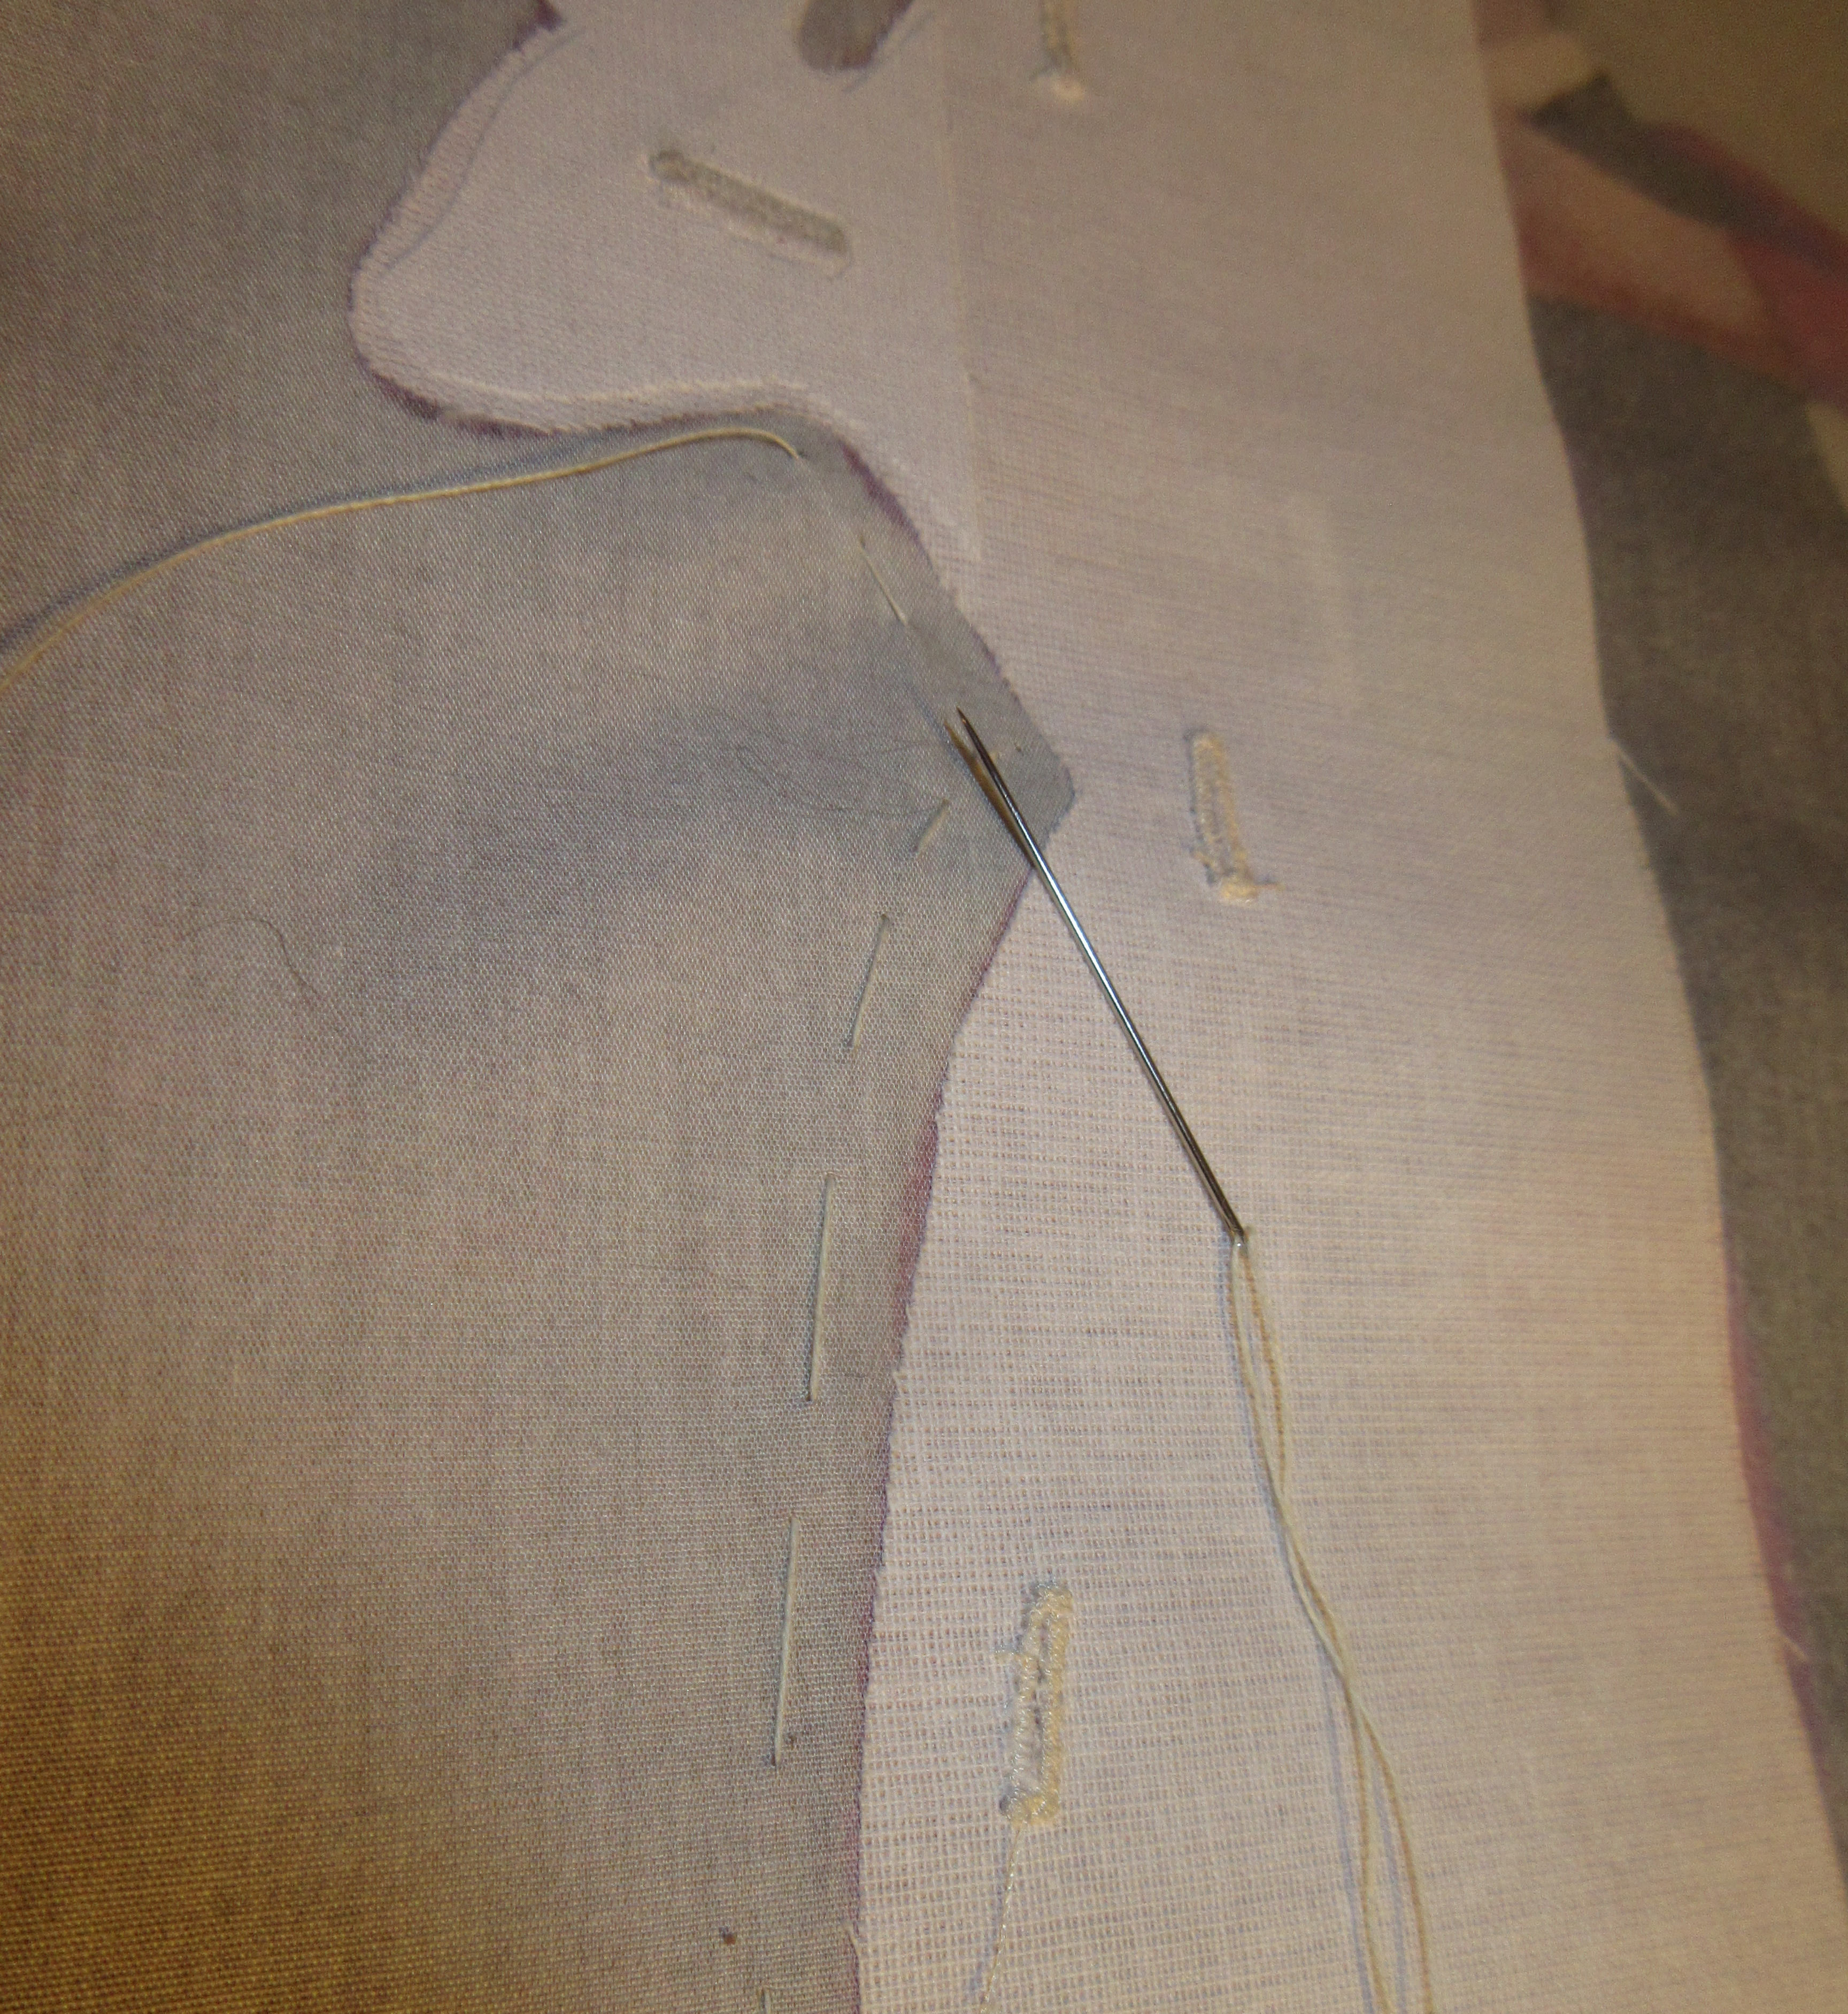
The construction of the collar band went a lot easier than I expected. I just kept tweaking the end of the fabric until it sat right. Then I marked the crease and sewed along the marked line. After that I could attach the collar / placket and I could continue with the shirt construction as normal.

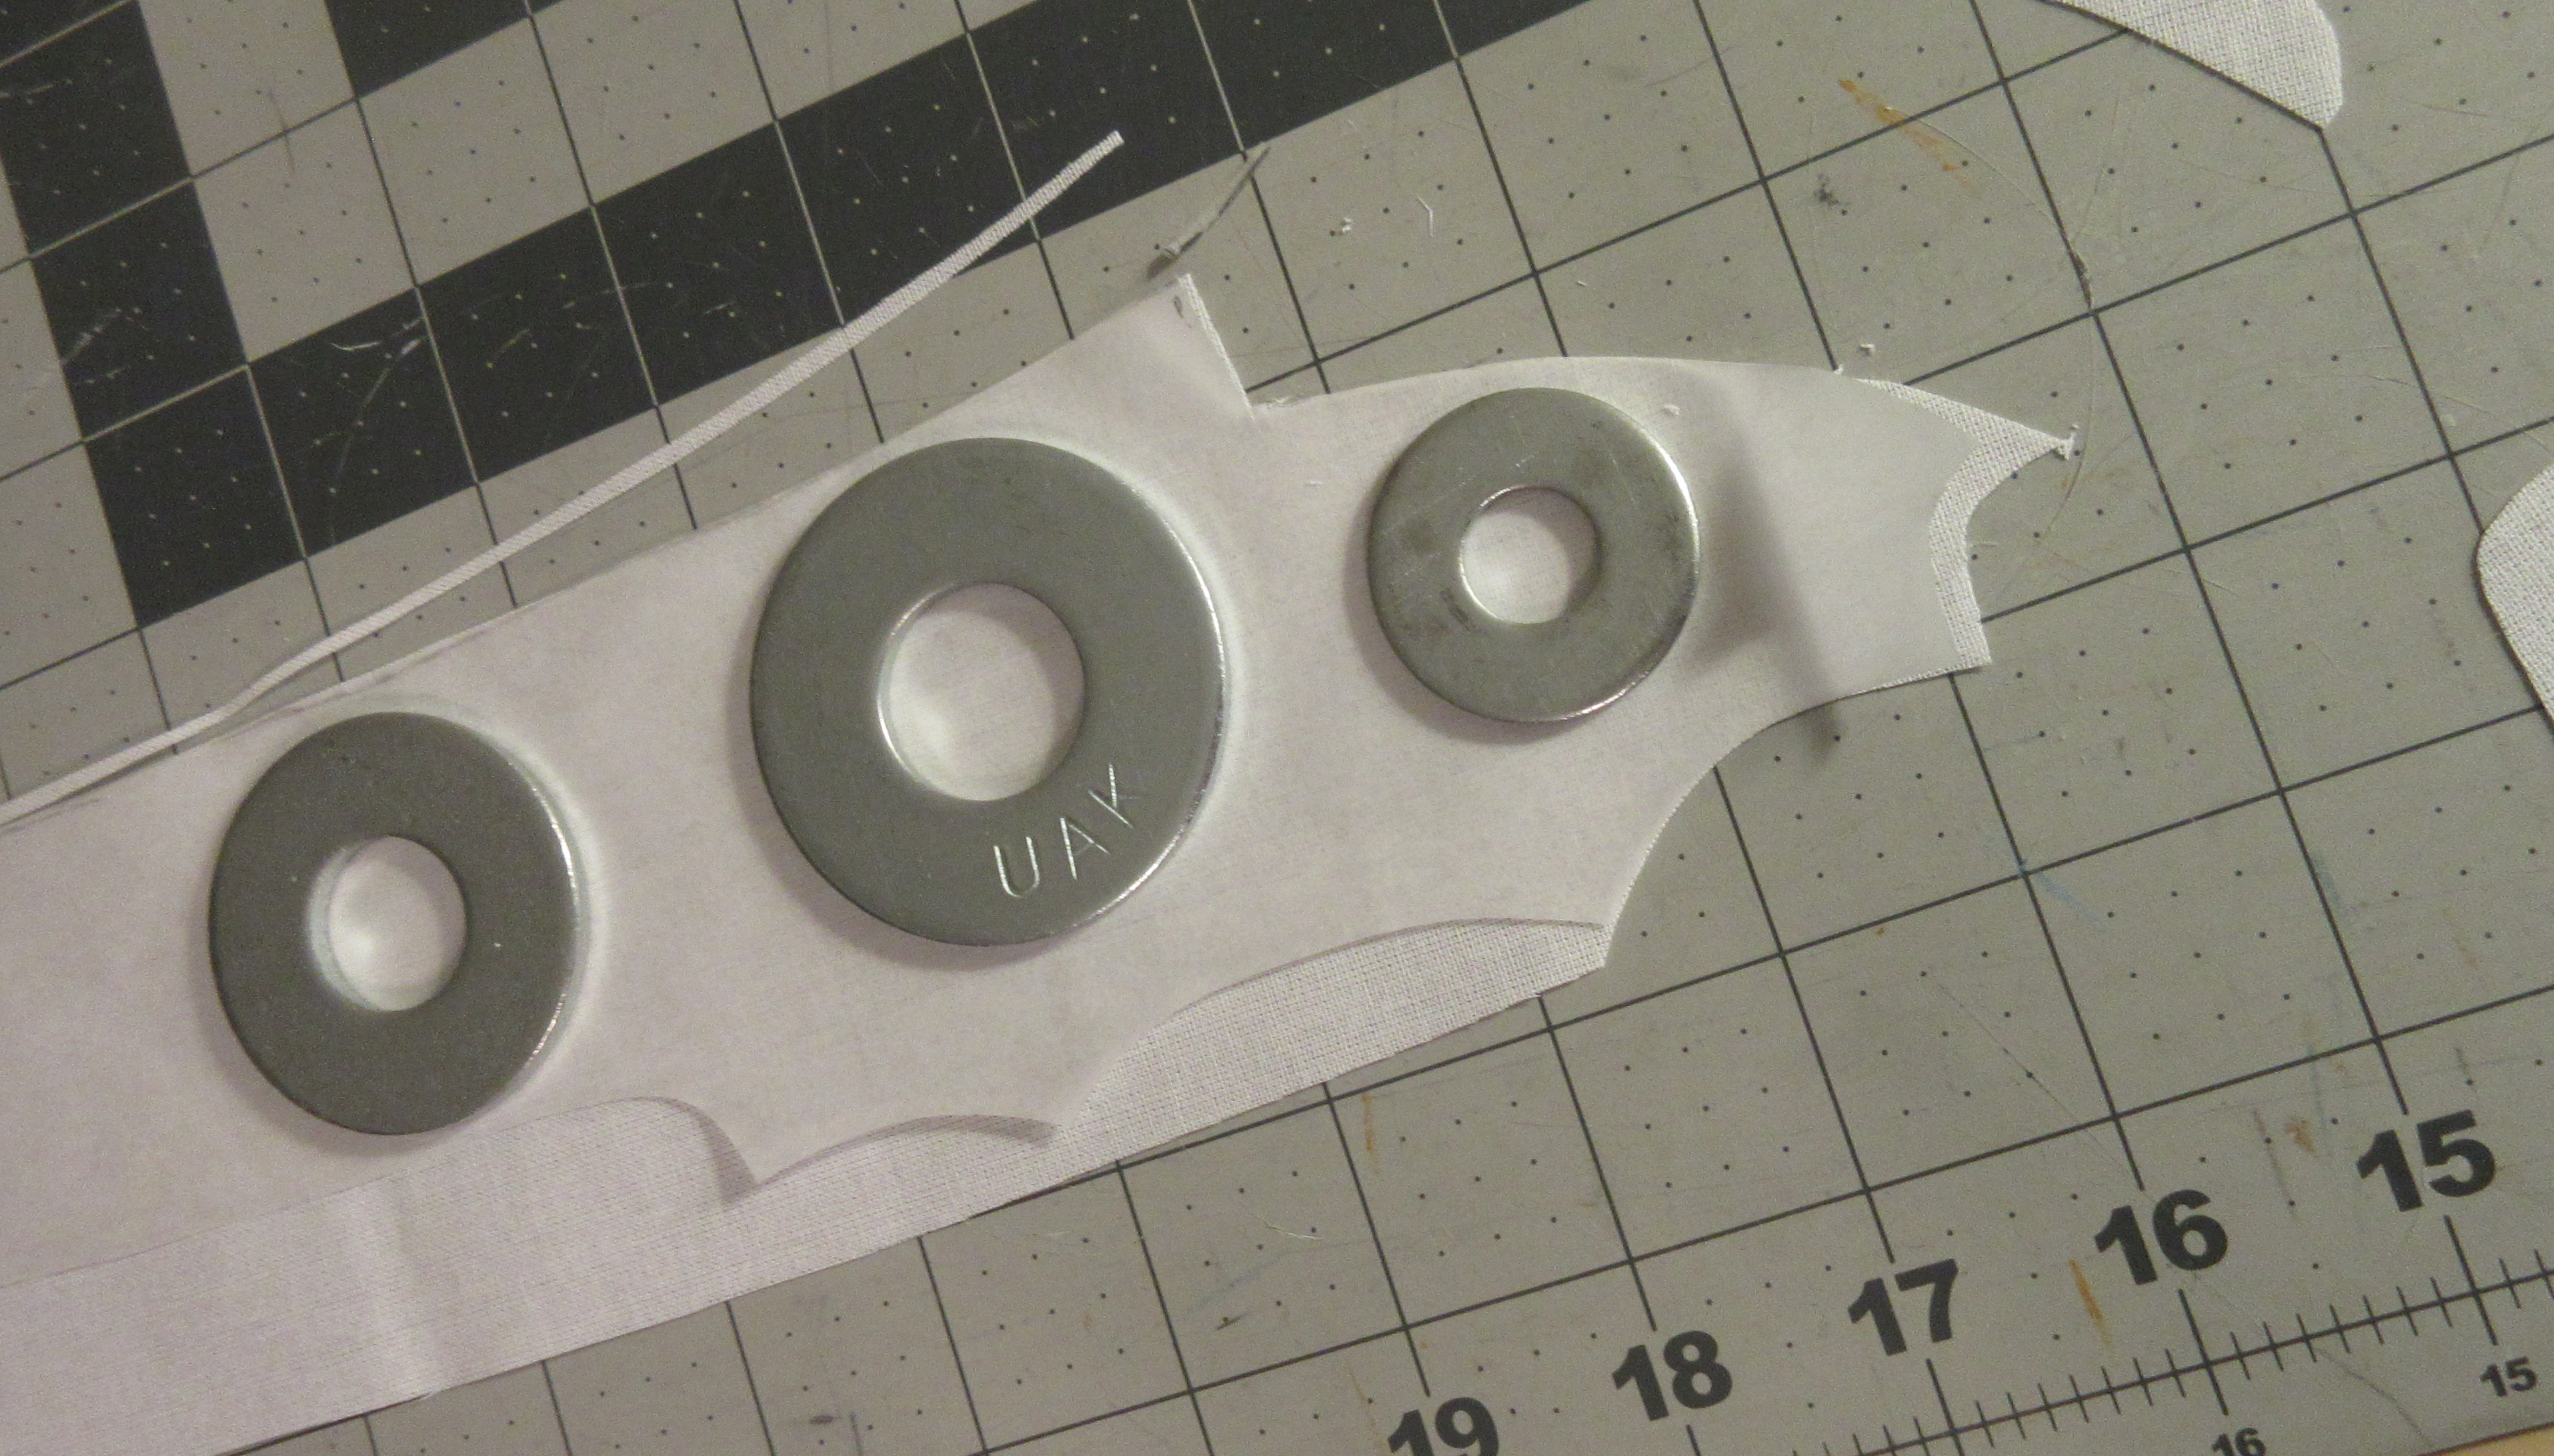
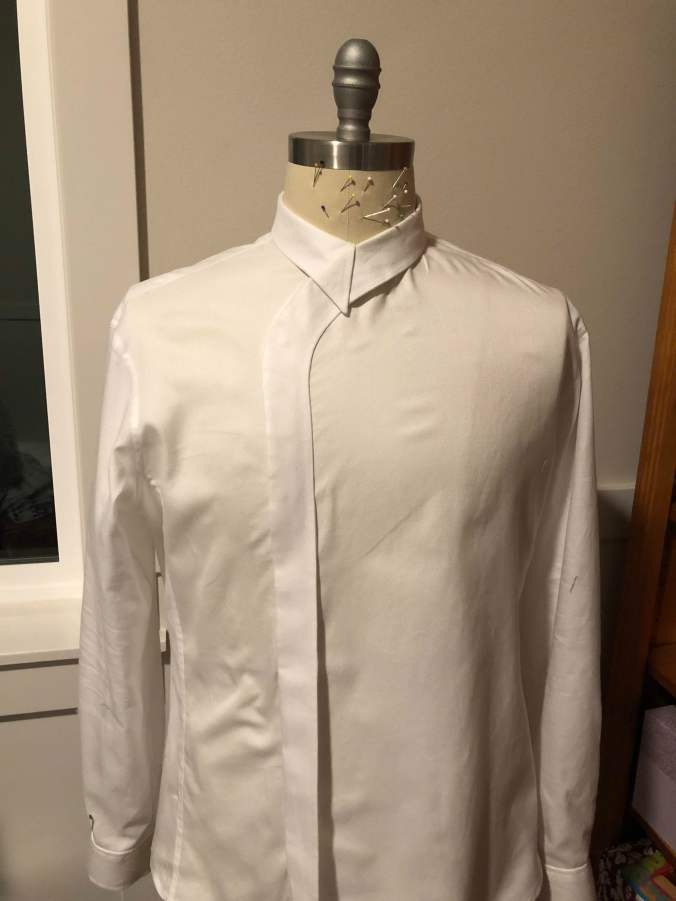
This design of the placket created a hidden button feature that went well with the overall look I was going for. Figuring our where the buttons should be took a little experimenting. I didn’t want to have a button every half an inch, and their position alters how well the front sections follow the contours of the body. There is still a slight ripple from my right shoulder to the collar / placket that shows sometimes. I couldn’t get rid of that without adding more buttons, or introducing other imperfections elsewhere.

This was a very fun project to do. Having thought about it for so long before I actually began its construction made a lot of the details easily fall into place. It turned out pretty much exactly as I had envisioned.

Why the question mark? Throughout the project I kept thinking that the main feature of the shirt looked like one.

Thanks for reading.

IMG_1427

Dogs

Time for another art shirt

It started at a dinner party last year. I was wearing my Singing Butler shirt and people were asking questions about it. My partner’s boss made a remark along the lines of “if I’d ever get a shirt like that, I’m sure it would be of the Dogs Playing Poker.” And so a challenge was started.

You see, this boss is a very conservative guy when it comes to clothes. Slack and sports jacket, maybe jeans and a sports jacket on Friday. My partner and I decided that this would be a great practical joke.

I didn’t really think this would be a art shirt, that painting is not something you think of when discussing art. Then I started to research it a bit and found out that it is actually a series of paintings, and some of them have recently been sold for well over half a million dollars. So I’m going to keep referring to this as an art shirt, even though it really was started as a prank.

I wasn’t going to spend too much time on making this a perfectly executed shirt, since it probably wouldn’t be worn very much. And it had to be a surprise. So with the help of his wife we took one of his shirts while he was on a business trip and took some measurements. With those I adapted a pattern a bit and started the design of the fabric.

A Friend in need small

We decided that there wasn’t really anything smart and funny we could do with the arms. So those would be made of a different, solid coloured fabric.

That just left the back and the front to be made out of panels cut of the painting. To get a better distribution, I compressed it horizontally somewhat.

I did want to do something fun with the collar. So I found some photos of cards, tweaked, mirrored and shaped them somewhat. It could work, or I could use the fabric for the sleeves if it didn’t.

And after some weeks of waiting, the fabric came.

IMG_0715
The construction of the shirt itself was rather easy. No strange construction needed, just a basic shirt.

I was going to take more photos of the shirt by the person actually wearing it. But when my partner gave it to him for his birthday, he actually took the packet home and didn’t open it until there. Apparently, he has worn it for his wife and she liked it. I haven’t seen it other than on a bad mobile phone picture. So here is the only photo I have of the completed shirt (sans burttons):

IMG_20171117_214600411 (1)

Robots

It started with a visit to a small fabric shop to kill some time. Not finding anything I was looking for, I just browsed through everything they had. Two bolts of cotton caught my attention. They were a little heavier than your normal shirting or quilting, and looked like they could work well for shorts. And they had two, which were complete opposites of each other.

I like fabrics where I have different colour version of the same pattern. You can always make fun garments where a pocket, placket or collar is different from the rest.

And then I realised that since a pair of short is really just made up of pairs of identical parts, I could use two fabrics to make one pair of shorts. Feeling all giddy about the prospect, I quickly bought a yard of each. Once home, they went through the ritual three washing and drying cycles to stop any bleeding and get rid of the shrinking.

And then I saw that they weren’t exactly opposites. The dark one was actually a very dark navy colour, and the light one had black letters. The difference was enough for me to halt the project right there.

Or was it?

I tried going online and find a version of the Japanese Kokka fabric. A black version did exist, but no yardage was available as far as I could find. But with all this searching I did find a different print by Kokka, on the same type of fabric. And this I could find in both a white and black version. Hello robots!

IMG_20170725_211439_611

I liked this even better for the project, and bought a yard and a half of each. Since it was getting further along in the year, normal pants seemed to be more practical than shorts. (Although I now realise that ‘practical’ is a very relative term when it comes to these pants.)

The pattern would be Jutland Pants, by Thread Theory. I’ve used this pattern before, but always for shorts. This would be the first time I’d use it to make full pants.

When I make this pattern, I start out with the dart in the back panel and go on with the welt pockets. While looking at the panels, I knew I had to swap the welts too. And those robots, could they be matched across the welt? Since the pocket crosses the dart, this is not a standard pattern matching problem. I would have to make the dart in the welt too. A pattern was designed and I did some experimenting. But in the end it turned out that there would just be too much bulk with this fabric and I abandoned the challenge. I did manage to match one robot across the welt.

The front pockets were much easier.

Front pocketAnd the rest of the construction presented no problems. I don’t really follow the instructions and construct the pattern in my own way. First finish the back panels and sew them together. Then finish the front panels and construct the fly. After that sew the outside seams, followed by sewing the whole inside seam in one go. Then the belt loops and waistband. And finally the hem.

I chartered my step daughter to take some photos of me wearing it.

I’m not quite sure how much use they will get. Yet, I’m tickled pink with having made them, and just having them. It was a great project to work on.

The Singing Butler

After my first Art Shirt worked out so well, I needed to make another one. I knew this even before I finished making the first. This is in stark contrast with the first shirt. I don’t really recall when I decided to try to make that one. It started probably with seeing the Great Wave painting and then slowly figuring out that I could make a shirt with that.

Since I already knew I wanted to make another Art Shirt, I had to find a subject. This turned out a lot harder than the the process of starting with a painting and moving towards a shirt. Obvious classics like Starry Night and The Scream didn’t appeal to me. Those have been used for too many things by too many people.

Then one night while browsing through classic paintings I came across The Singing Butler by Jack Vettriano, and I knew I had a good one. Nice composition with the subjects in the middle, and enough flexibility for me to do things with.

the-singing-butler

Just like with The Wave, there were items I could use for the collar; the umbrellas in this case. But where I could use a mirror image of The Wave for the back of the shirt, I didn’t think that would work well here. I didn’t want to have two couples on a beach. That meant that I would have to create an empty beach. This would add significantly to the required Photoshop work.

backAfter measuring I realized that if I would tuck the shirt in my pants, I would cut off the couples’ legs. More Photoshop work to add more beach at the bottom of the painting, including new shadows and reflections for everyone. The maid and the butler would be moved to the sleeves, and the umbrellas to the collar.

the-singing-butler-Total (2)

Full 3 yards of fabric design

With those general decisions made, I could start with the design of the fabric. This phase went pretty well, and the way it is painted made tweaking it not all that hard.

Then I had to make a decision on what to do with the front closure. I considered having the two sides split between the dancers, with the lady on the right and the gentleman on the left. The way their arms were held made that too difficult. I figured I would put both the dancers on the left front of the shirt and have the closure follow the outline of the lady. Then how to close then shirt? Showing buttons on the front would ruin the image. Using something like velcro would never sit right. Hidden buttons it would have to be. But I also didn’t want to have any top stitching show.

After researching this and even asking for ideas on The Cutter and Tailor forum, I decided on making a double-layered front with buttonholes in the hidden layer. I tested this first with a muslin and it worked pretty well. Making the whole front a double layer keeps the buttons from pulling the fabric into strange twists.

Now I would have to wait a good three weeks for the fabric to be printed and arrive at my doorstep.

Since the button placket is basically the whole dancing figures, I interfaced that, and the band above and below it.

IMG_0343

Applying the interfacing to the right front. The additional inner layer is on the left.

IMG_0344

Joining both layers of the right front so I can treat them as one.

IMG_0345

Stitches within the seam allowance. This will be cut off once the shirt has been constructed.

For the left front I first had to make the inner layer, complete with the button holes in strategic places. This inner layer is partly made of a mirror image of the front. Once this was done, I could join both along the couple’s left side. Basting the layers together by hand first while checking the position of the layers, and going ever so slow on the machine made for a good result.

basting

Basting the layers together. Button holes are already made

IMG_0350

Small stitches and lots of patience.

IMG_0351

Draped the fronts on the dressform

Next task was the collar. Although this one was more elaborate than your average collar, it was still a lot easier than making the one for The Big Wave. One umbrella on each side and hopefully I had designed the distance between them correctly. This brings up an interesting tidbit; when you design the fabric for something like this, you have to keep in mind that the fabric will shrink before you get to sew with it. Knowing that your collar needs to be 19″ long, tip-to-tip means that you have to create the design to be 19″ times shrink-factor. Turning the collar was relatively easy.

Collarinterfacing

Cutting the interfacing

collar

Collar ready. Just over 19″, good enough.

And this is where the smooth sailing hit the cliffs. After attaching the collar to the stand and then to the shirt, I didn’t like the small, minimalistic collar stand I had envisioned. And the angle of the umbrellas didn’t look quite the way I wanted them. I was so upset with the result, the seamripper came out immediately and I took it off before taking a photo. Here is the offending item:

collarandband

Wrong, wrong, wrong.

the-singing-butler-Extra

Two more yards of fabric

After putting that aside, I focused my attention to the sleeves. And found another set of cliffs. I had swapped the width and height measurements for the sleeve parts and designed the fabric wrong! The parts were wider than high, while the opposite is required. Now I knew I had to redesign the fabric and order some more. Things like this is why these projects always turn out to be rather expensive. I did make sure to include two new versions of the collar, some extra cuffs and collar stands.

Of course, this gave me some weeks to focus on other things before I could continue with the project.

When the new fabric arrived, was washed three times and ready for use, I had to decide how to mount the sleeves. Since I had to order two yards of fabric, I had designed the patterns for the sleeves with a lot of extra space around them. This way I could change where the maid and the butler would end up on the sleeve. To figure out the final placement, I basted the sleeves to the body without cutting the fabric out first. It seemed an easy idea at first, and turned into more work than I anticipated. Sewing without seam allowances to line up is harder than I thought.

IMG_20170407_131618921

Following a hardly visible chalk line.

It took a couple of tries to get them lined up the way I wanted them. The rest of the sleeve construction went without a flaw. As you may have noticed, I forgot to include plackets in the fabric design. Luckily I could use the incorrectly designed sleeves to cut the plackets from.

Now that I had the sleeves in place, I had to decide on how to make the umbrella shafts. While going through the creation of the fabric, I had deliberately photoshopped them out of it. This so I could later add them when the placement of the sleeves and collar were finalized. While researching this, I came across a technique called ‘couching‘. One site I found said you could replace the bottom thread with the decorative thread, adjust some tensions, and sew it upside down. Never too shy to experiment, I tried this. First tries were not so great, but after playing with the settings some, I really liked the effect.

Since the decorative thread is on the bobbin, you cannot see the right side of the fabric while you’re sewing. I had to draw the line I wanted to follow on the inside of the shirt by poking pins in at regular intervals and connecting these. Then put it under the machine and hope for the best.

With the shirt construction completed, all that was left was adding the buttons in the right place. This is where my pattern matching obsession really helped out. I just had to look where in the pattern the button hole was and then just add the button in the corresponding spot on the other front.

IMG_0464IMG_20170413_215728_222

Closing the buttons is something to get used to. The buttonhole only goes through the first layer of the front, not through the second one. So you cannot manipulate the button once it is partly through the hole. Not extremely practical, but it looks the way I wanted it.

Here are some photos of the completed shirt.

frontsiderightBackshirt

me

Happy shirt maker

Thanks for reading. Reactions are appreciated.