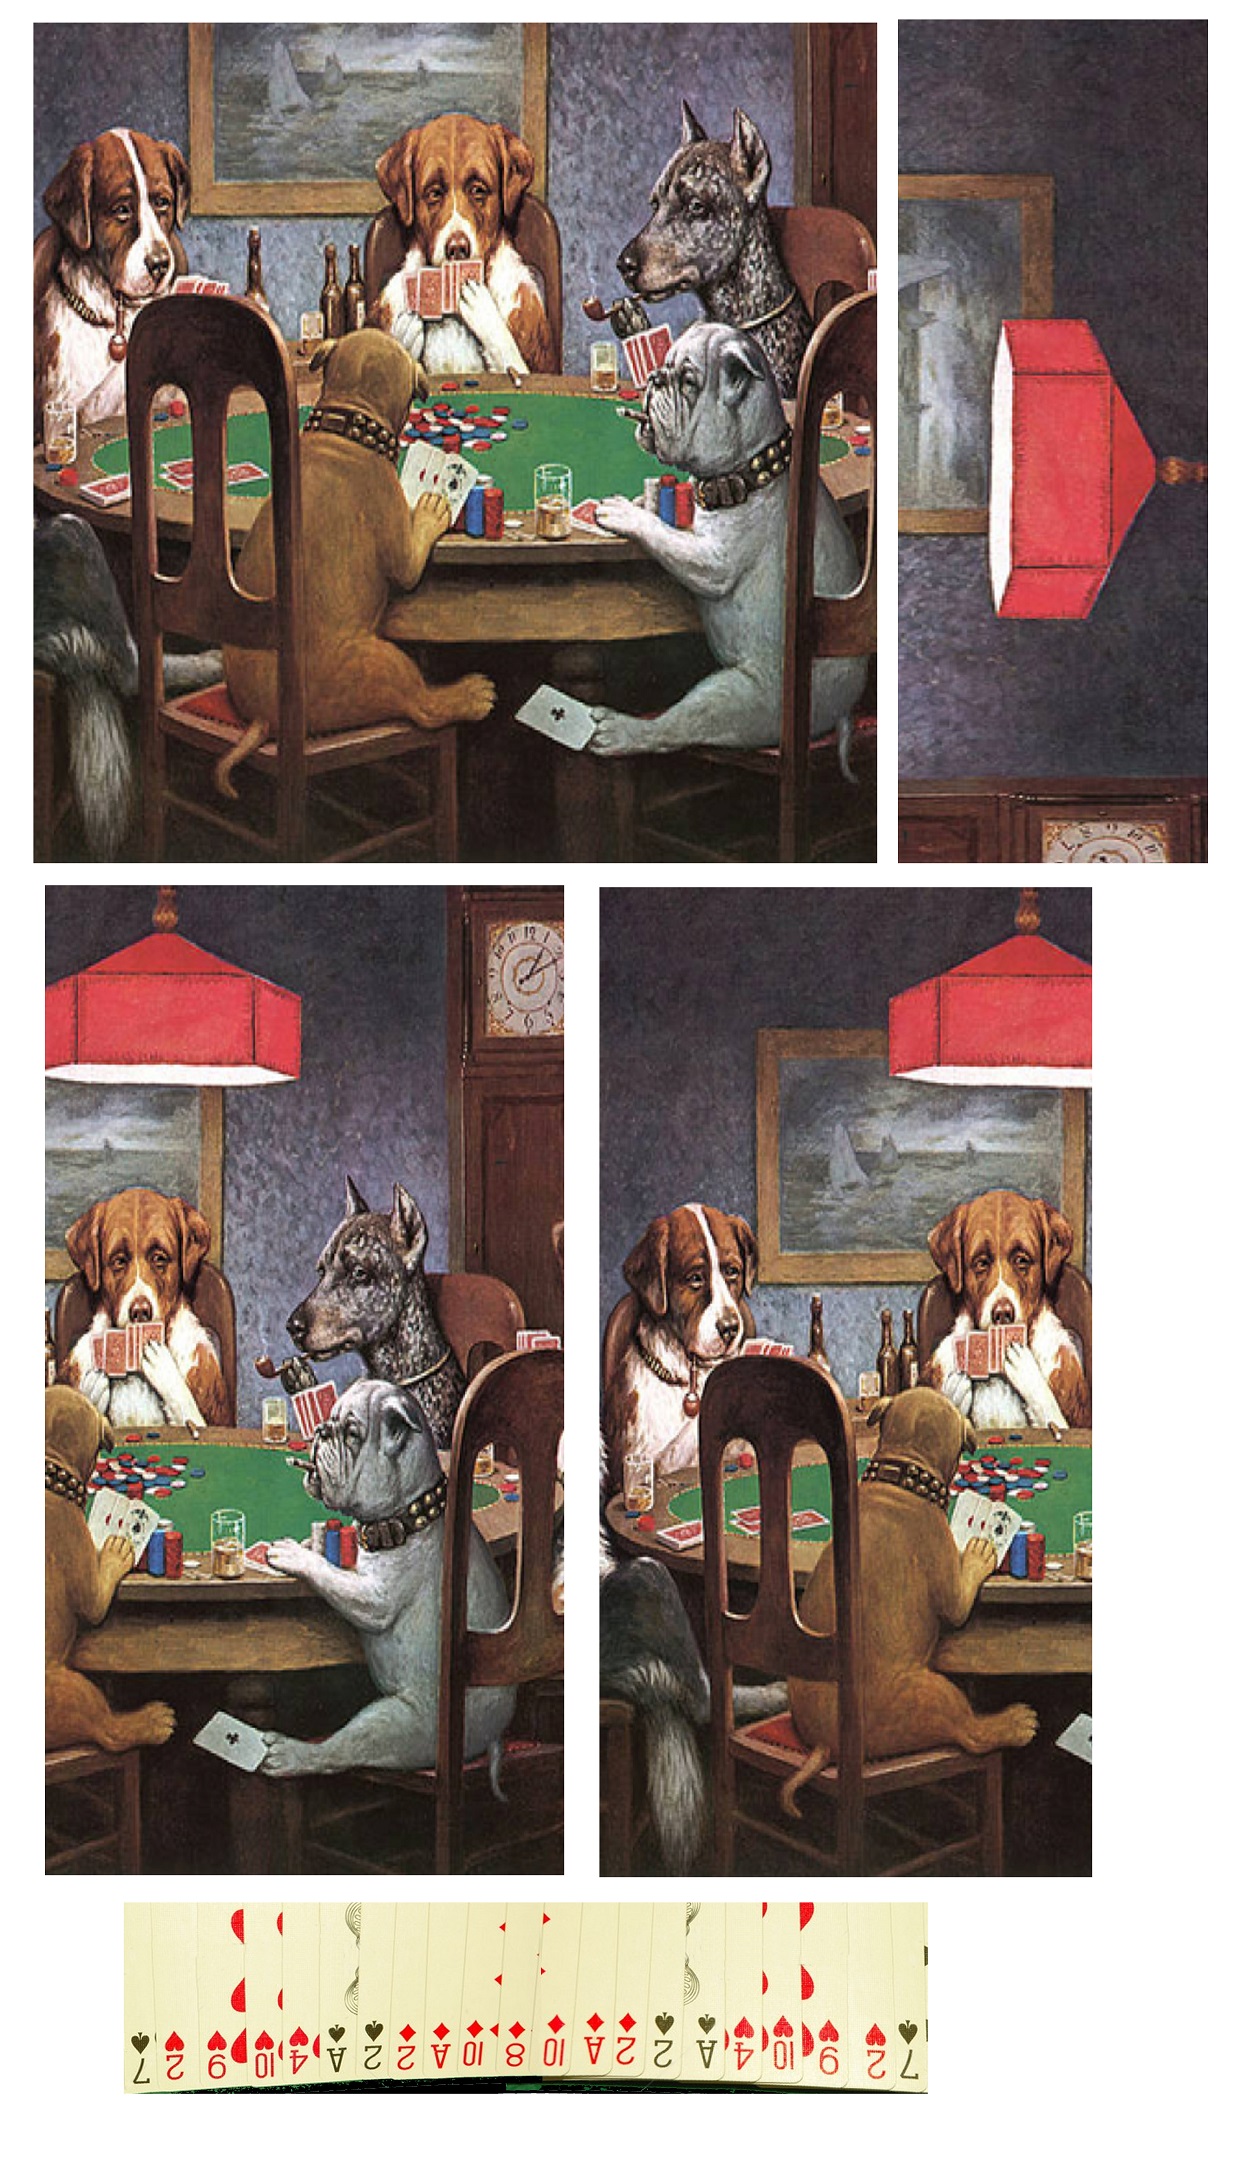
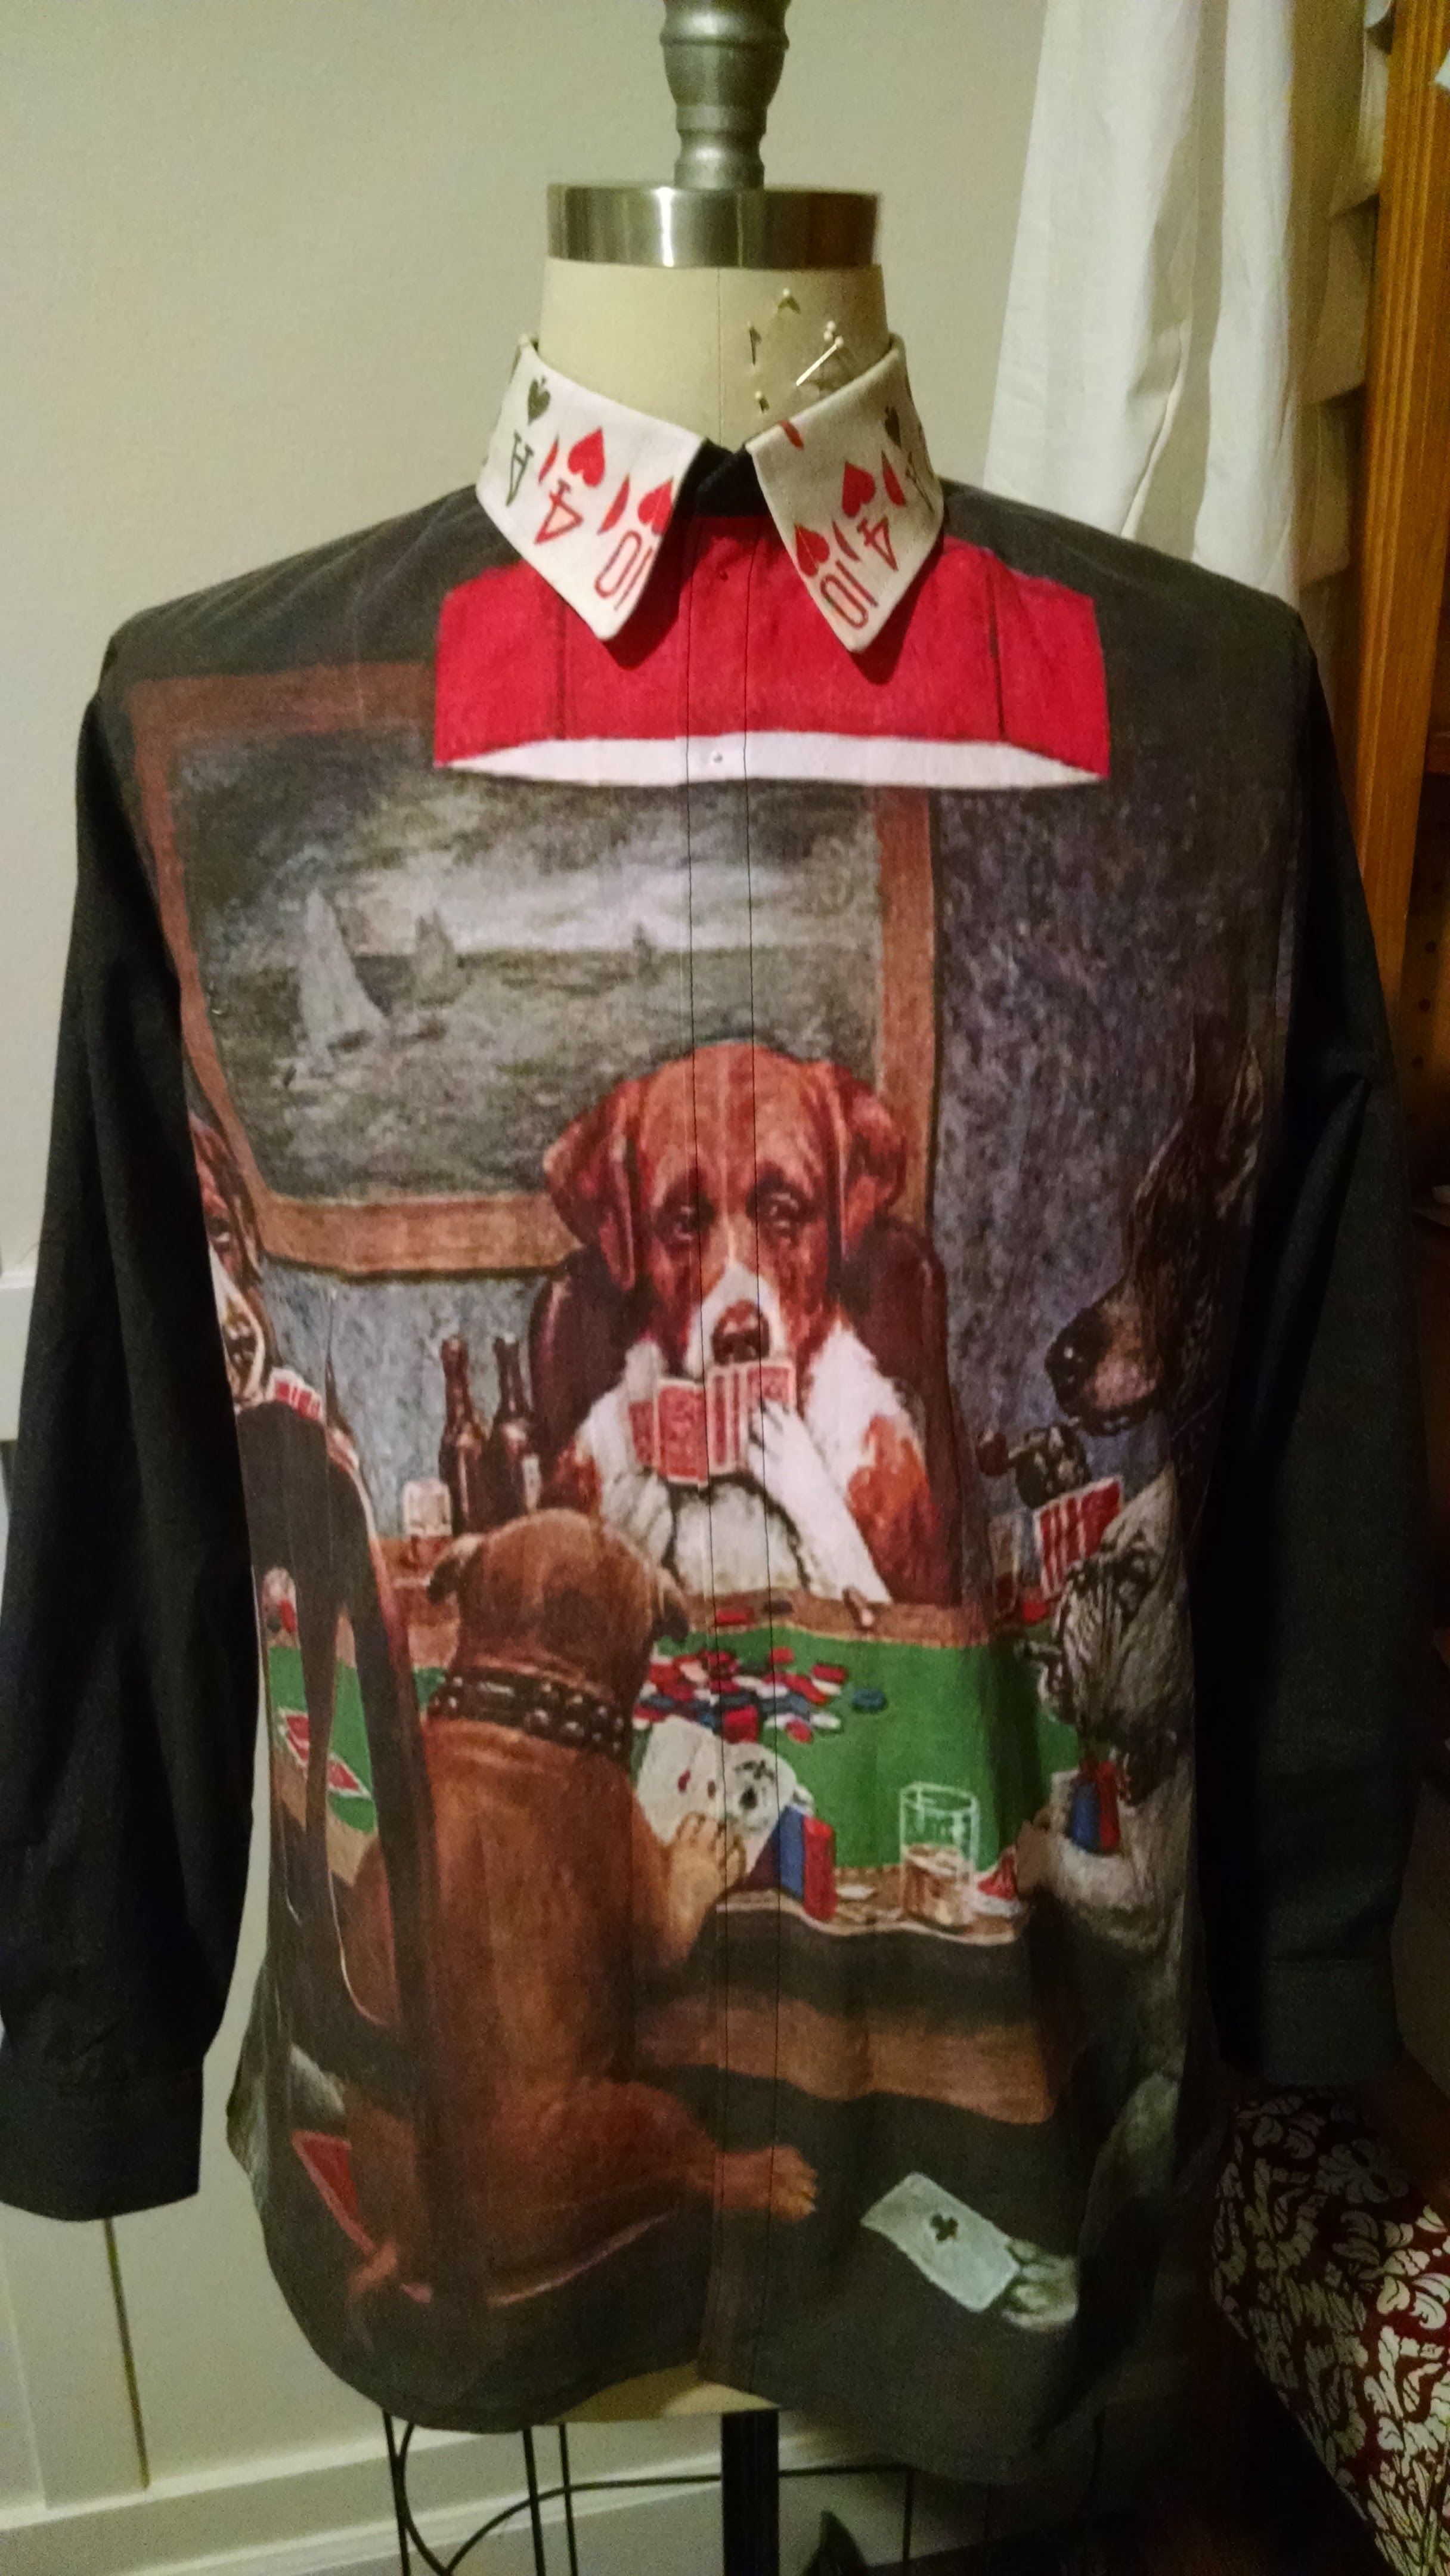
After my first Art Shirt worked out so well, I needed to make another one. I knew this even before I finished making the first. This is in stark contrast with the first shirt. I don’t really recall when I decided to try to make that one. It started probably with seeing the Great Wave painting and then slowly figuring out that I could make a shirt with that.
Since I already knew I wanted to make another Art Shirt, I had to find a subject. This turned out a lot harder than the the process of starting with a painting and moving towards a shirt. Obvious classics like Starry Night and The Scream didn’t appeal to me. Those have been used for too many things by too many people.
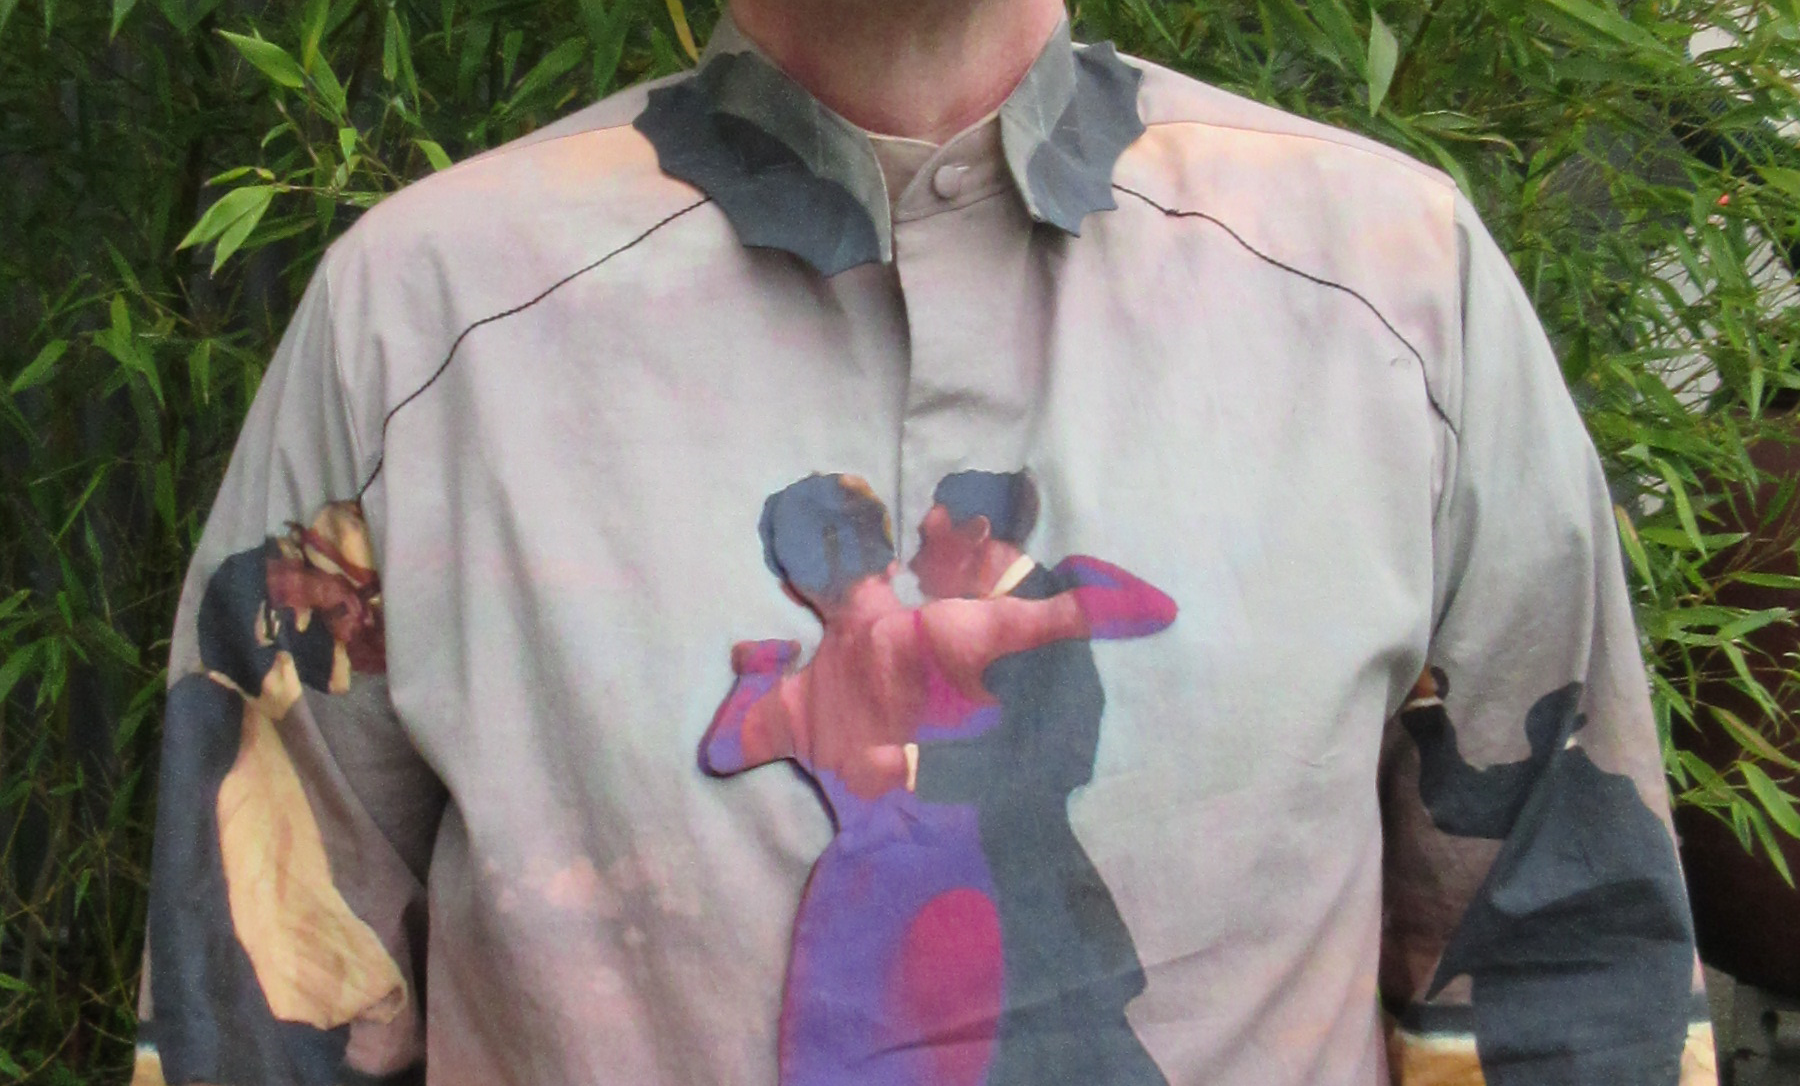
Then one night while browsing through classic paintings I came across The Singing Butler by Jack Vettriano, and I knew I had a good one. Nice composition with the subjects in the middle, and enough flexibility for me to do things with.
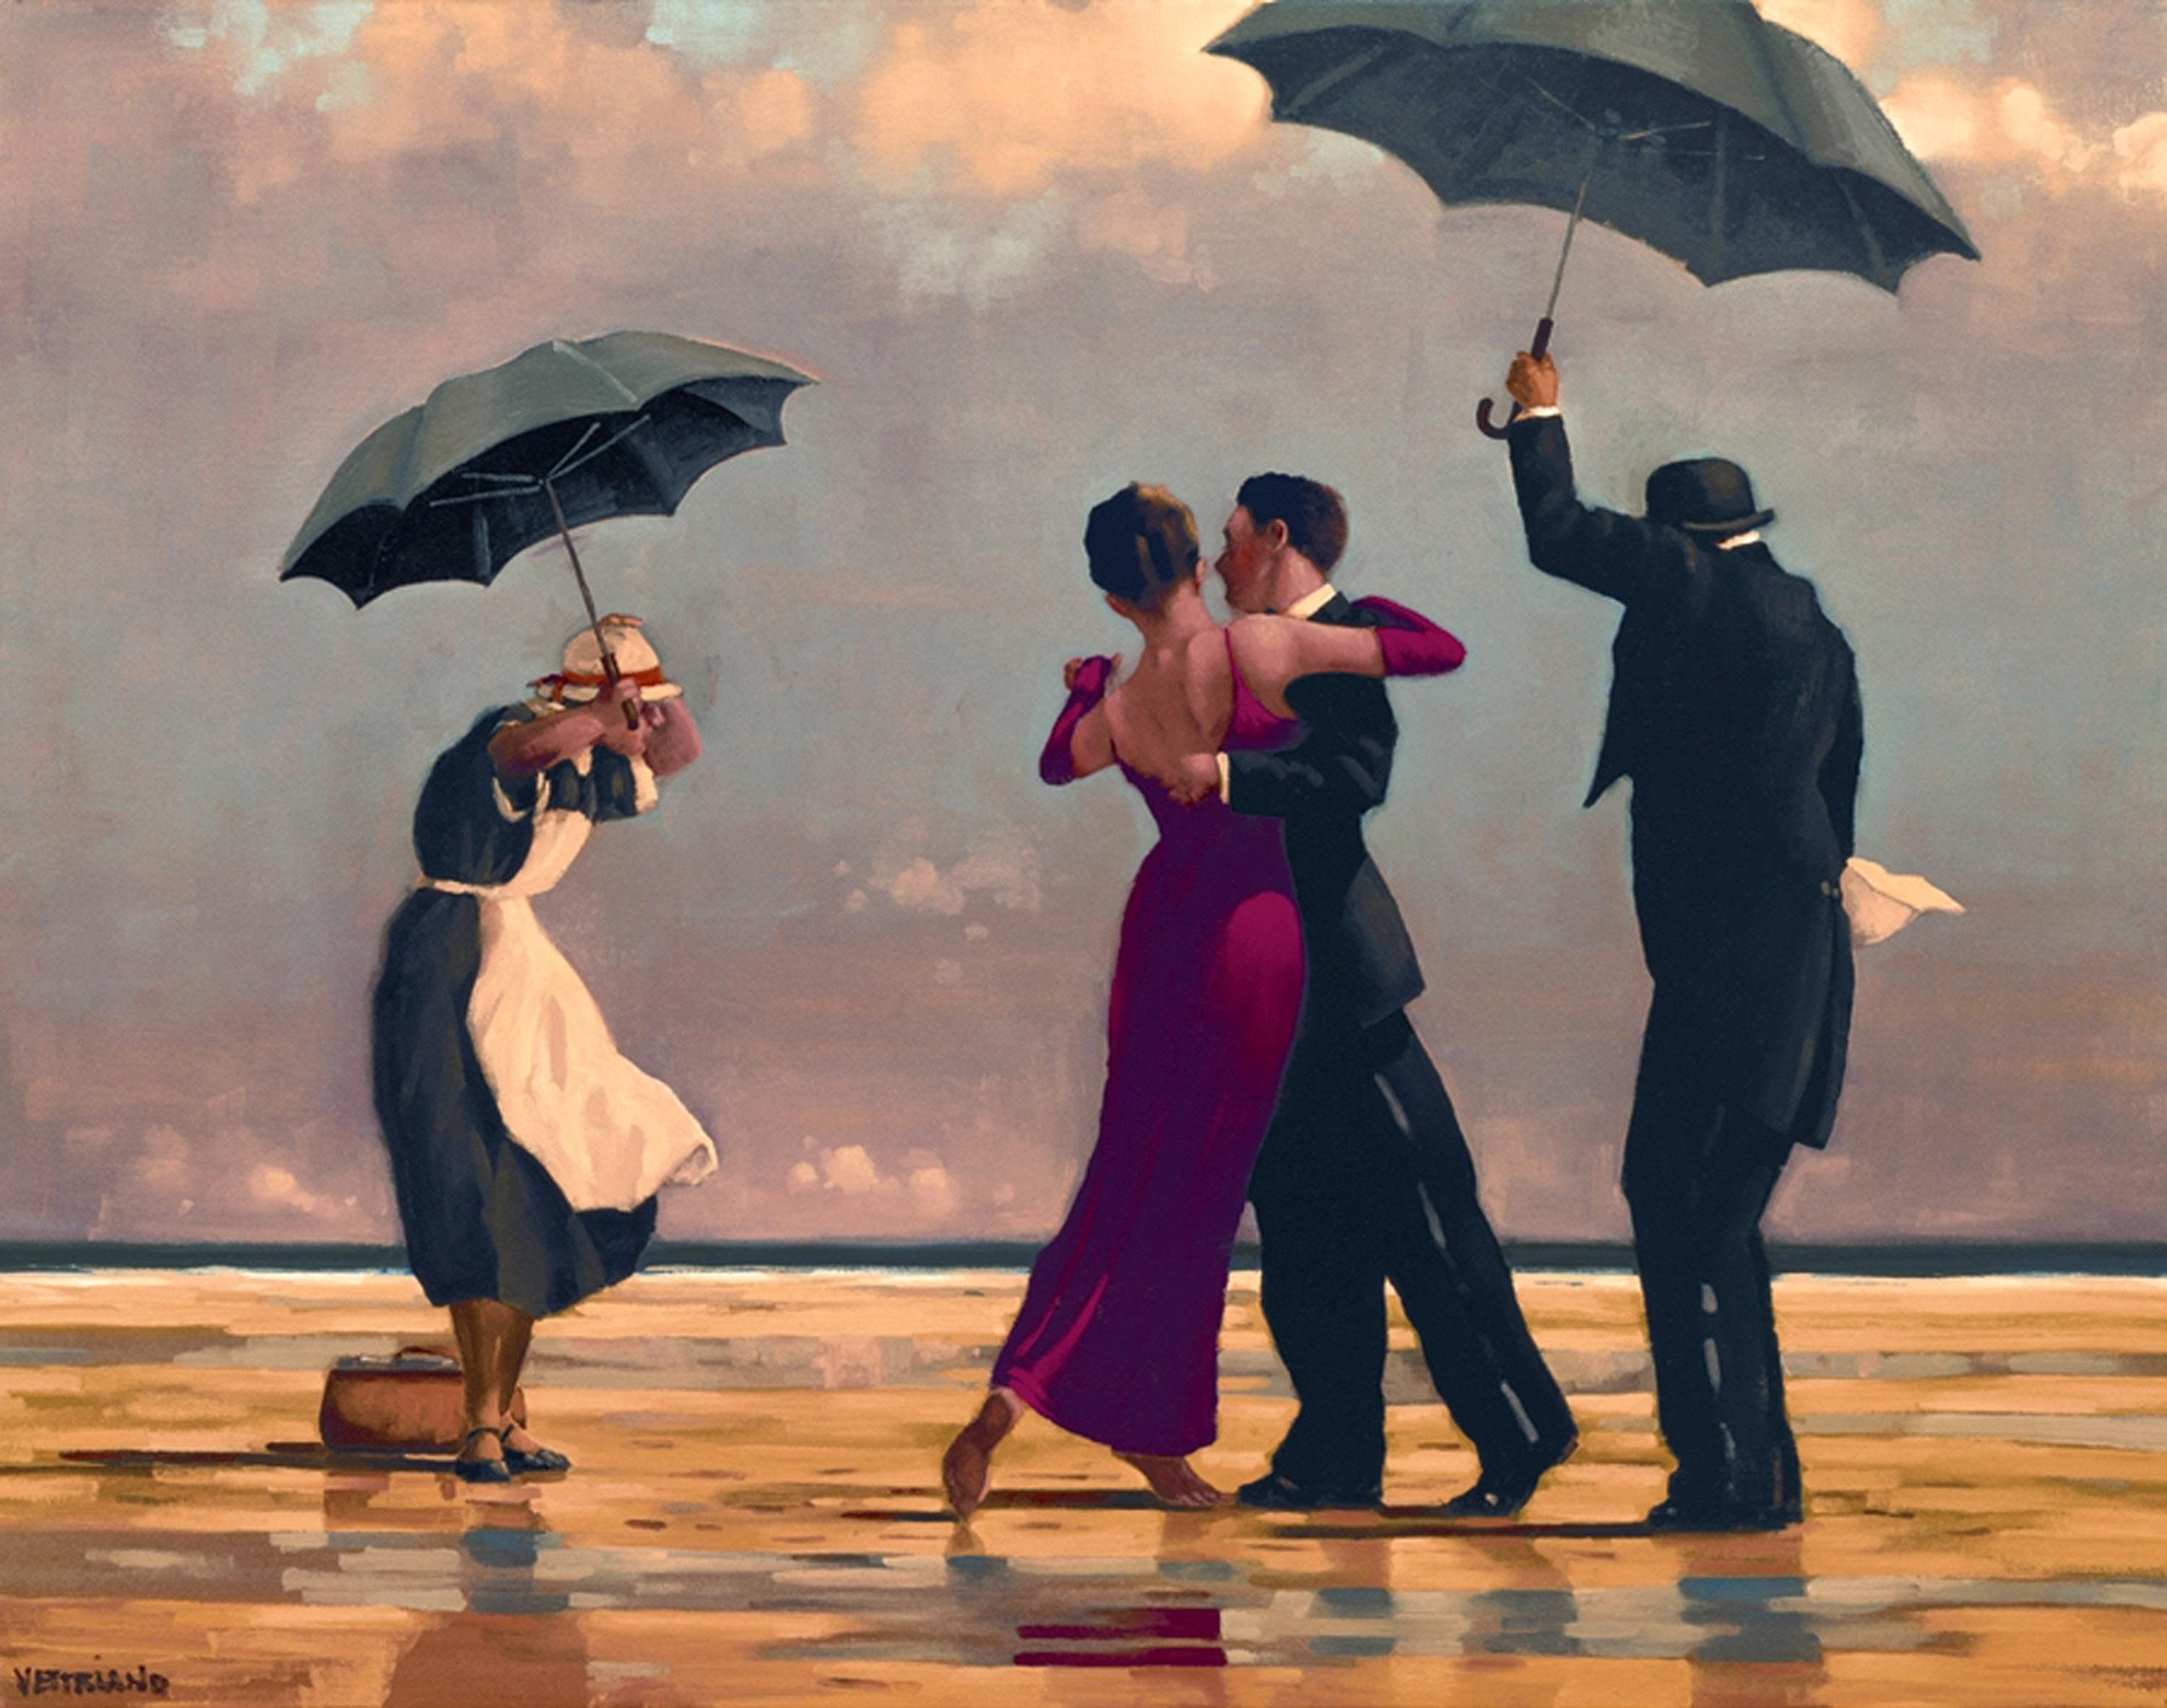
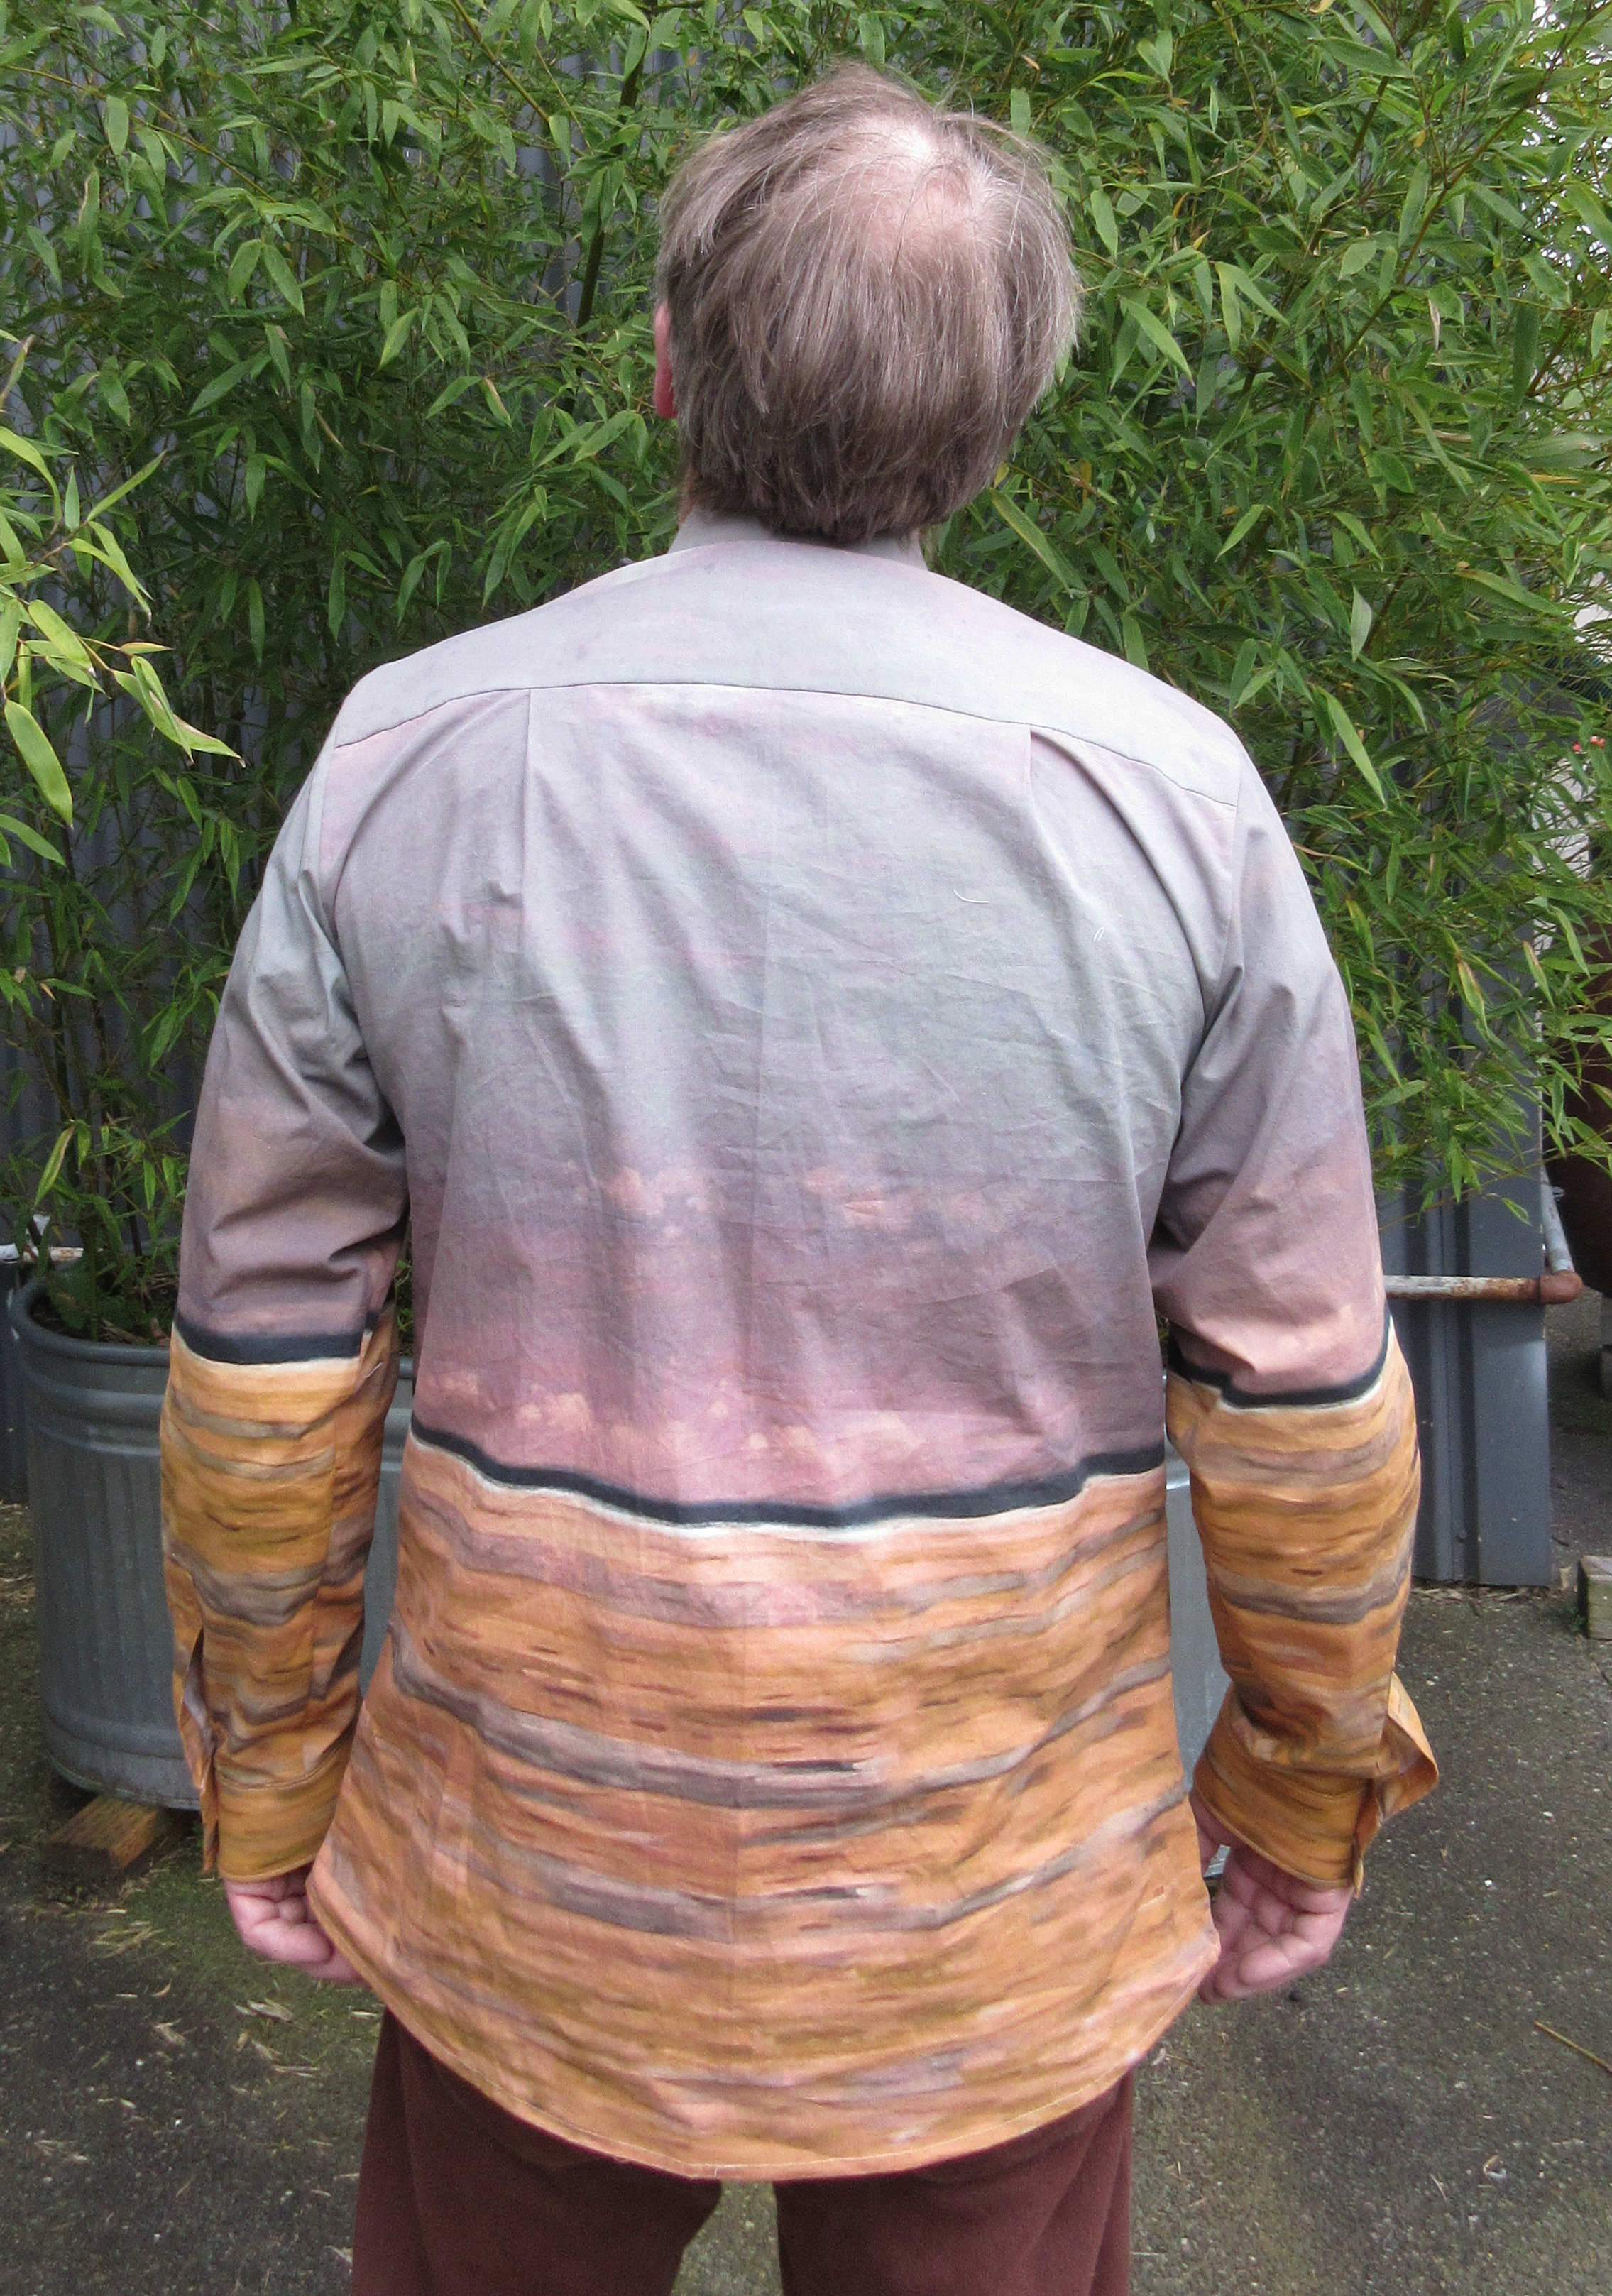
Just like with The Wave, there were items I could use for the collar; the umbrellas in this case. But where I could use a mirror image of The Wave for the back of the shirt, I didn’t think that would work well here. I didn’t want to have two couples on a beach. That meant that I would have to create an empty beach. This would add significantly to the required Photoshop work.
 After measuring I realized that if I would tuck the shirt in my pants, I would cut off the couples’ legs. More Photoshop work to add more beach at the bottom of the painting, including new shadows and reflections for everyone. The maid and the butler would be moved to the sleeves, and the umbrellas to the collar.
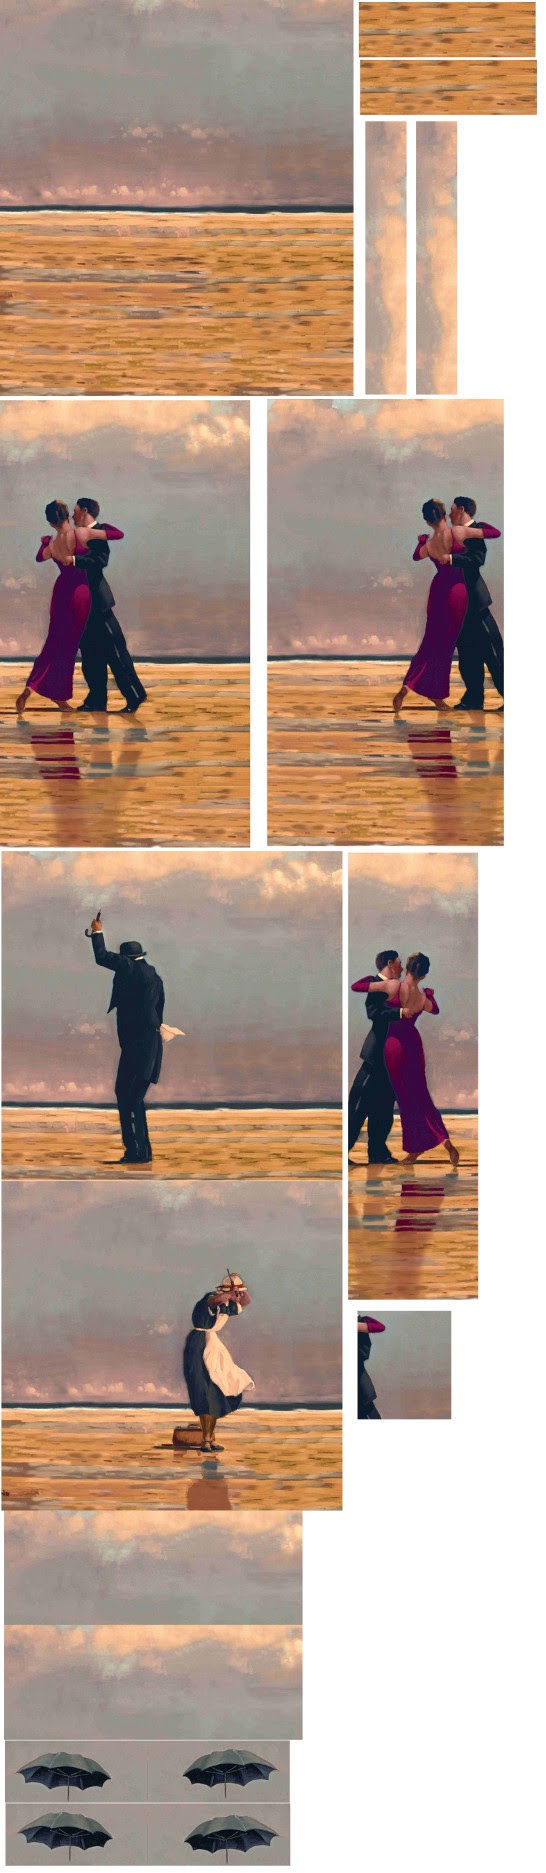
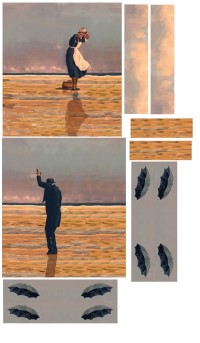
Full 3 yards of fabric design
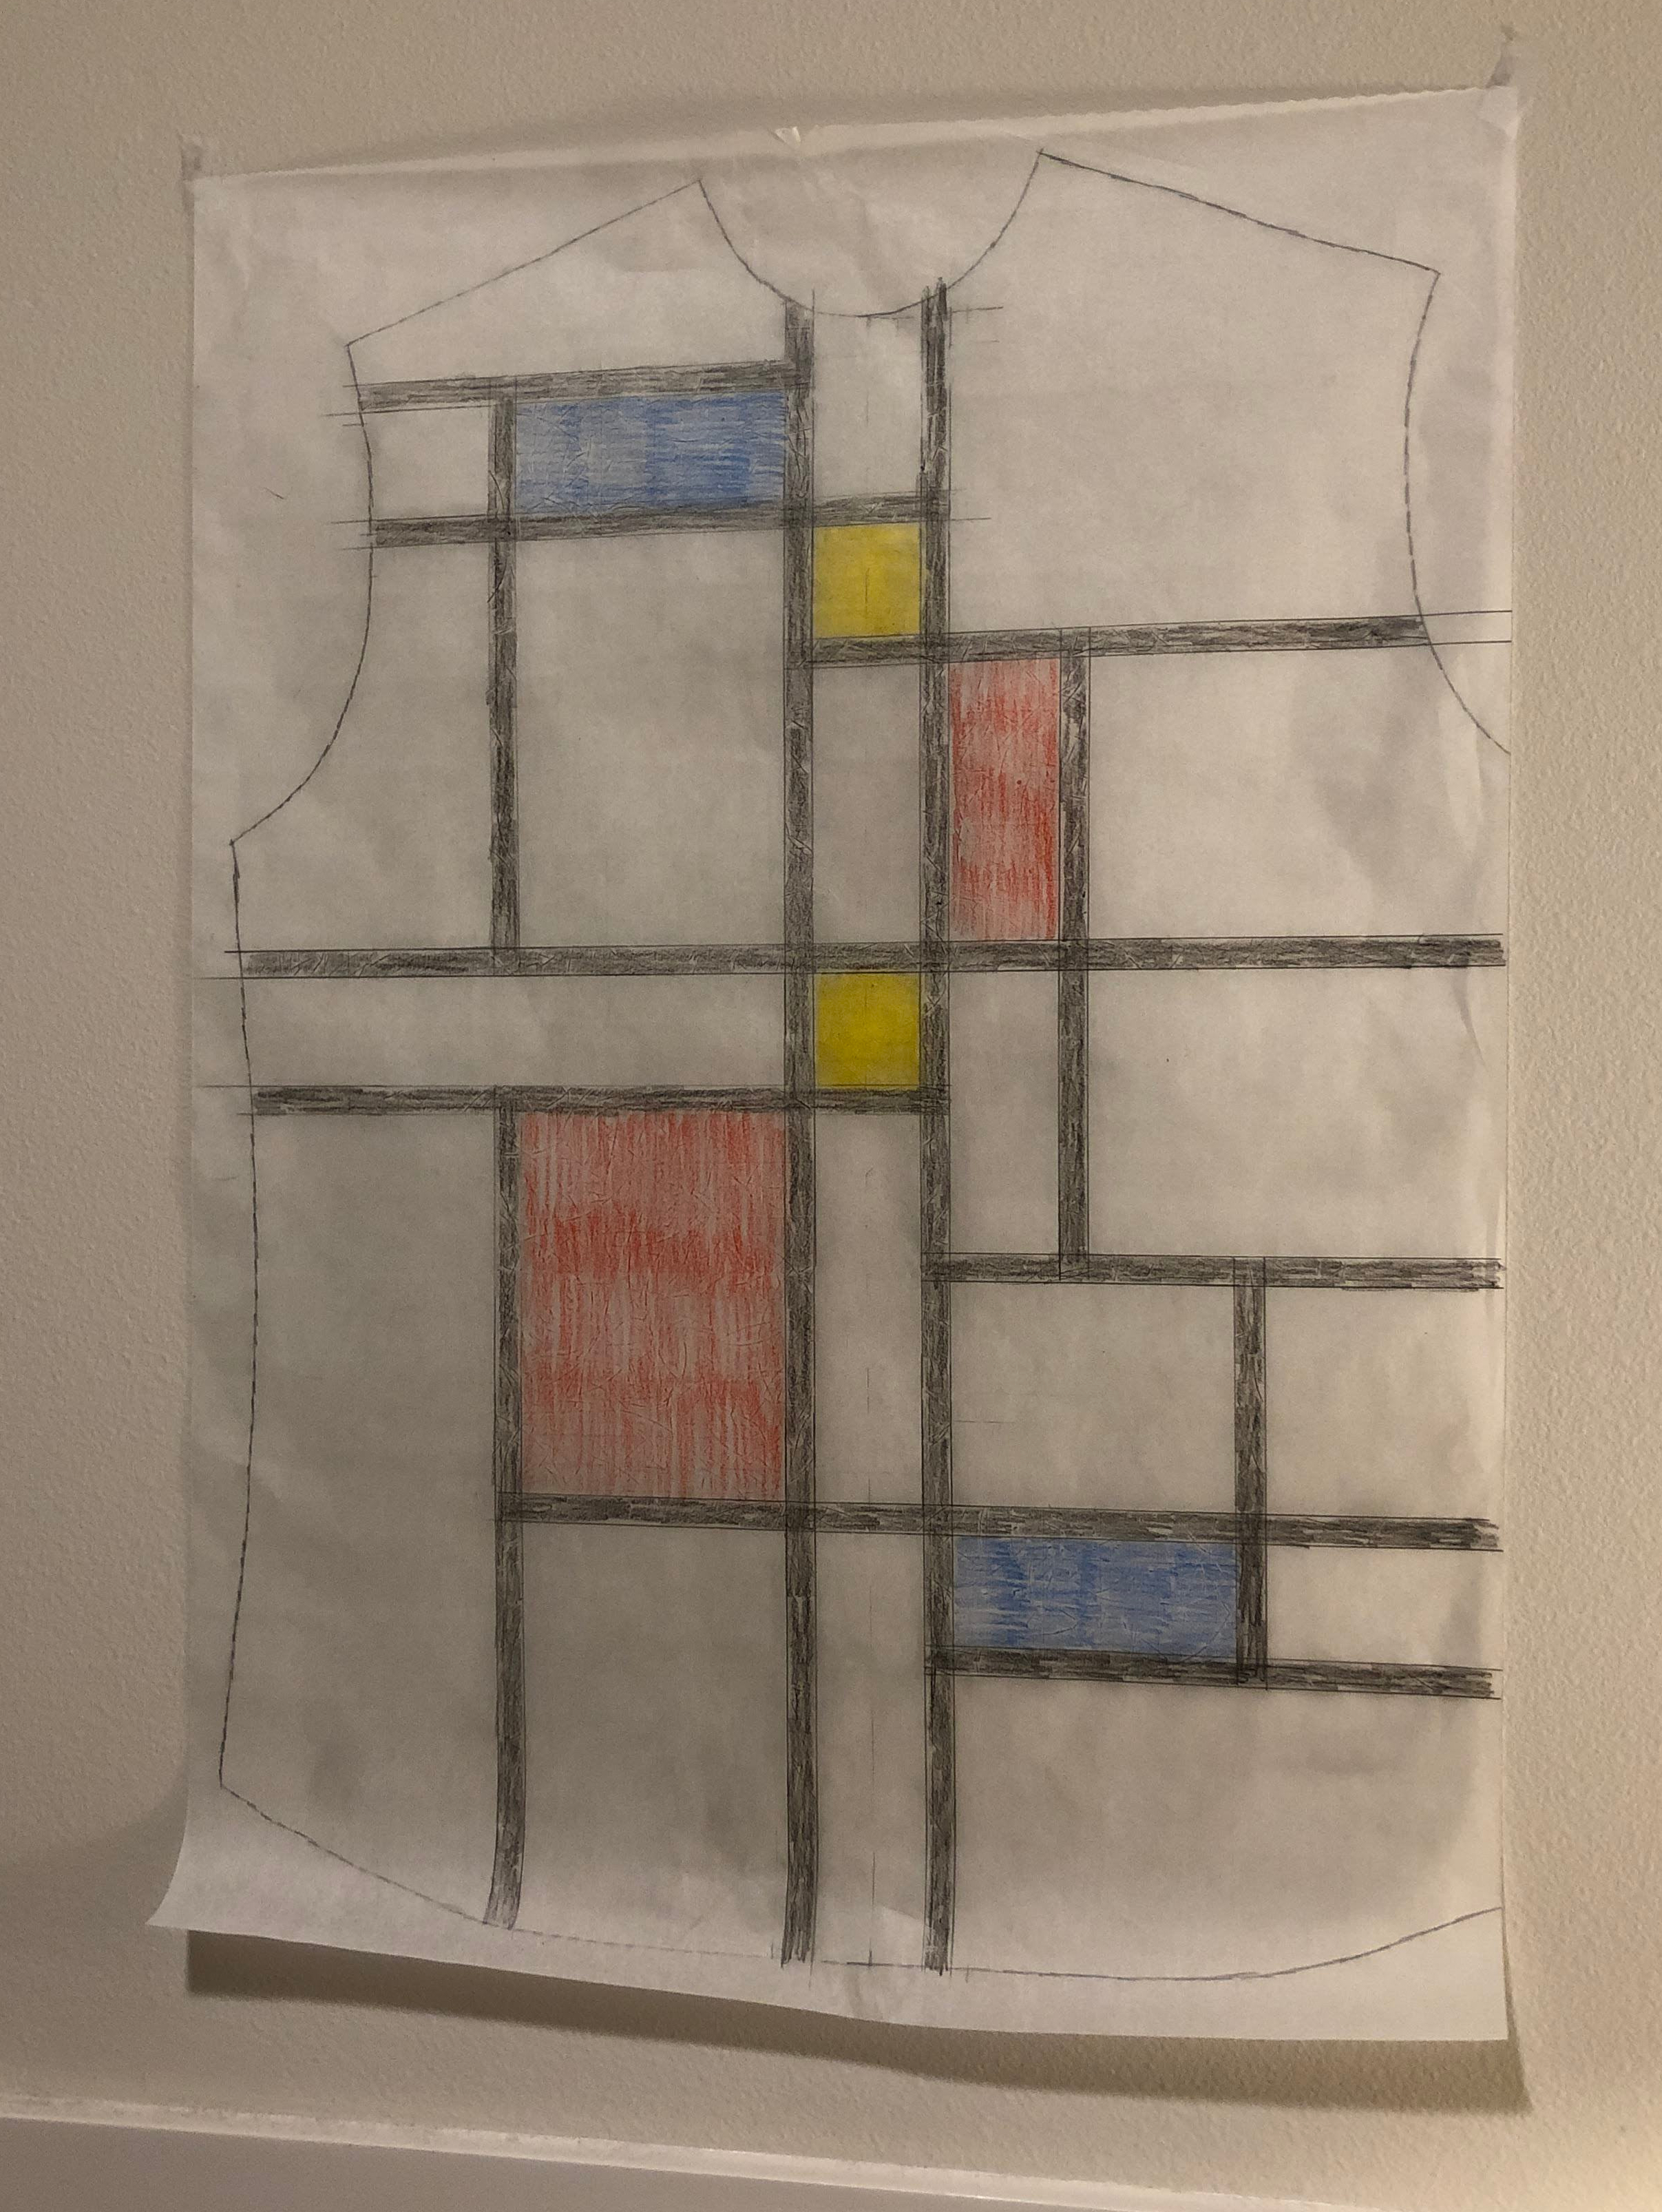
With those general decisions made, I could start with the design of the fabric. This phase went pretty well, and the way it is painted made tweaking it not all that hard.
Then I had to make a decision on what to do with the front closure. I considered having the two sides split between the dancers, with the lady on the right and the gentleman on the left. The way their arms were held made that too difficult. I figured I would put both the dancers on the left front of the shirt and have the closure follow the outline of the lady. Then how to close then shirt? Showing buttons on the front would ruin the image. Using something like velcro would never sit right. Hidden buttons it would have to be. But I also didn’t want to have any top stitching show.
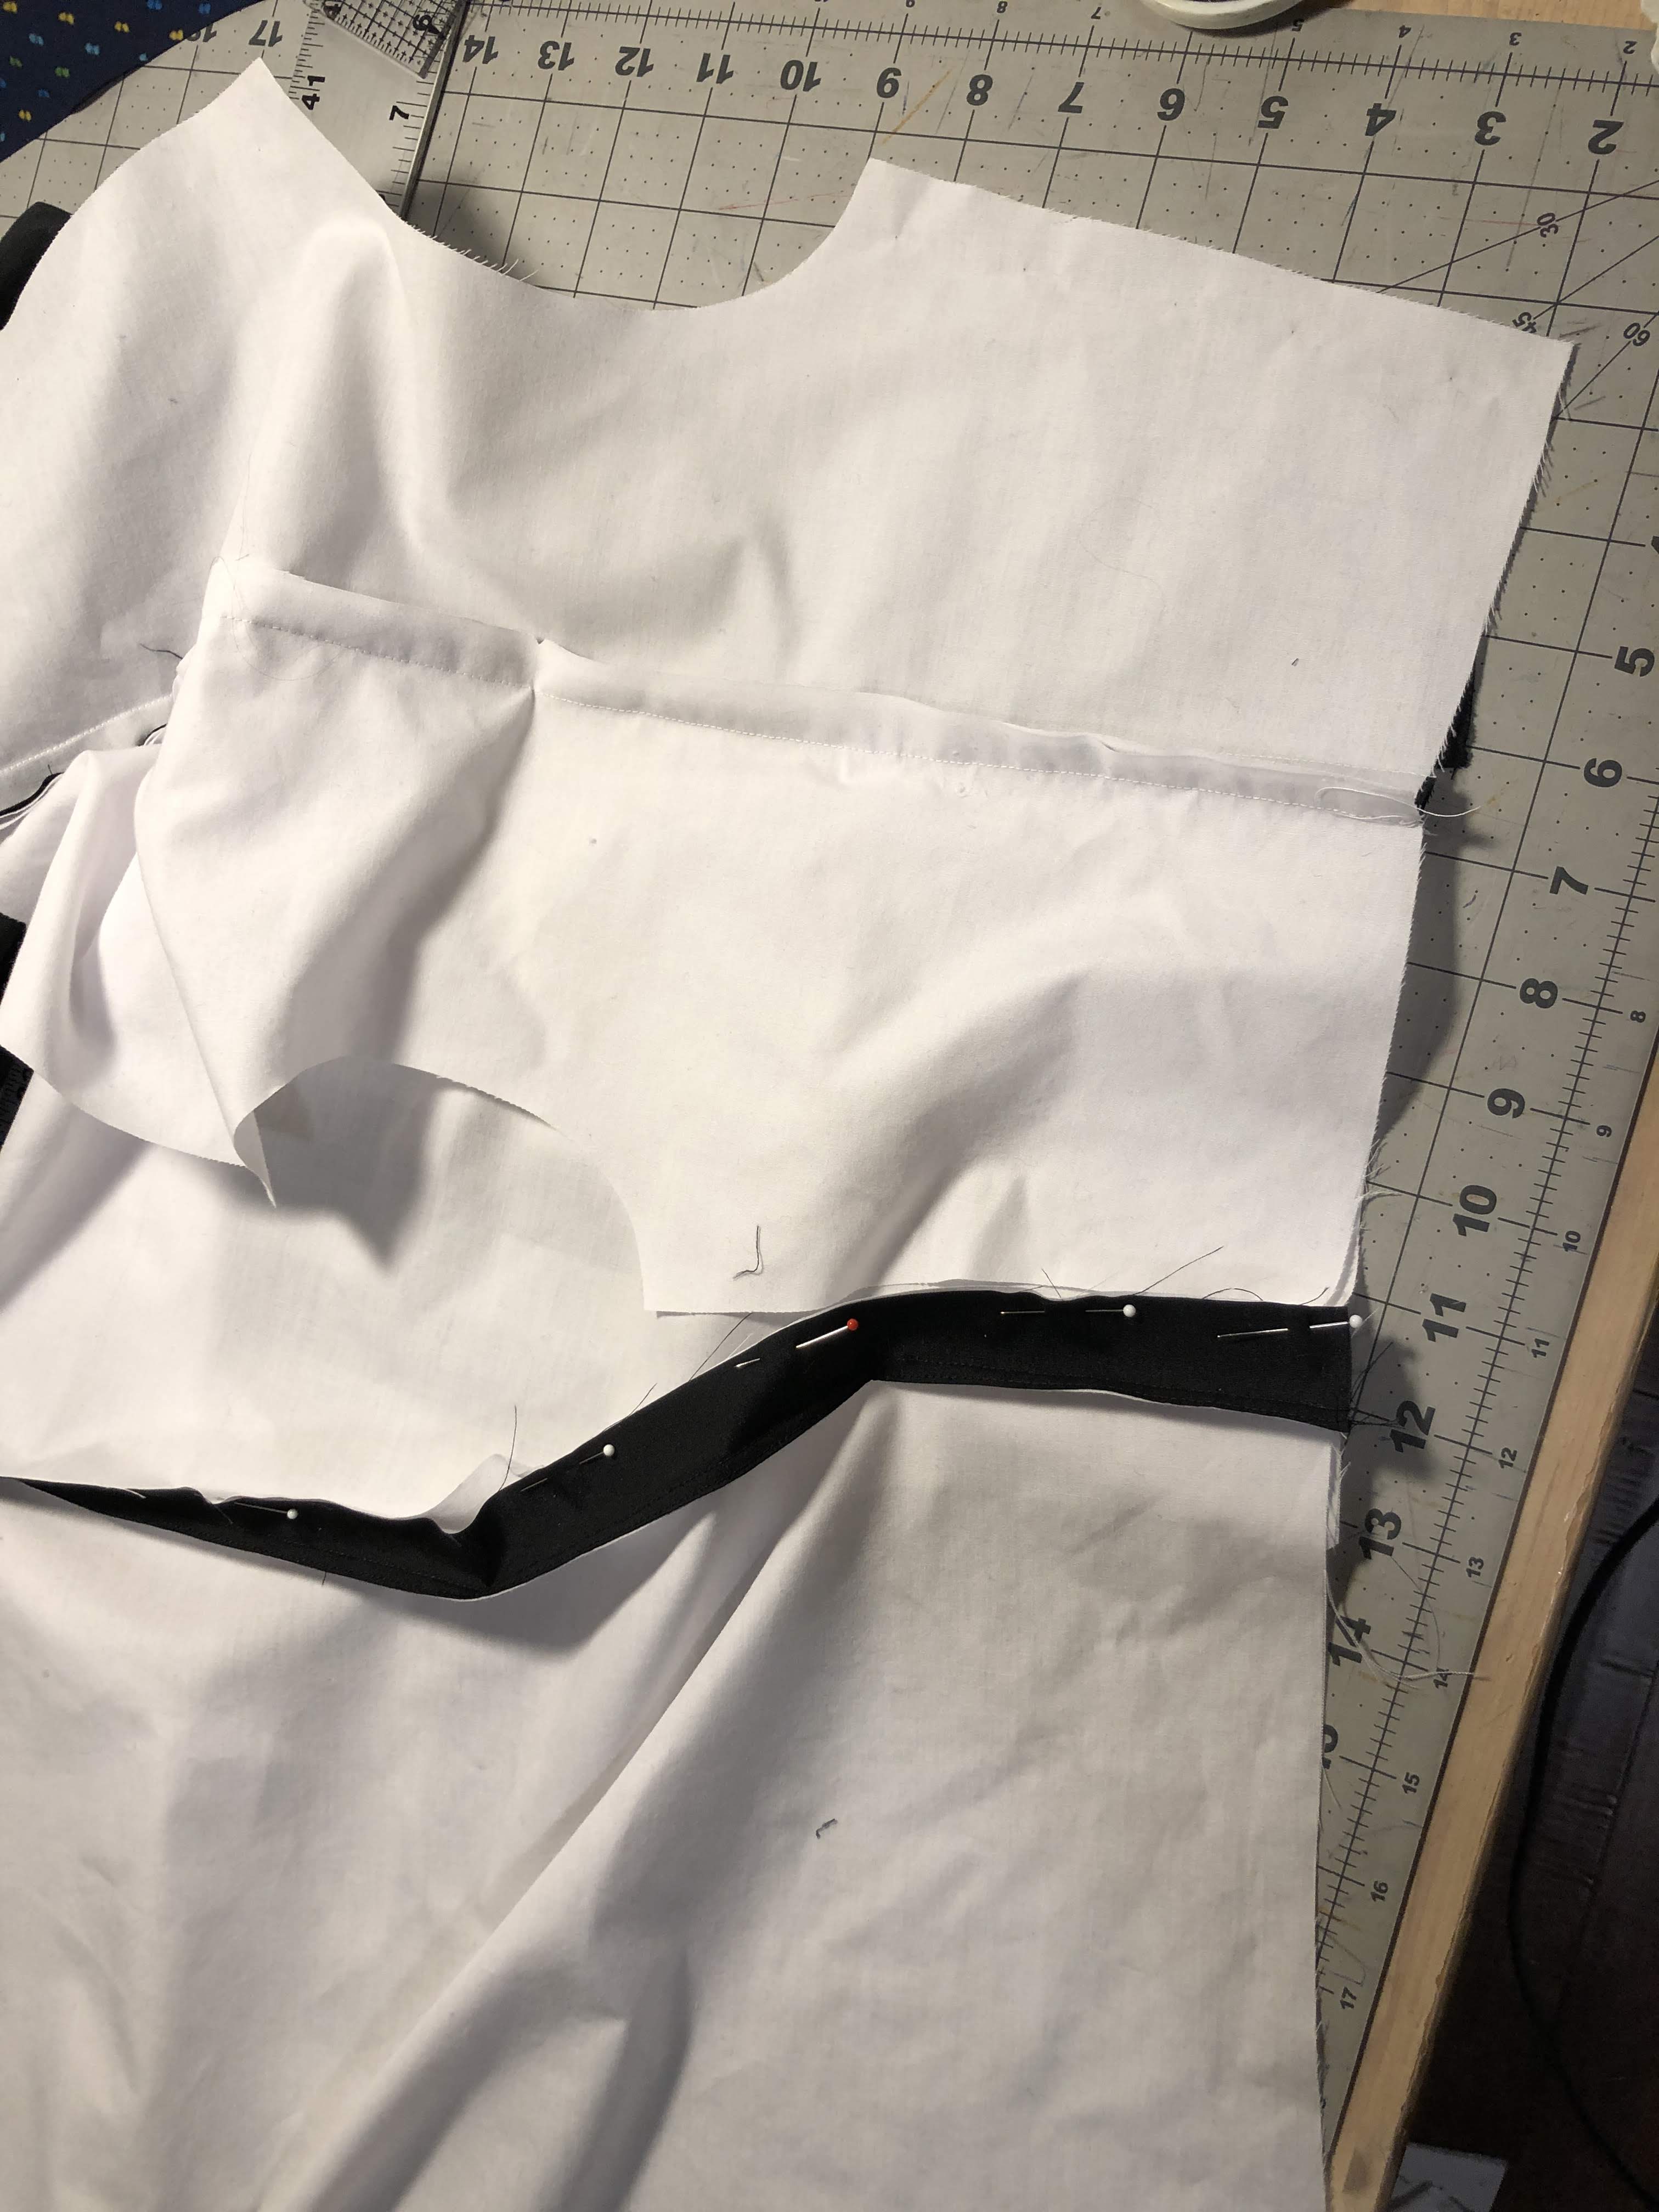
After researching this and even asking for ideas on The Cutter and Tailor forum, I decided on making a double-layered front with buttonholes in the hidden layer. I tested this first with a muslin and it worked pretty well. Making the whole front a double layer keeps the buttons from pulling the fabric into strange twists.
Now I would have to wait a good three weeks for the fabric to be printed and arrive at my doorstep.
Since the button placket is basically the whole dancing figures, I interfaced that, and the band above and below it.

Applying the interfacing to the right front. The additional inner layer is on the left.
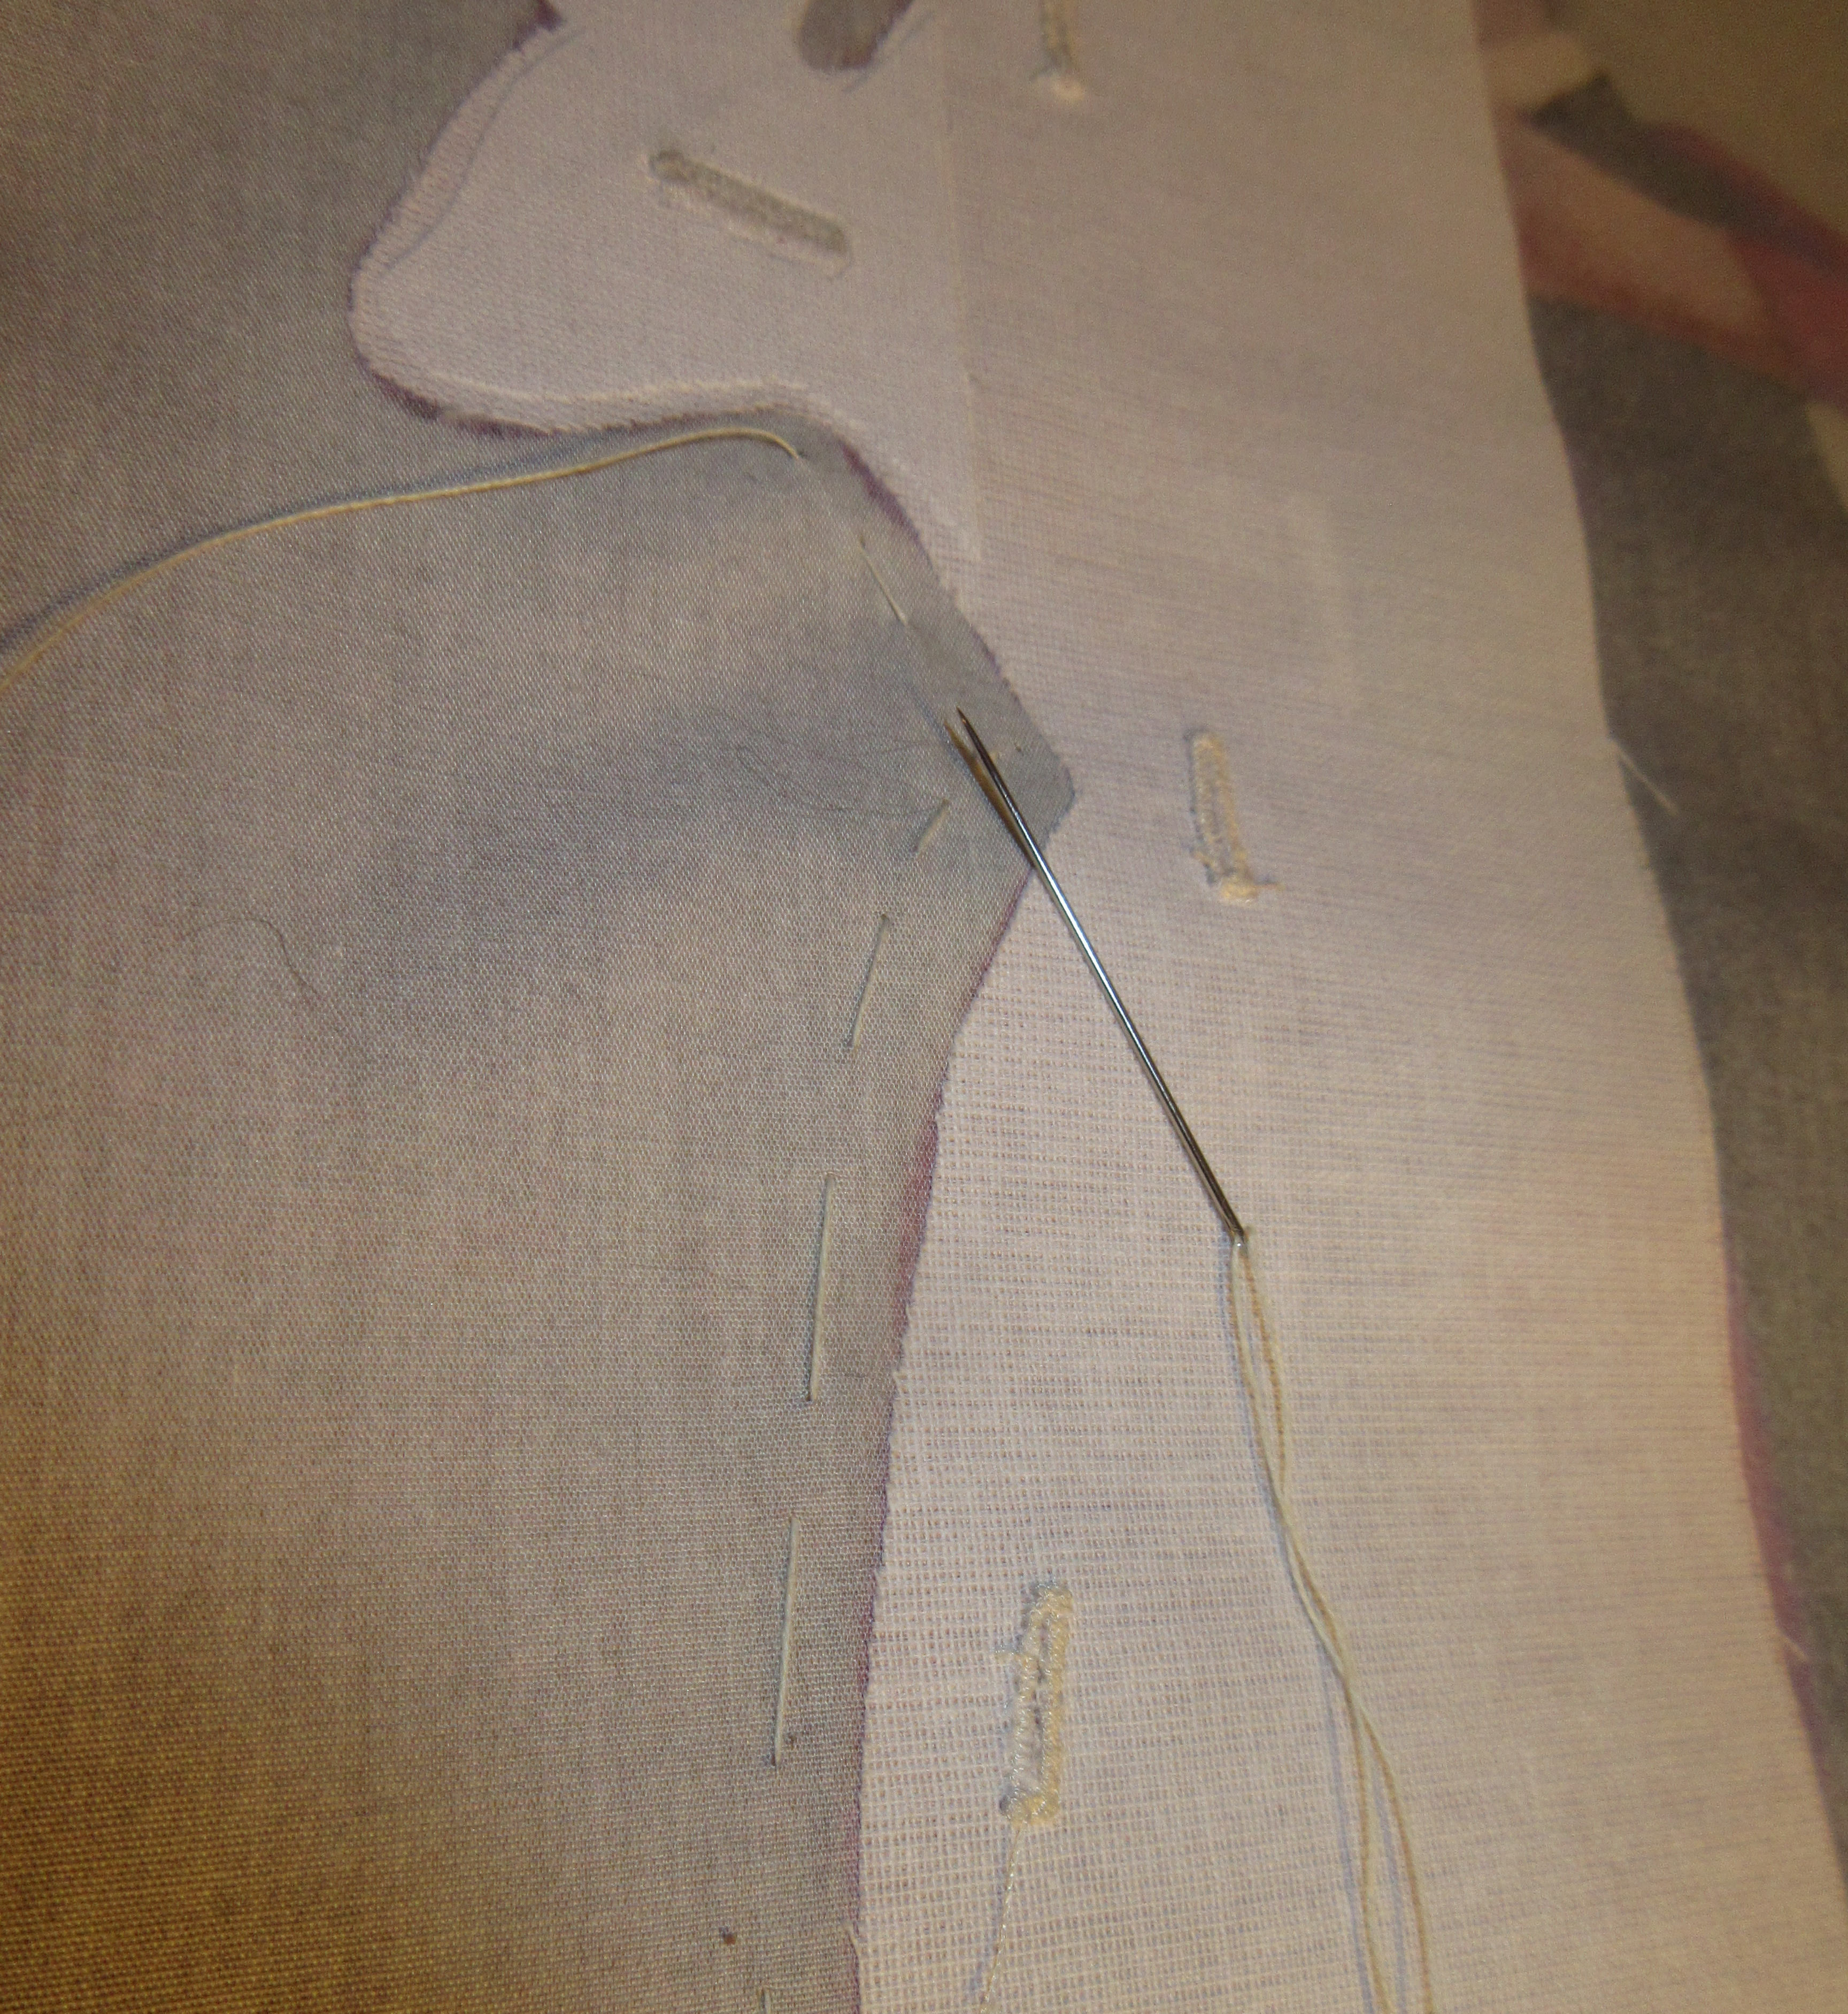
Joining both layers of the right front so I can treat them as one.

Stitches within the seam allowance. This will be cut off once the shirt has been constructed.
For the left front I first had to make the inner layer, complete with the button holes in strategic places. This inner layer is partly made of a mirror image of the front. Once this was done, I could join both along the couple’s left side. Basting the layers together by hand first while checking the position of the layers, and going ever so slow on the machine made for a good result.
Basting the layers together. Button holes are already made

Small stitches and lots of patience.
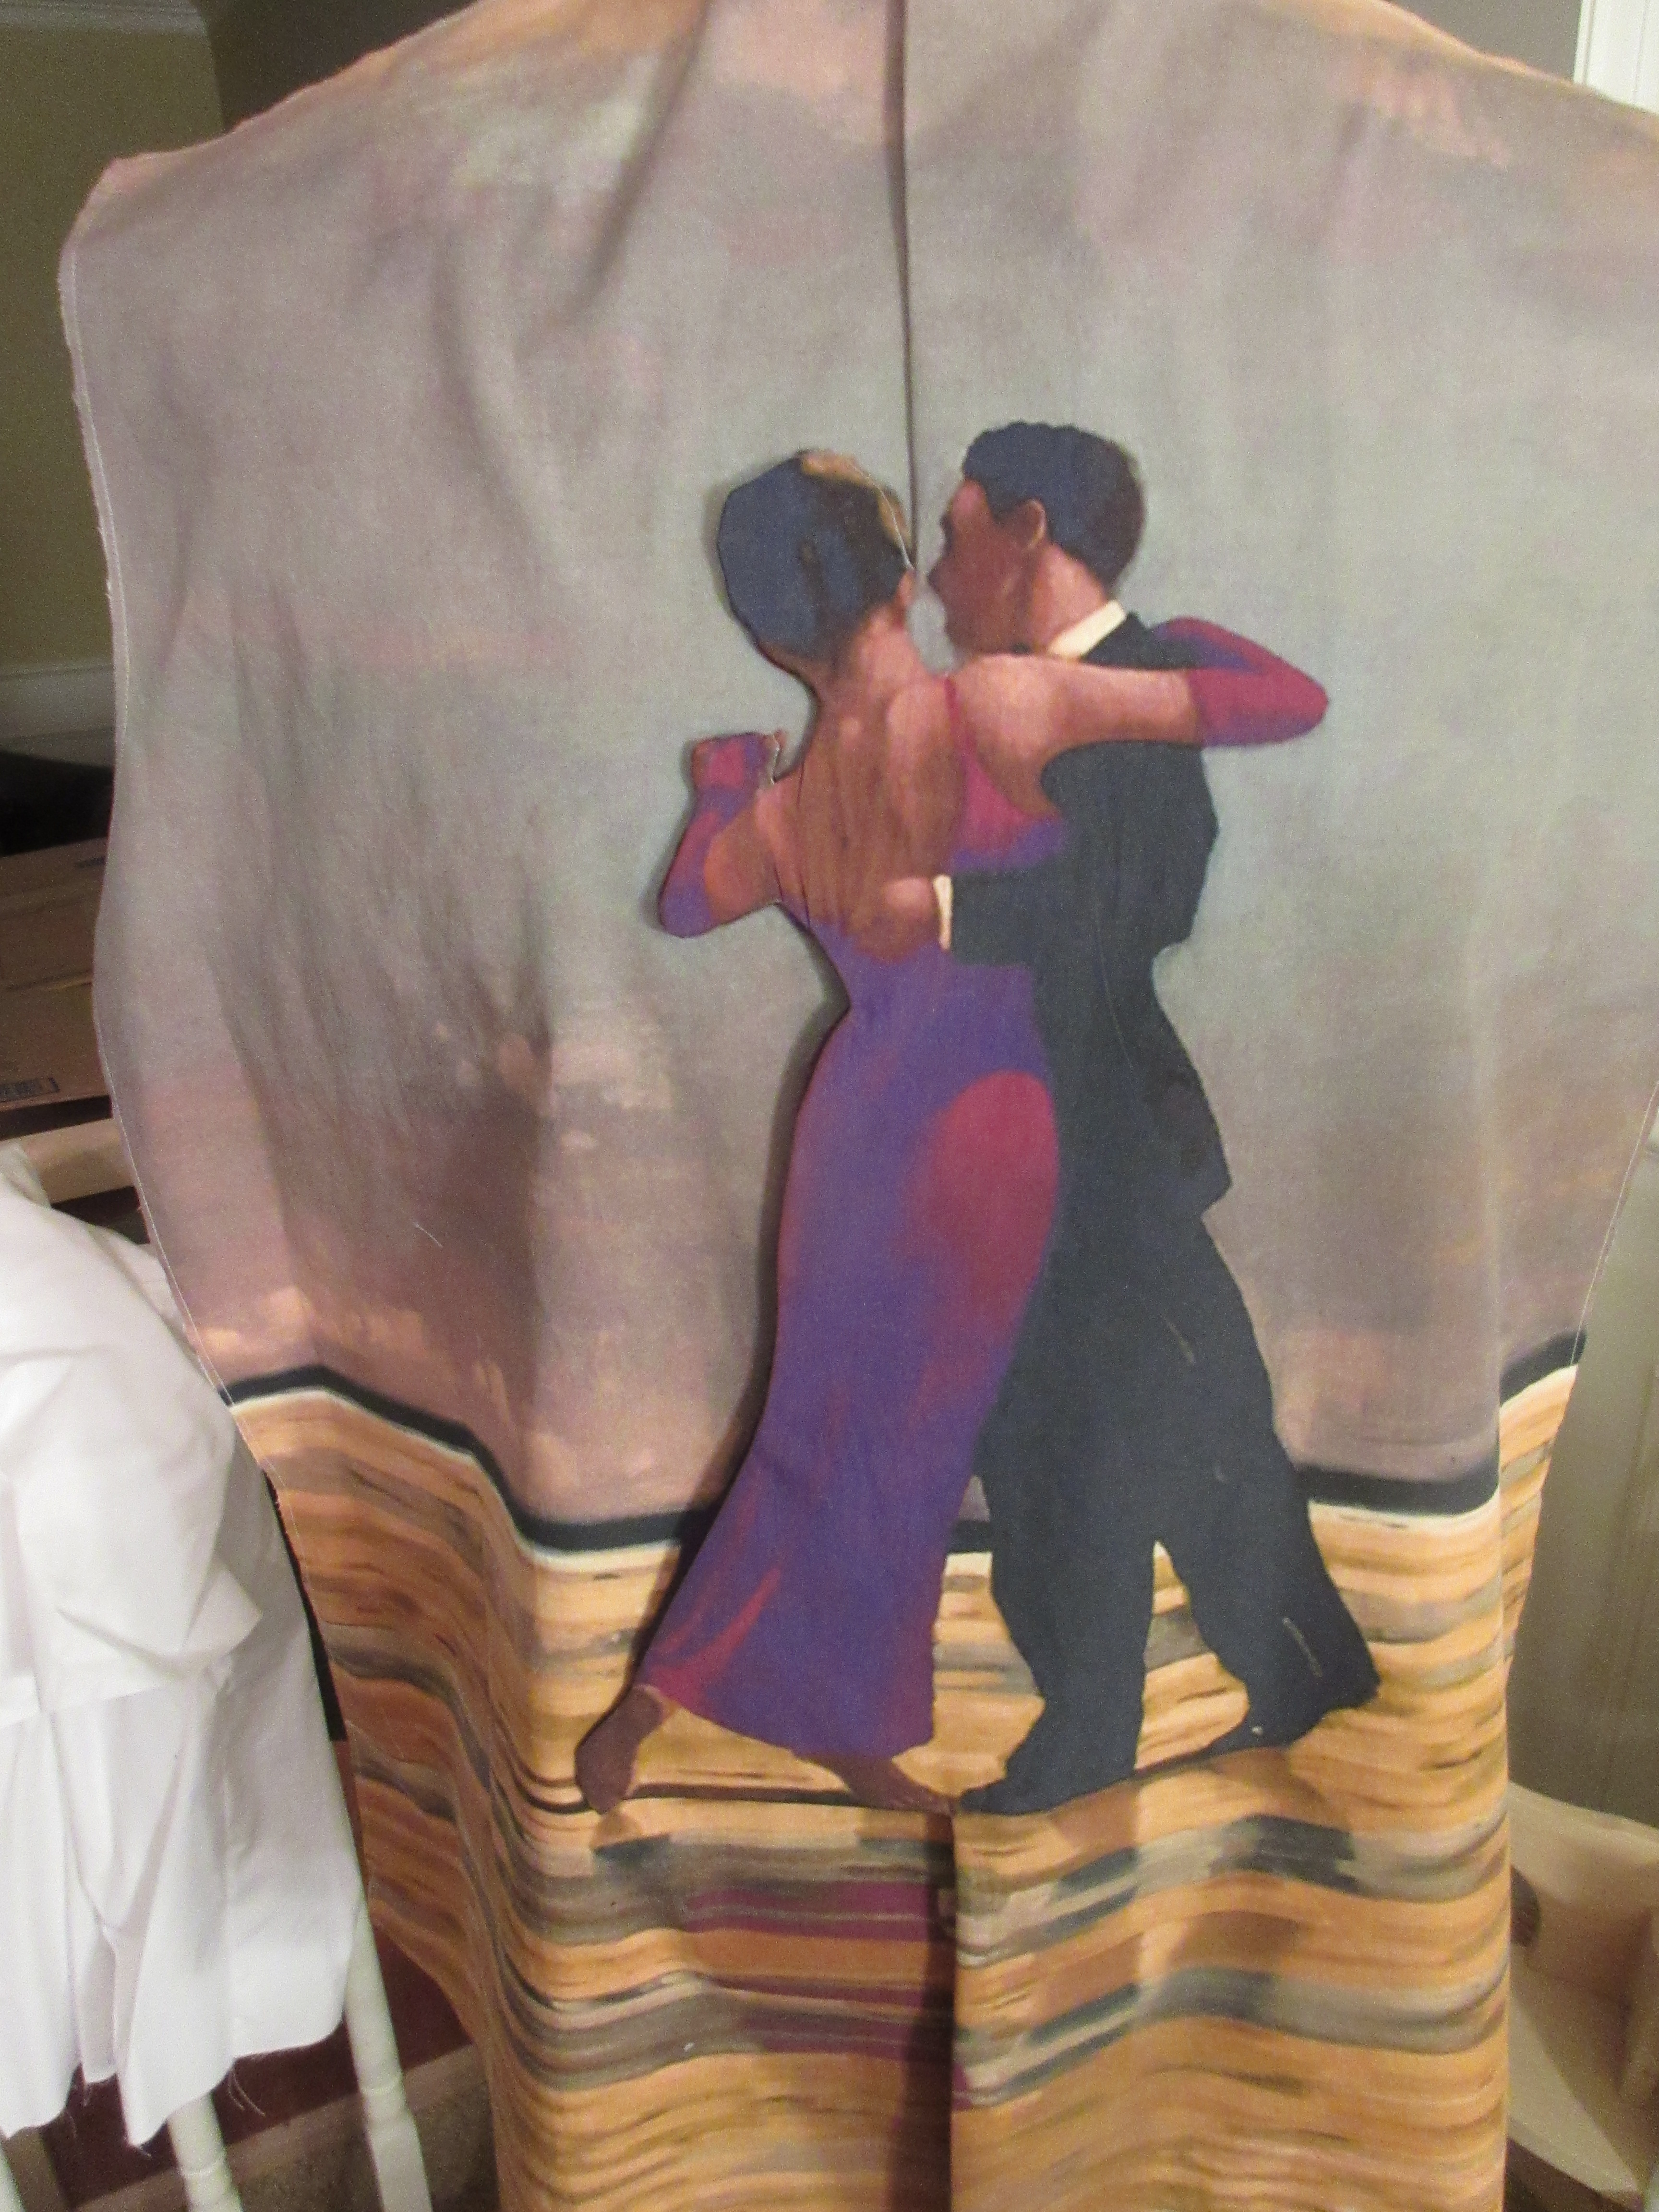
Draped the fronts on the dressform
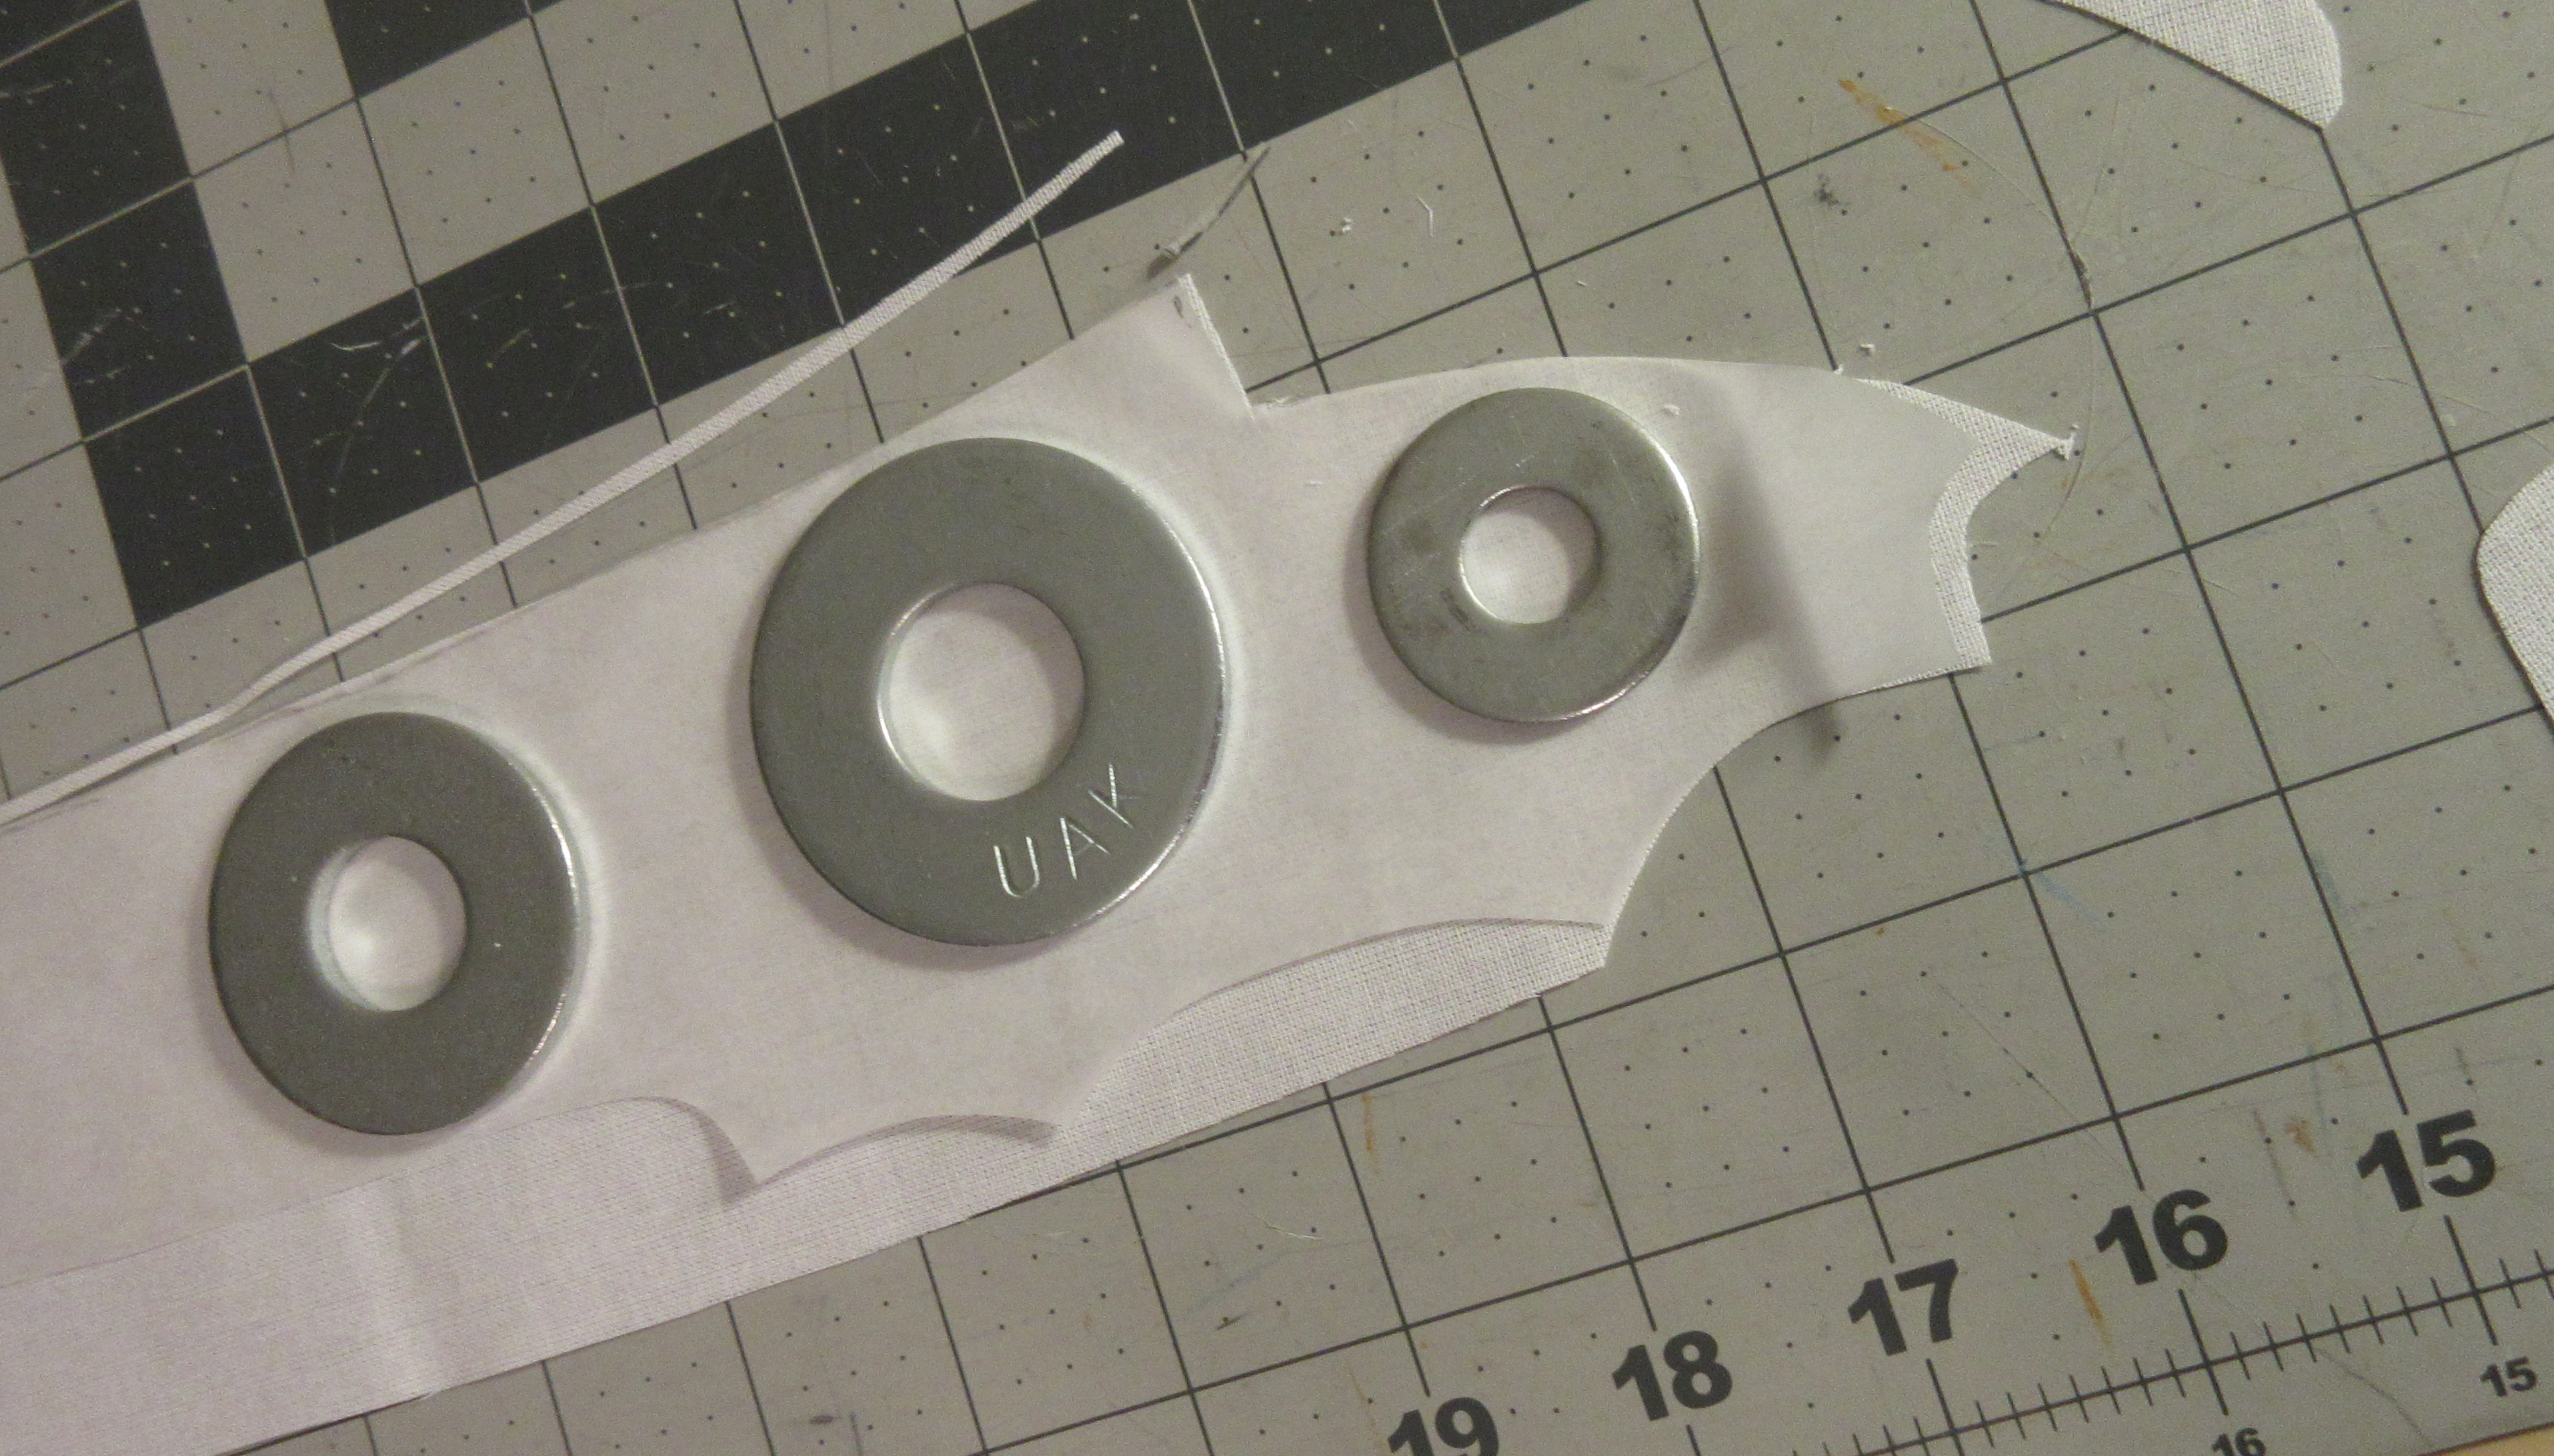
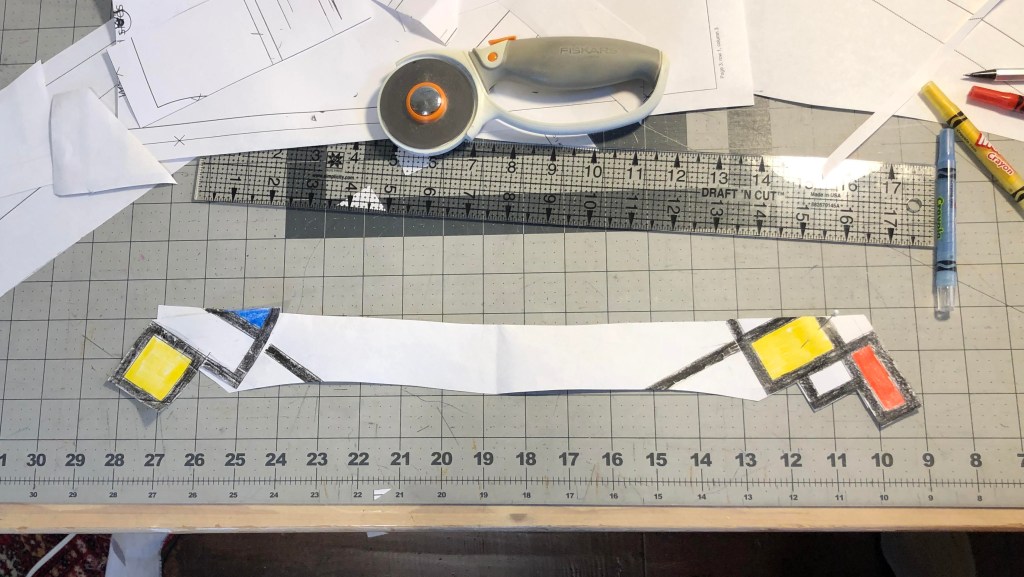
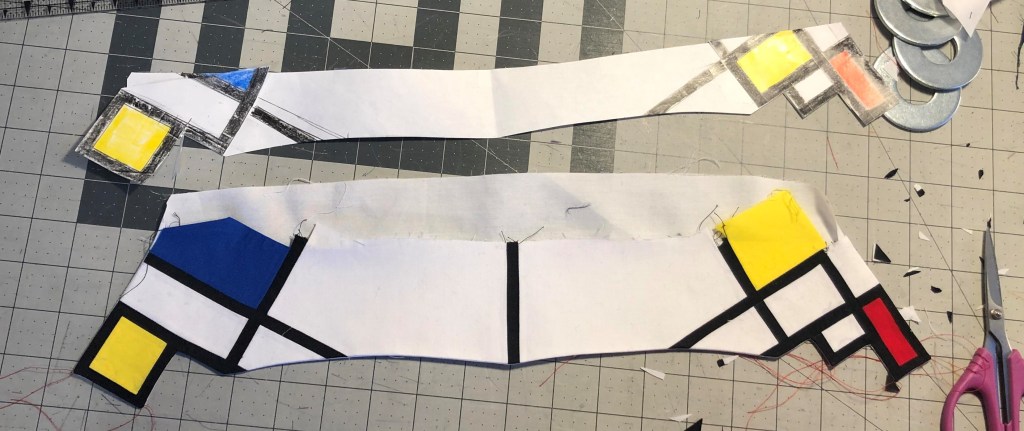
Next task was the collar. Although this one was more elaborate than your average collar, it was still a lot easier than making the one for The Big Wave. One umbrella on each side and hopefully I had designed the distance between them correctly. This brings up an interesting tidbit; when you design the fabric for something like this, you have to keep in mind that the fabric will shrink before you get to sew with it. Knowing that your collar needs to be 19″ long, tip-to-tip means that you have to create the design to be 19″ times shrink-factor. Turning the collar was relatively easy.
Cutting the interfacing
Collar ready. Just over 19″, good enough.
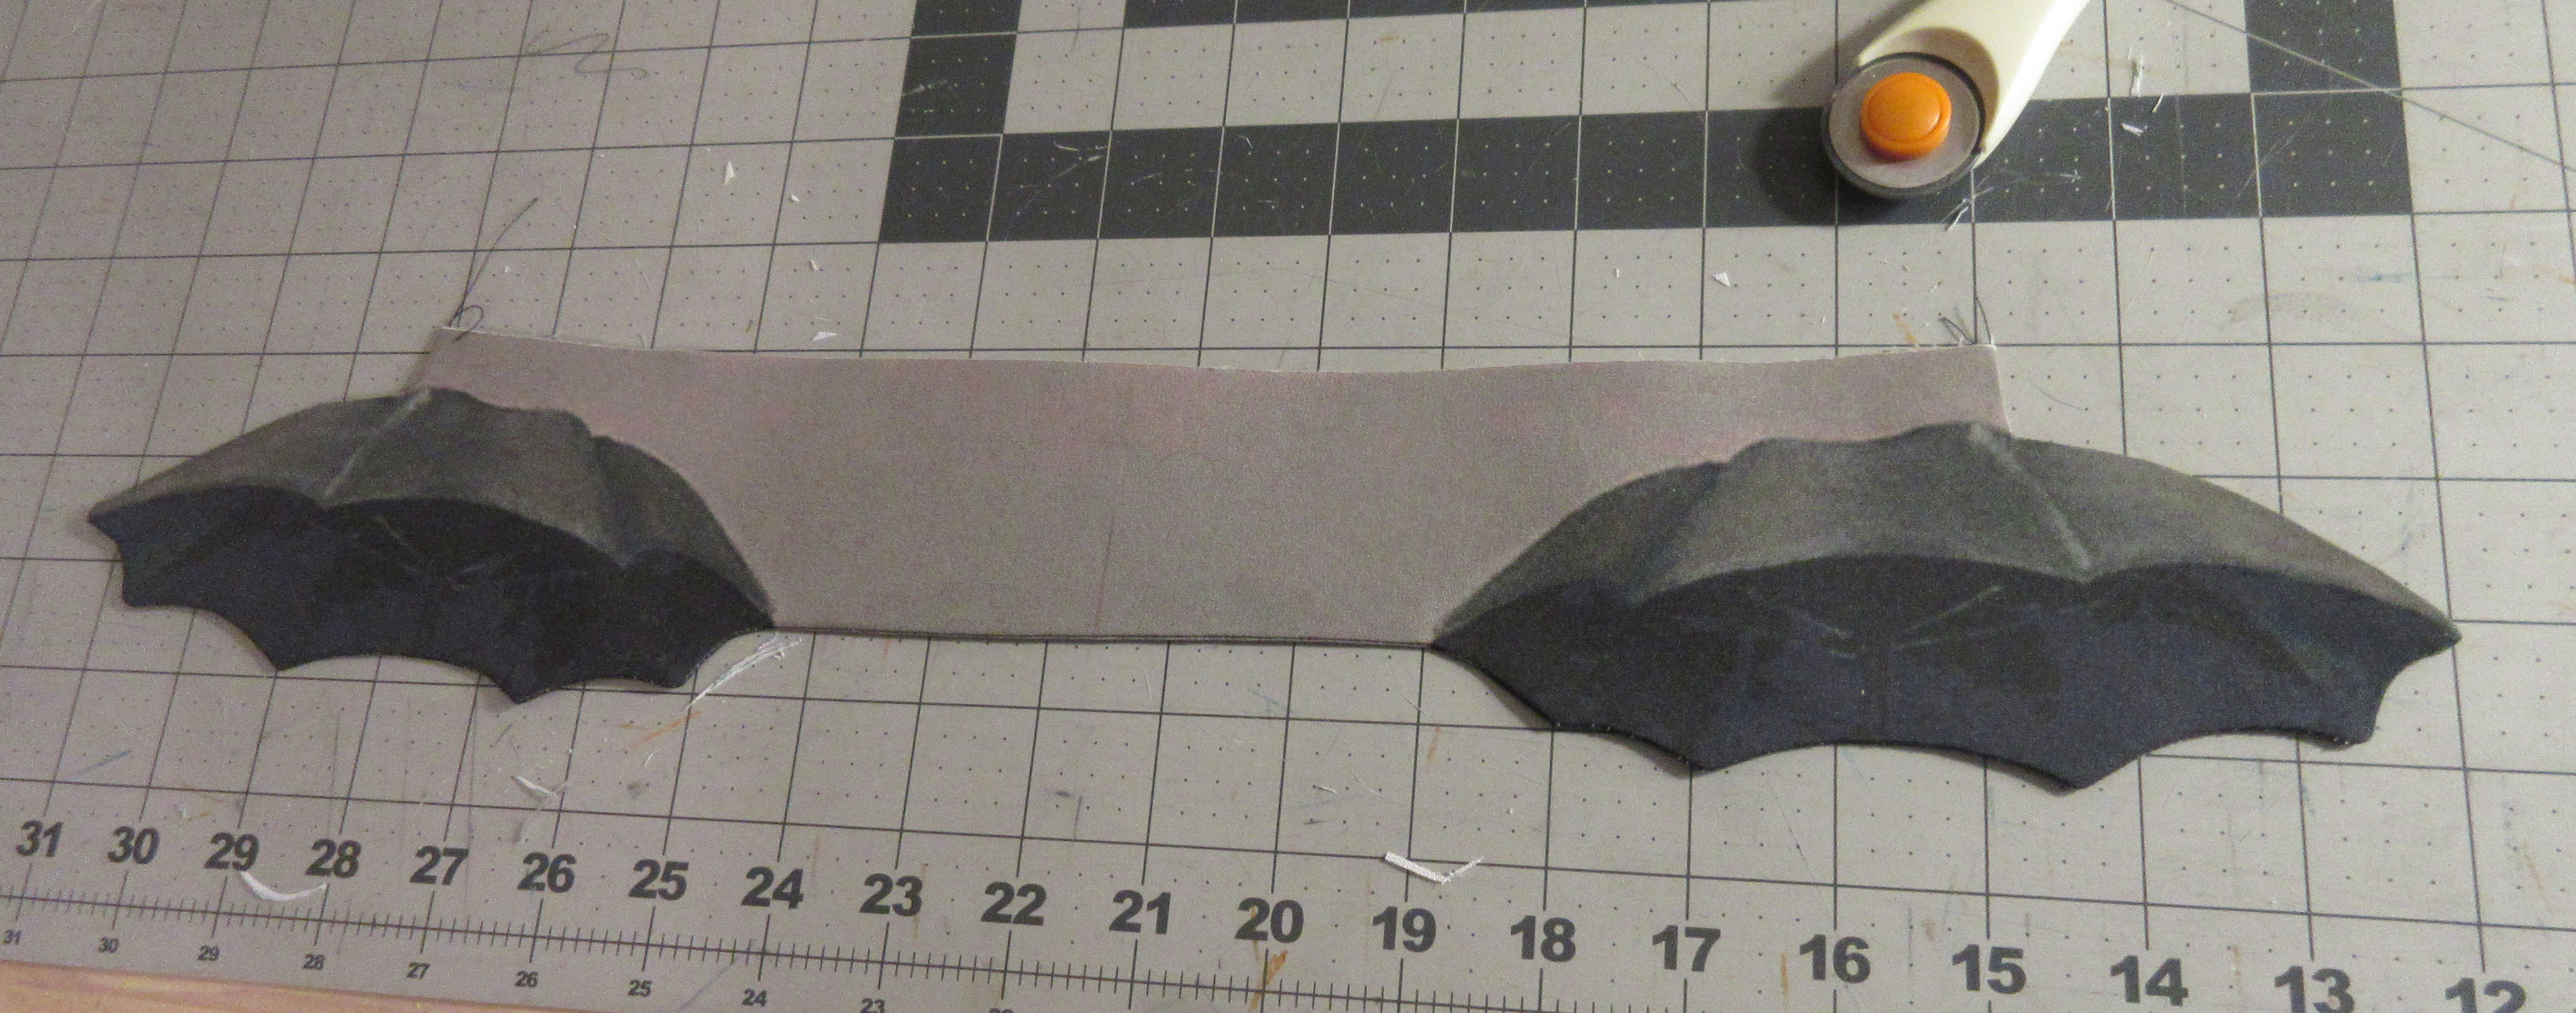
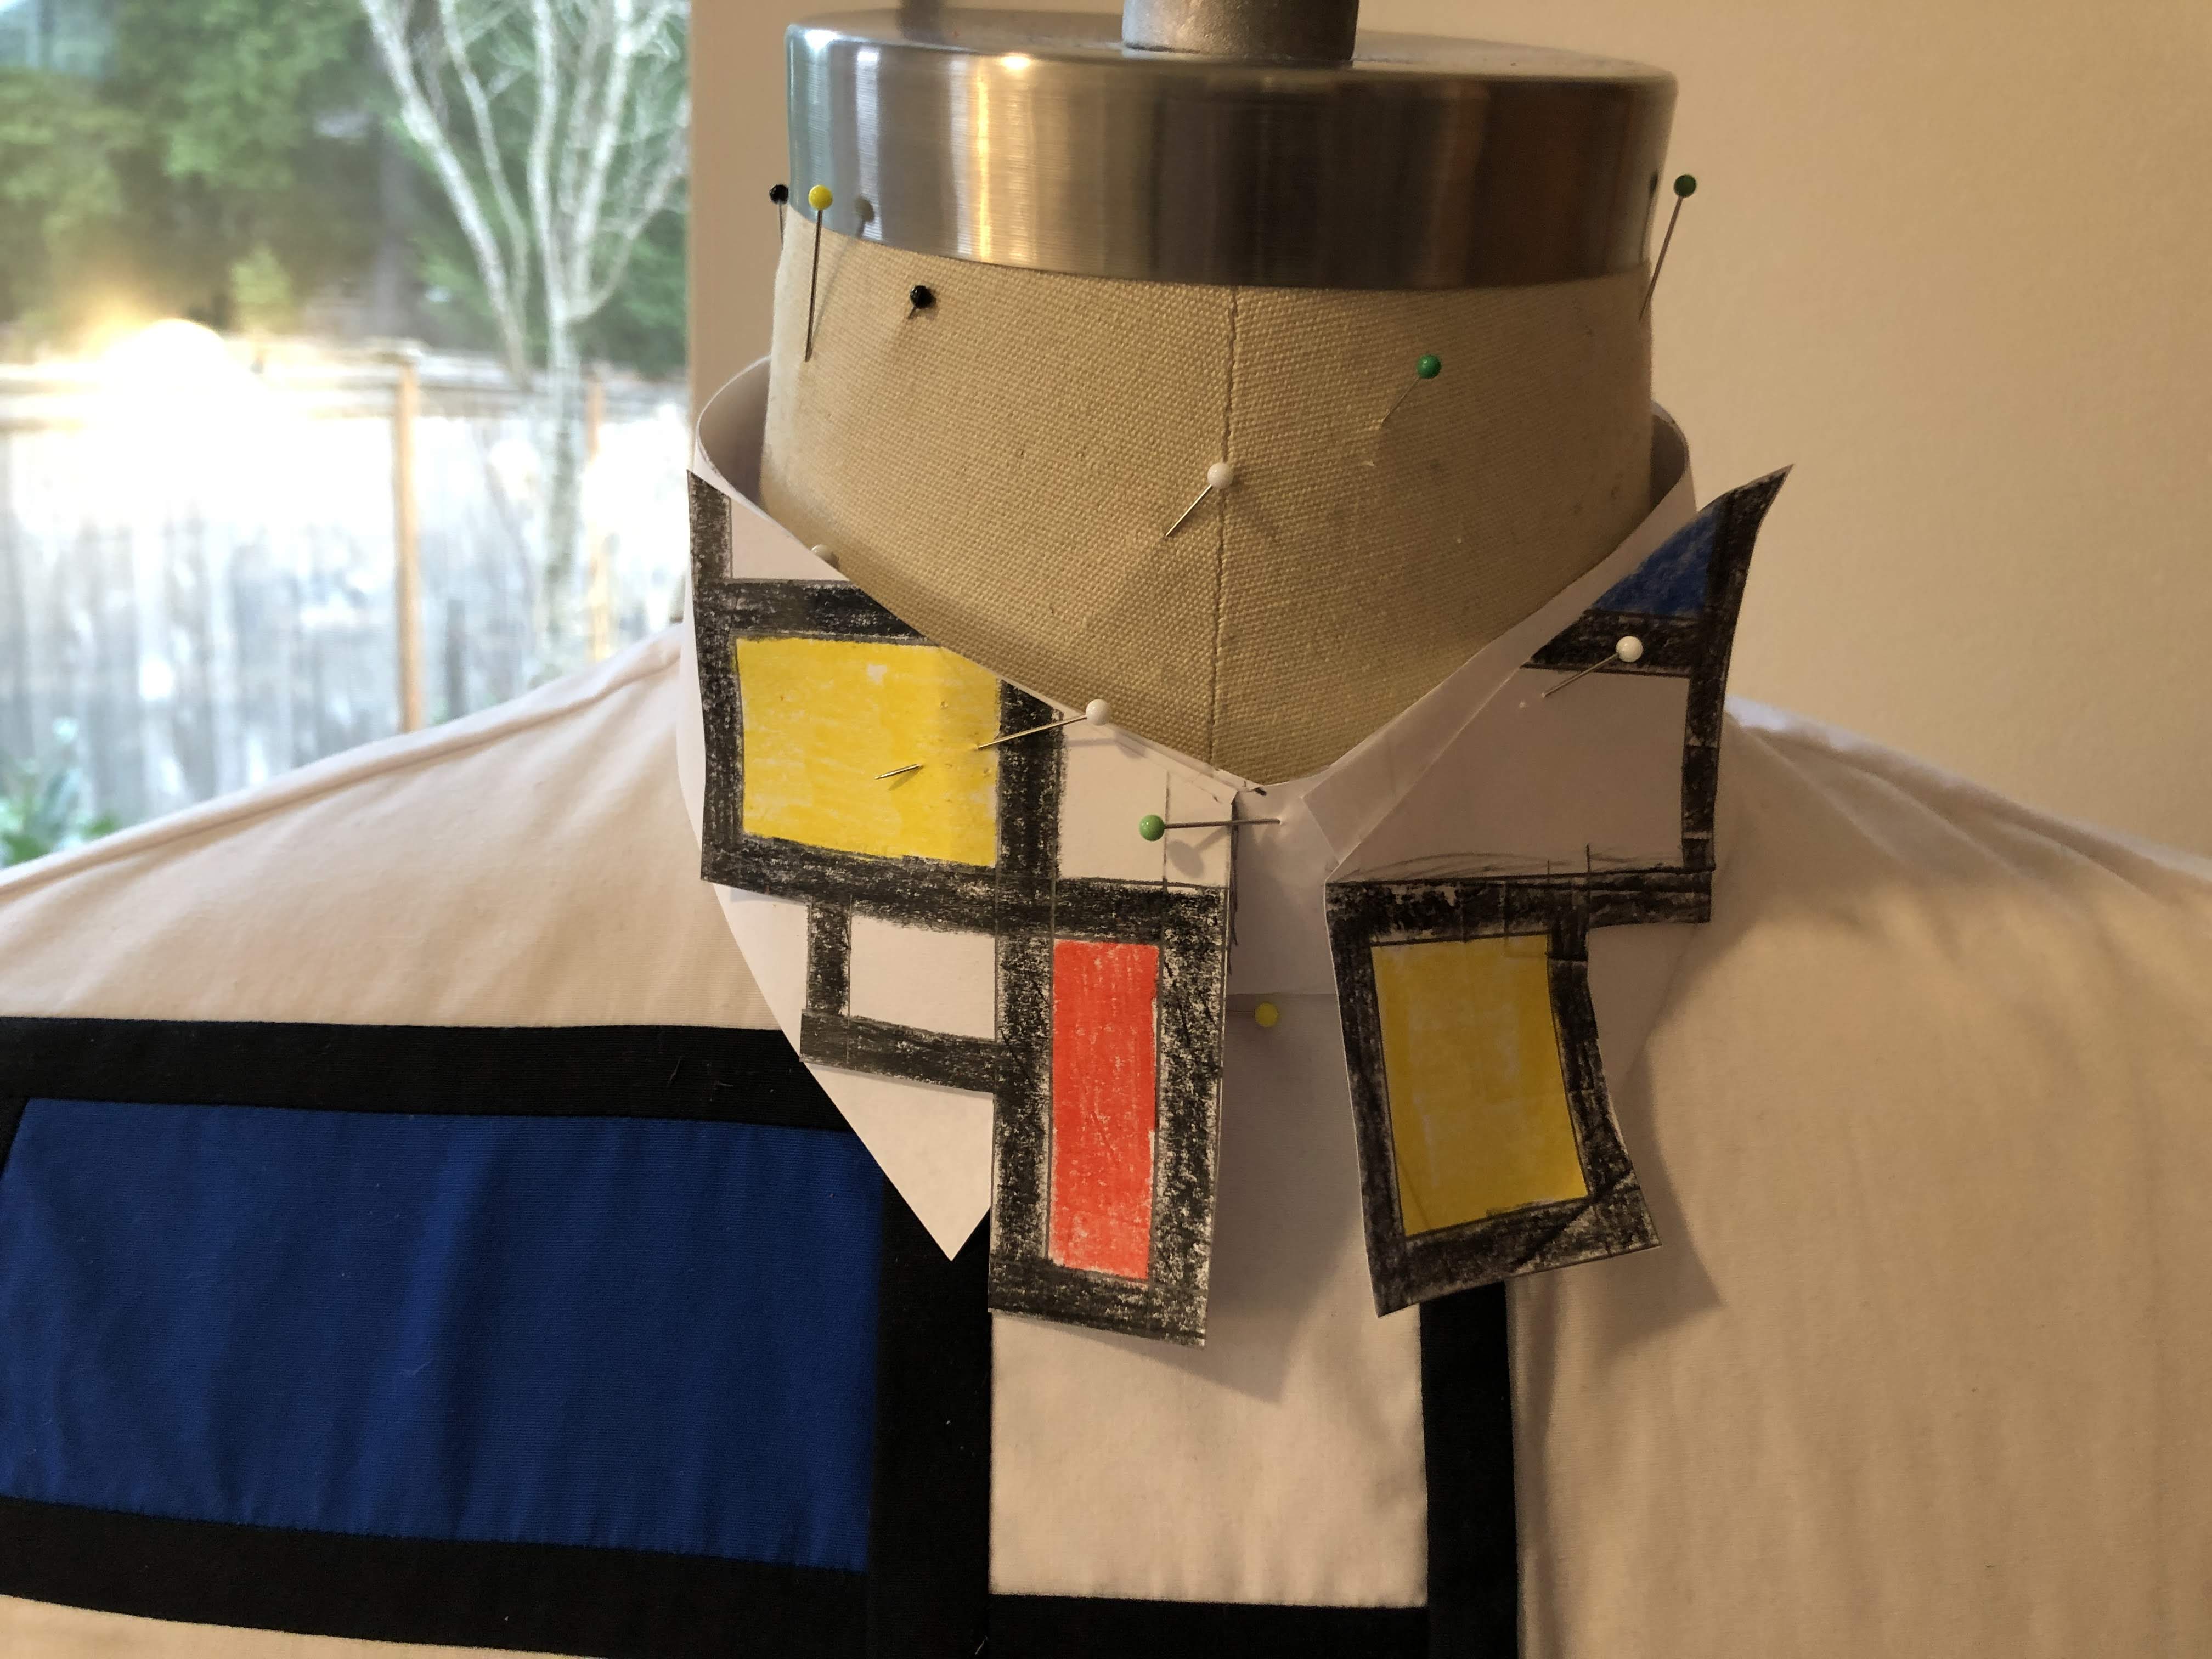
And this is where the smooth sailing hit the cliffs. After attaching the collar to the stand and then to the shirt, I didn’t like the small, minimalistic collar stand I had envisioned. And the angle of the umbrellas didn’t look quite the way I wanted them. I was so upset with the result, the seamripper came out immediately and I took it off before taking a photo. Here is the offending item:

Wrong, wrong, wrong.
Two more yards of fabric
After putting that aside, I focused my attention to the sleeves. And found another set of cliffs. I had swapped the width and height measurements for the sleeve parts and designed the fabric wrong! The parts were wider than high, while the opposite is required. Now I knew I had to redesign the fabric and order some more. Things like this is why these projects always turn out to be rather expensive. I did make sure to include two new versions of the collar, some extra cuffs and collar stands.
Of course, this gave me some weeks to focus on other things before I could continue with the project.
When the new fabric arrived, was washed three times and ready for use, I had to decide how to mount the sleeves. Since I had to order two yards of fabric, I had designed the patterns for the sleeves with a lot of extra space around them. This way I could change where the maid and the butler would end up on the sleeve. To figure out the final placement, I basted the sleeves to the body without cutting the fabric out first. It seemed an easy idea at first, and turned into more work than I anticipated. Sewing without seam allowances to line up is harder than I thought.
Following a hardly visible chalk line.
It took a couple of tries to get them lined up the way I wanted them. The rest of the sleeve construction went without a flaw. As you may have noticed, I forgot to include plackets in the fabric design. Luckily I could use the incorrectly designed sleeves to cut the plackets from.
Now that I had the sleeves in place, I had to decide on how to make the umbrella shafts. While going through the creation of the fabric, I had deliberately photoshopped them out of it. This so I could later add them when the placement of the sleeves and collar were finalized. While researching this, I came across a technique called ‘couching‘. One site I found said you could replace the bottom thread with the decorative thread, adjust some tensions, and sew it upside down. Never too shy to experiment, I tried this. First tries were not so great, but after playing with the settings some, I really liked the effect.
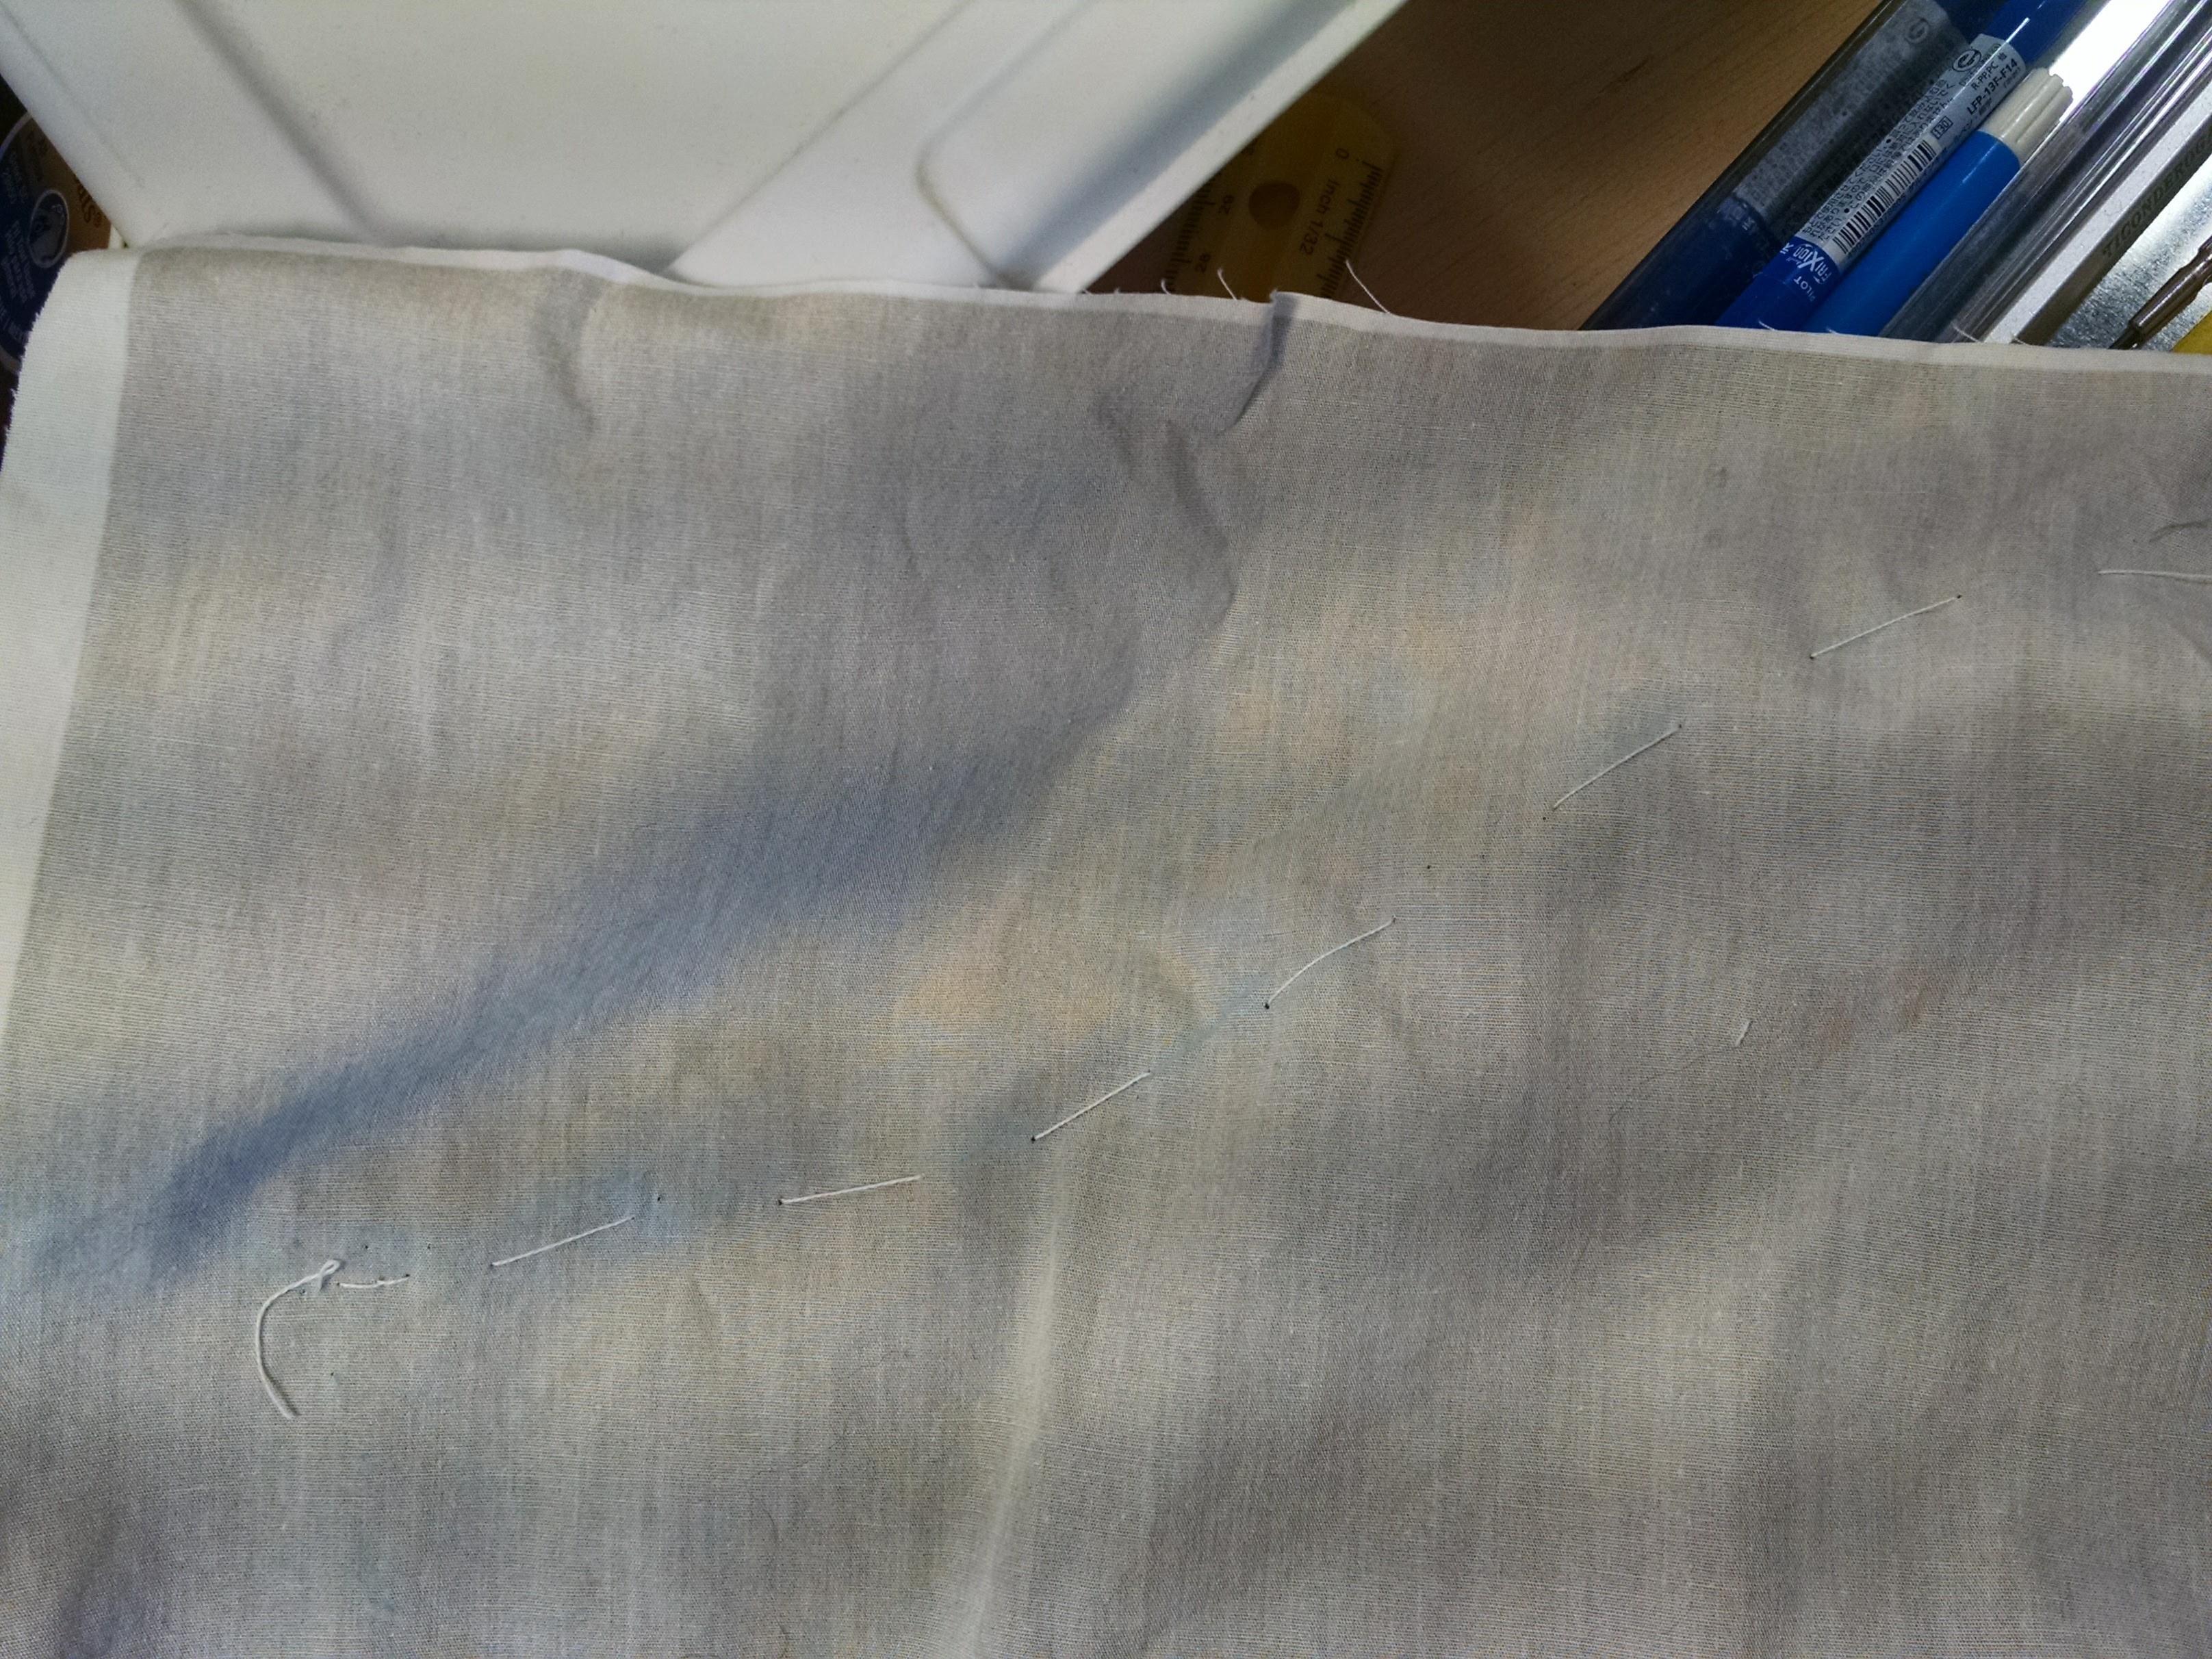
Since the decorative thread is on the bobbin, you cannot see the right side of the fabric while you’re sewing. I had to draw the line I wanted to follow on the inside of the shirt by poking pins in at regular intervals and connecting these. Then put it under the machine and hope for the best.

Decorative thread in the bobbin

First try is not so good, second is a lot beter.

Sewing almost blind.
With the shirt construction completed, all that was left was adding the buttons in the right place. This is where my pattern matching obsession really helped out. I just had to look where in the pattern the button hole was and then just add the button in the corresponding spot on the other front.

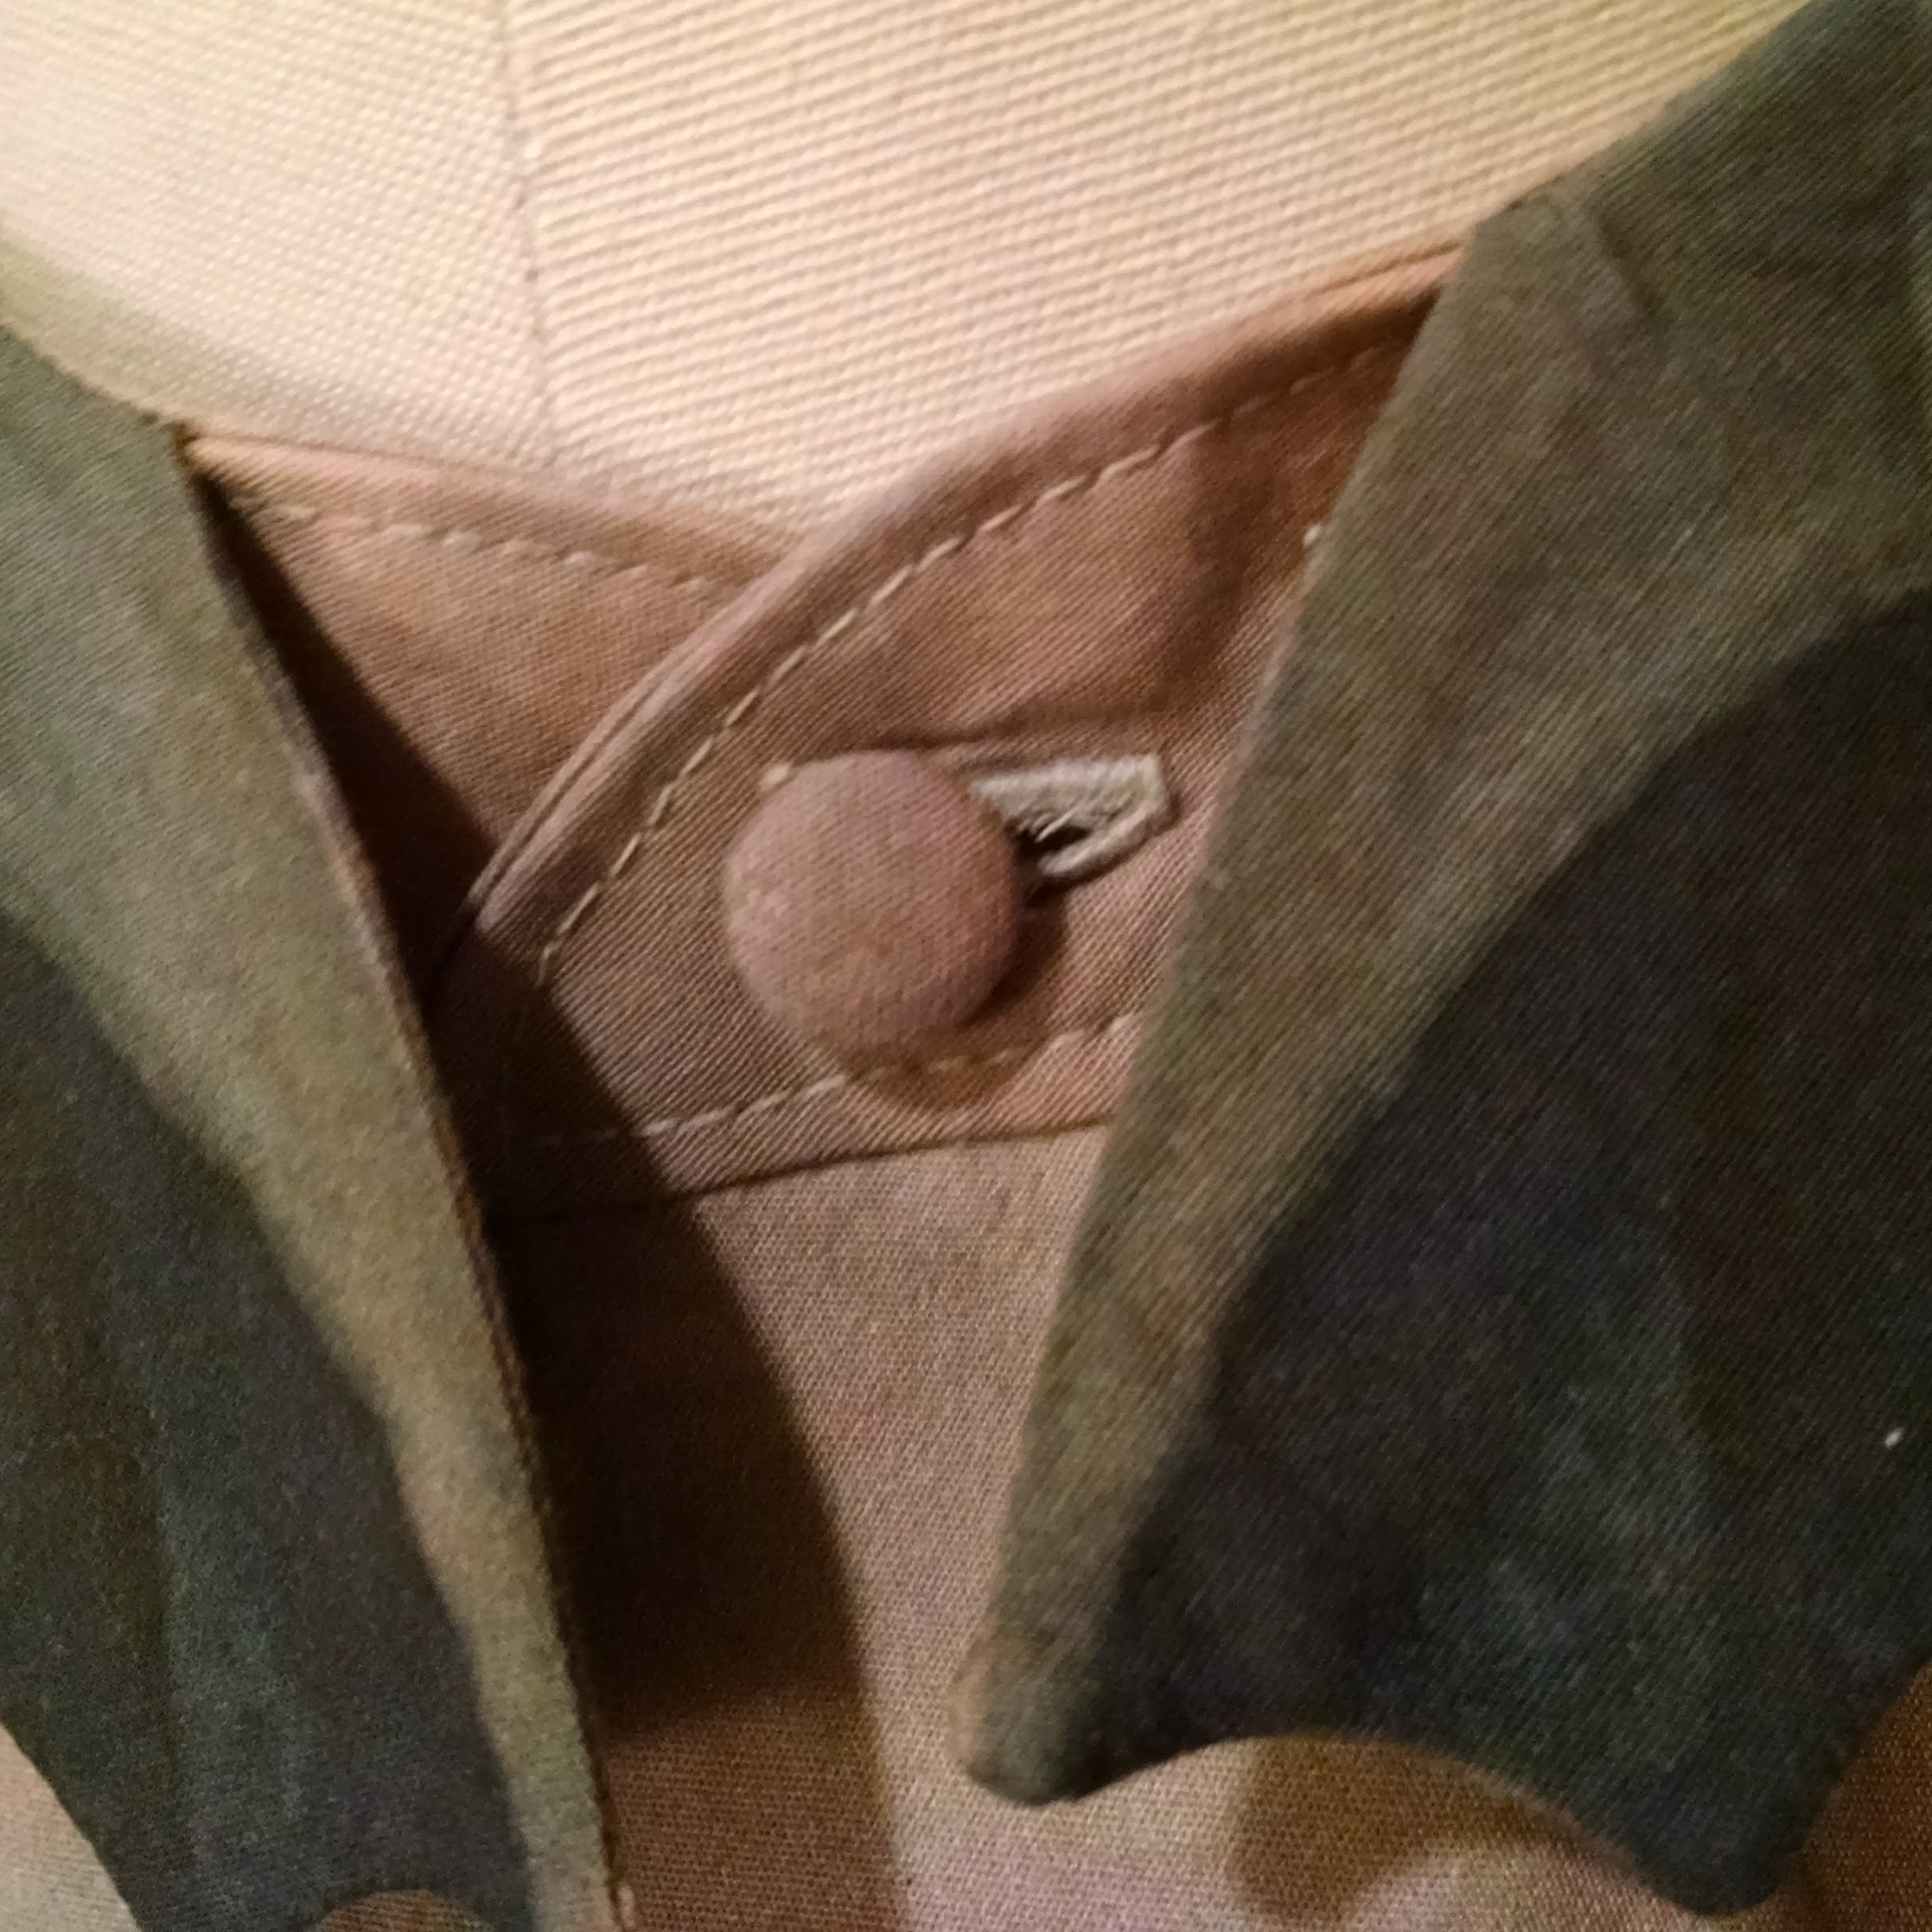
Closing the buttons is something to get used to. The buttonhole only goes through the first layer of the front, not through the second one. So you cannot manipulate the button once it is partly through the hole. Not extremely practical, but it looks the way I wanted it.
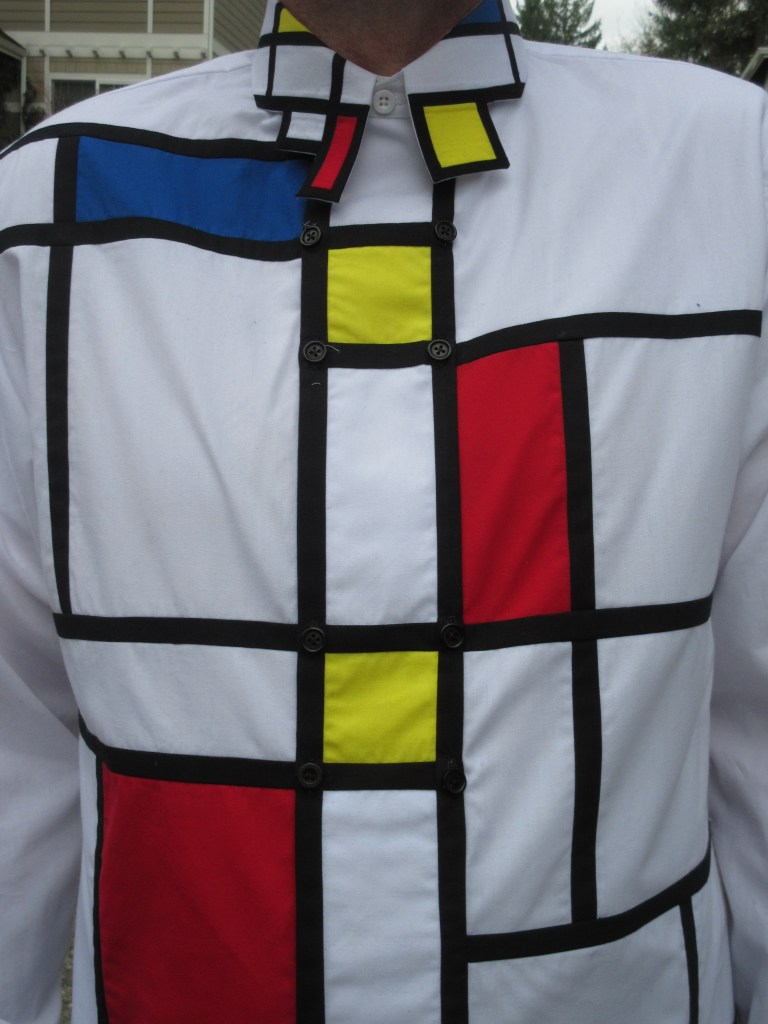
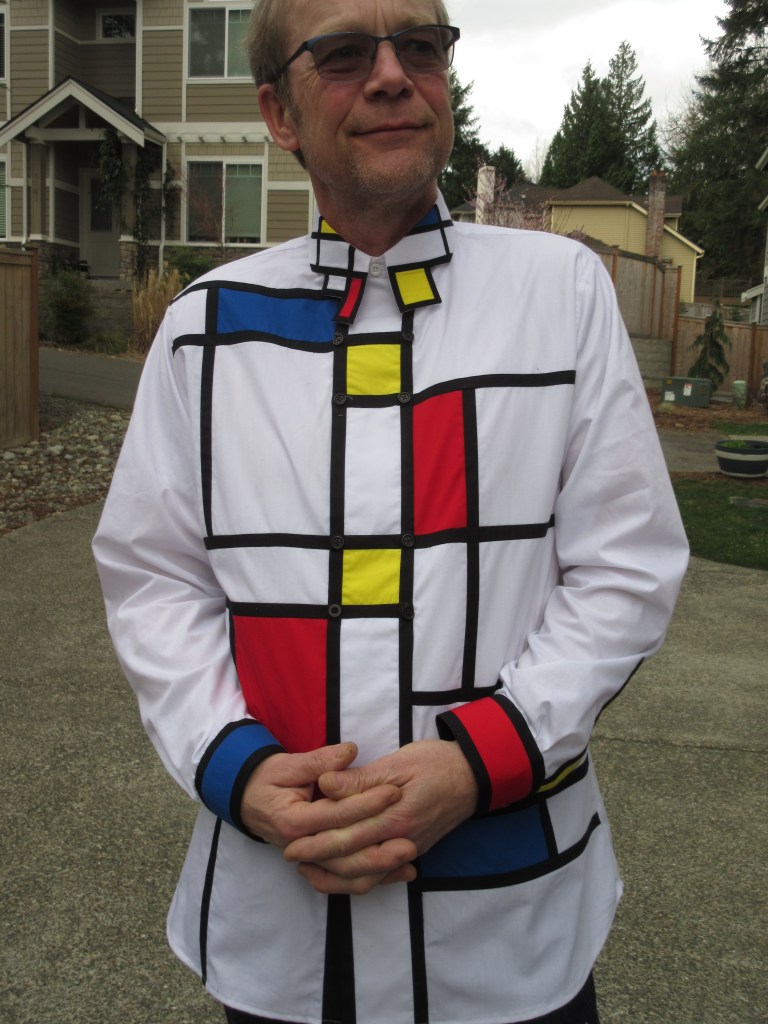
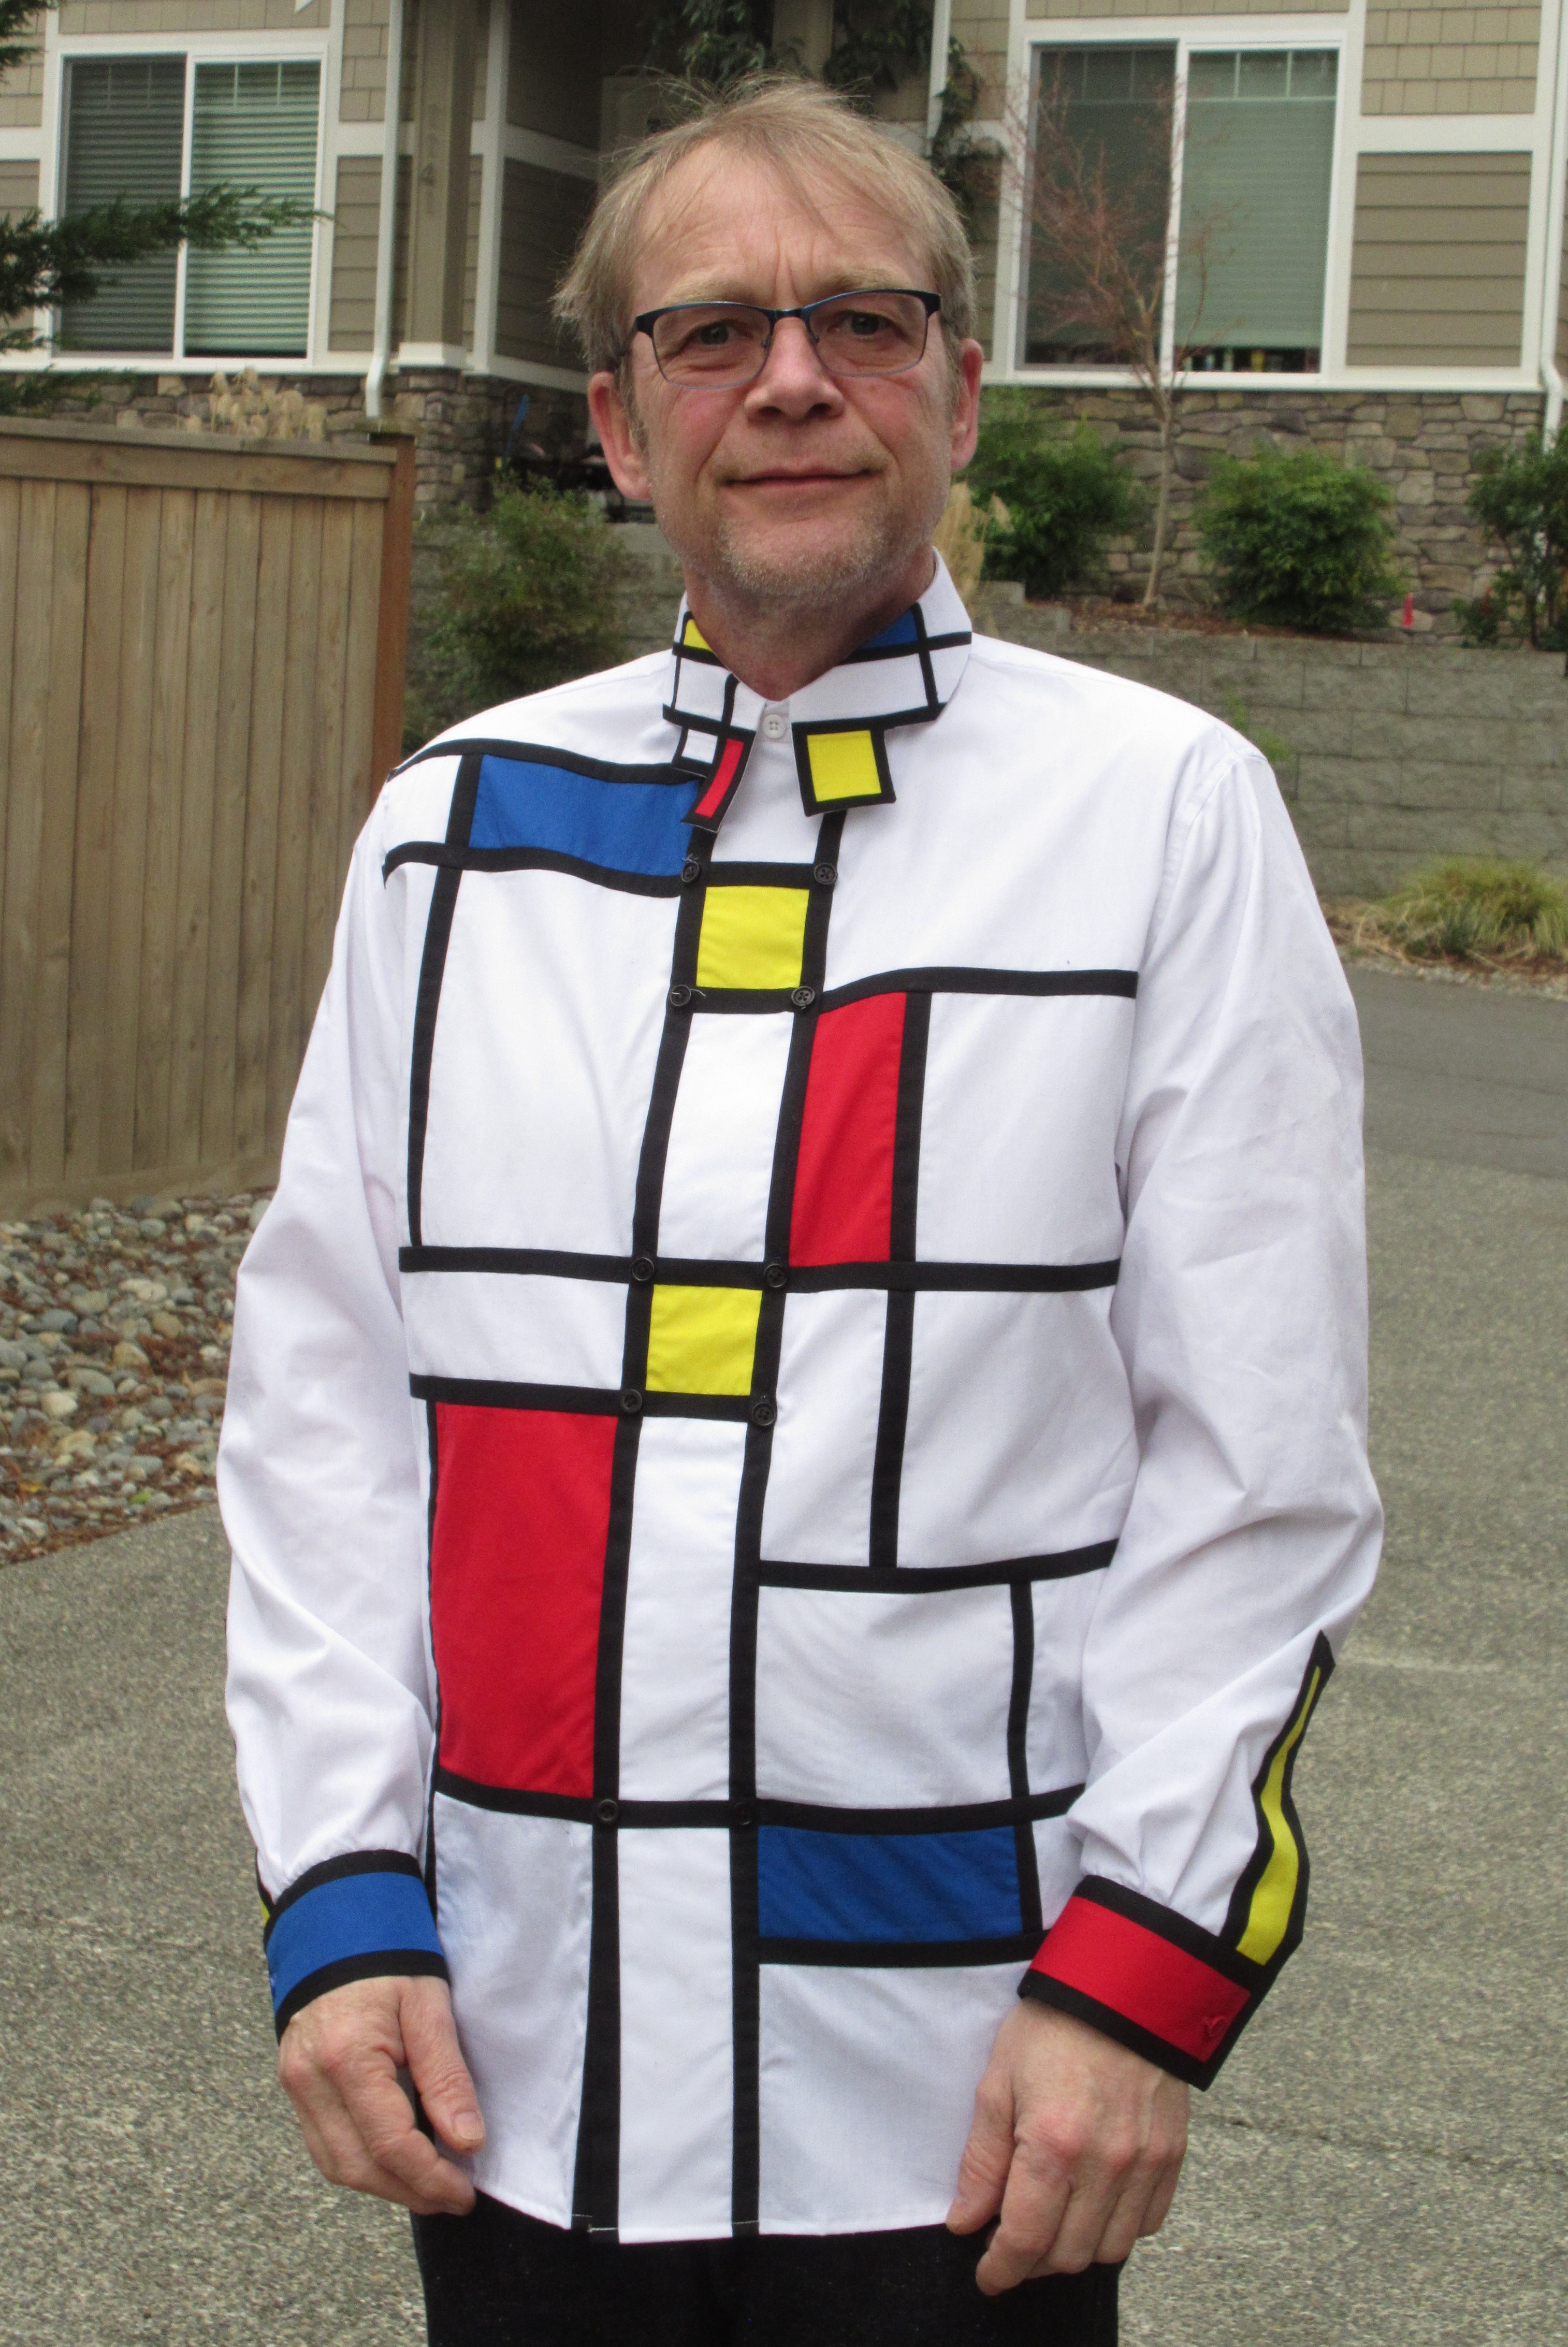
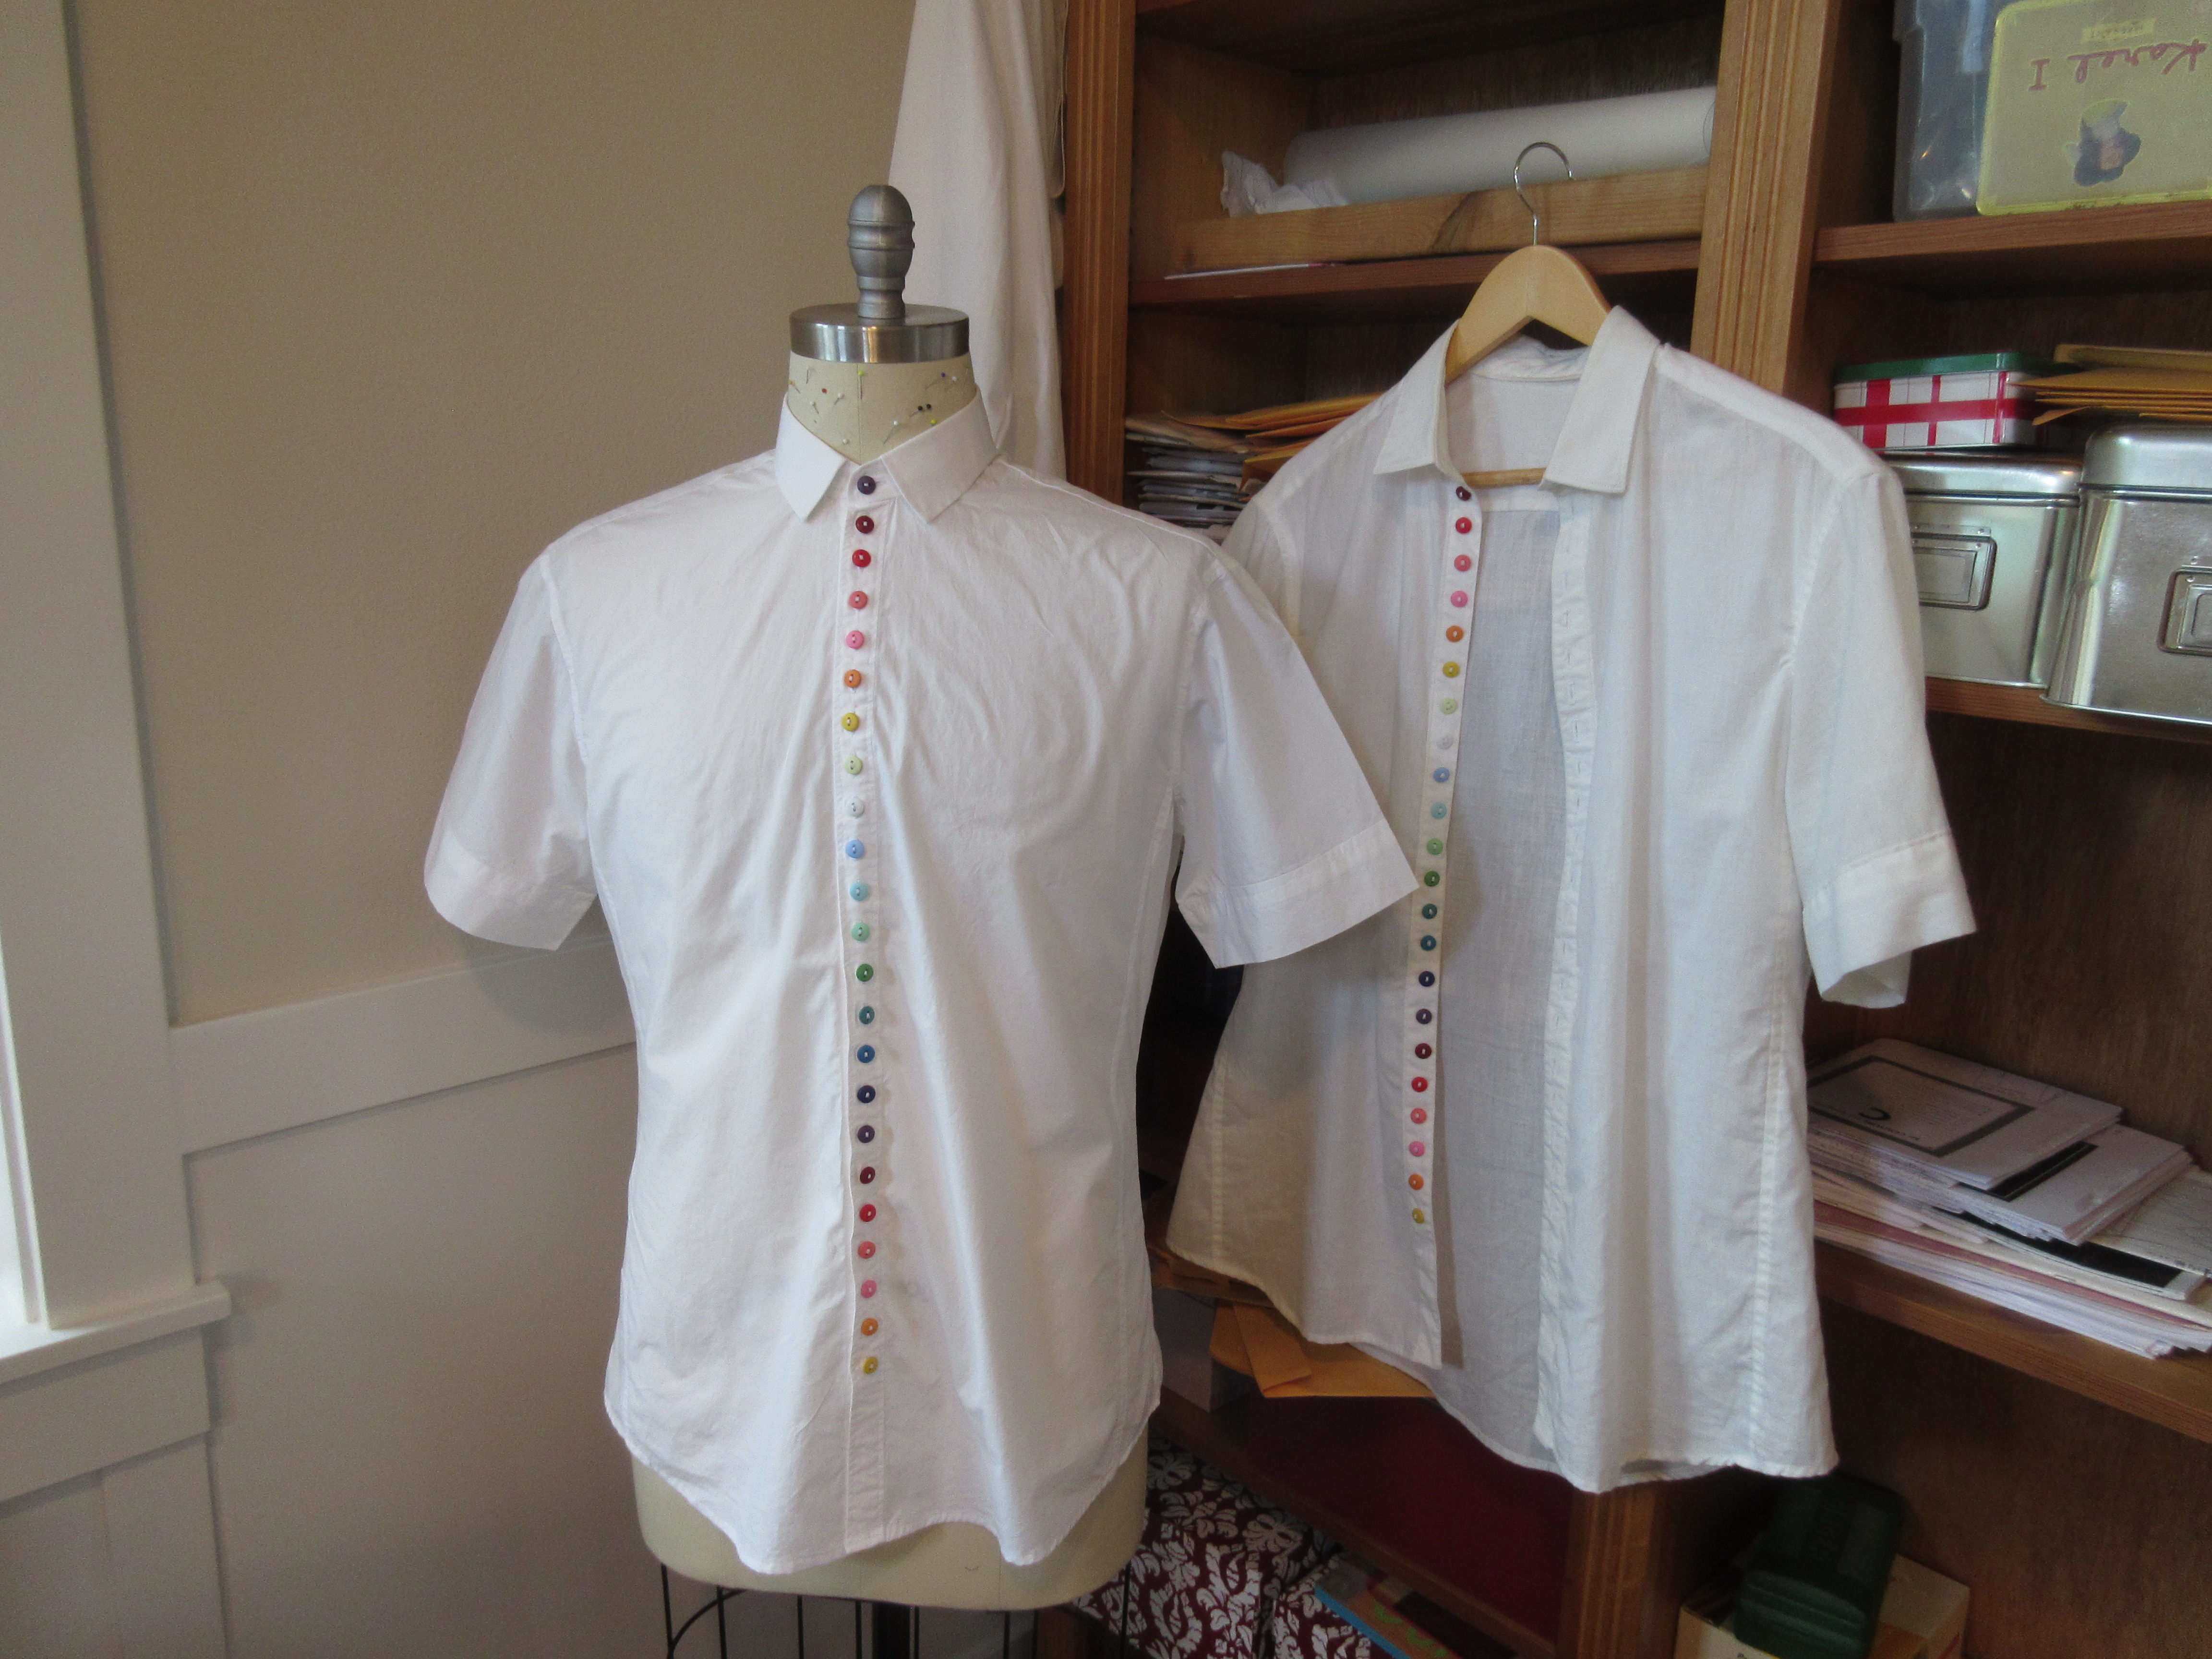
Here are some photos of the completed shirt.


Happy shirt maker
Thanks for reading. Reactions are appreciated.


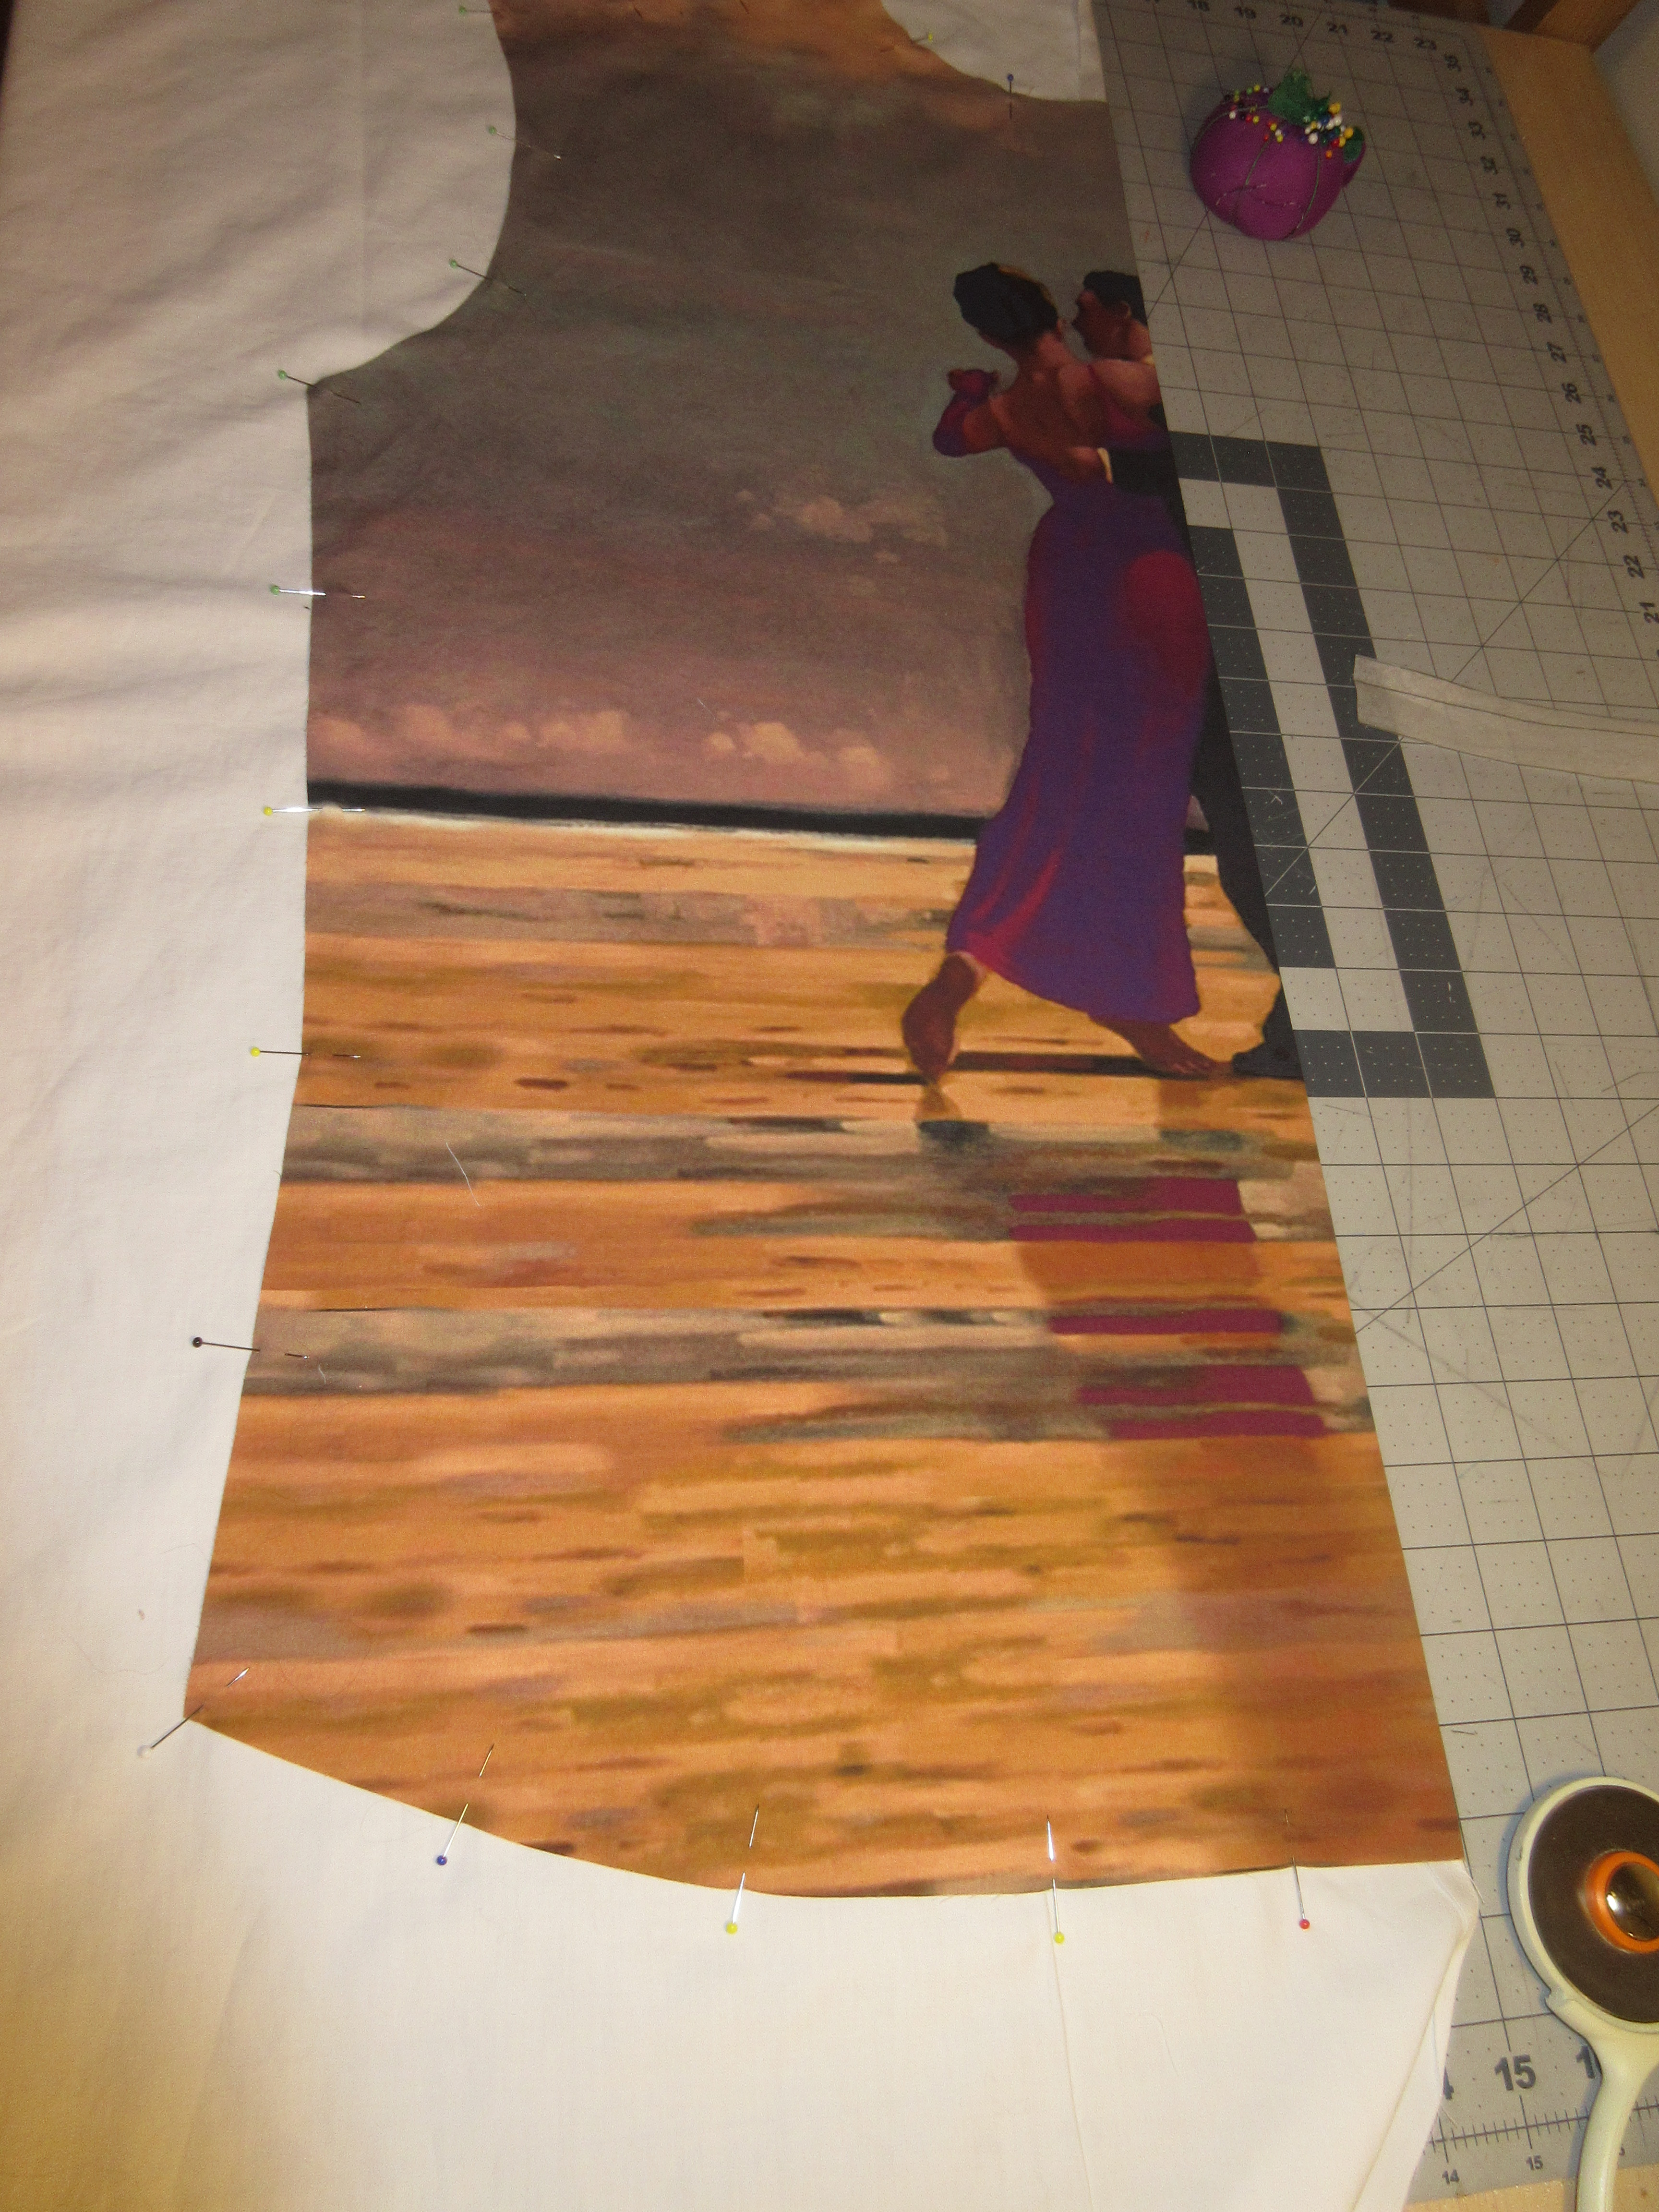
 I cut out the fronts, making sure I would match the pattern in the front. Then cut out the contrasting placket, and matching that to the underlying front pieces too. To make sure I had everything lined up correctly, I laid it out on my cutting table. And then it happened; my brain started going off the deep end again.
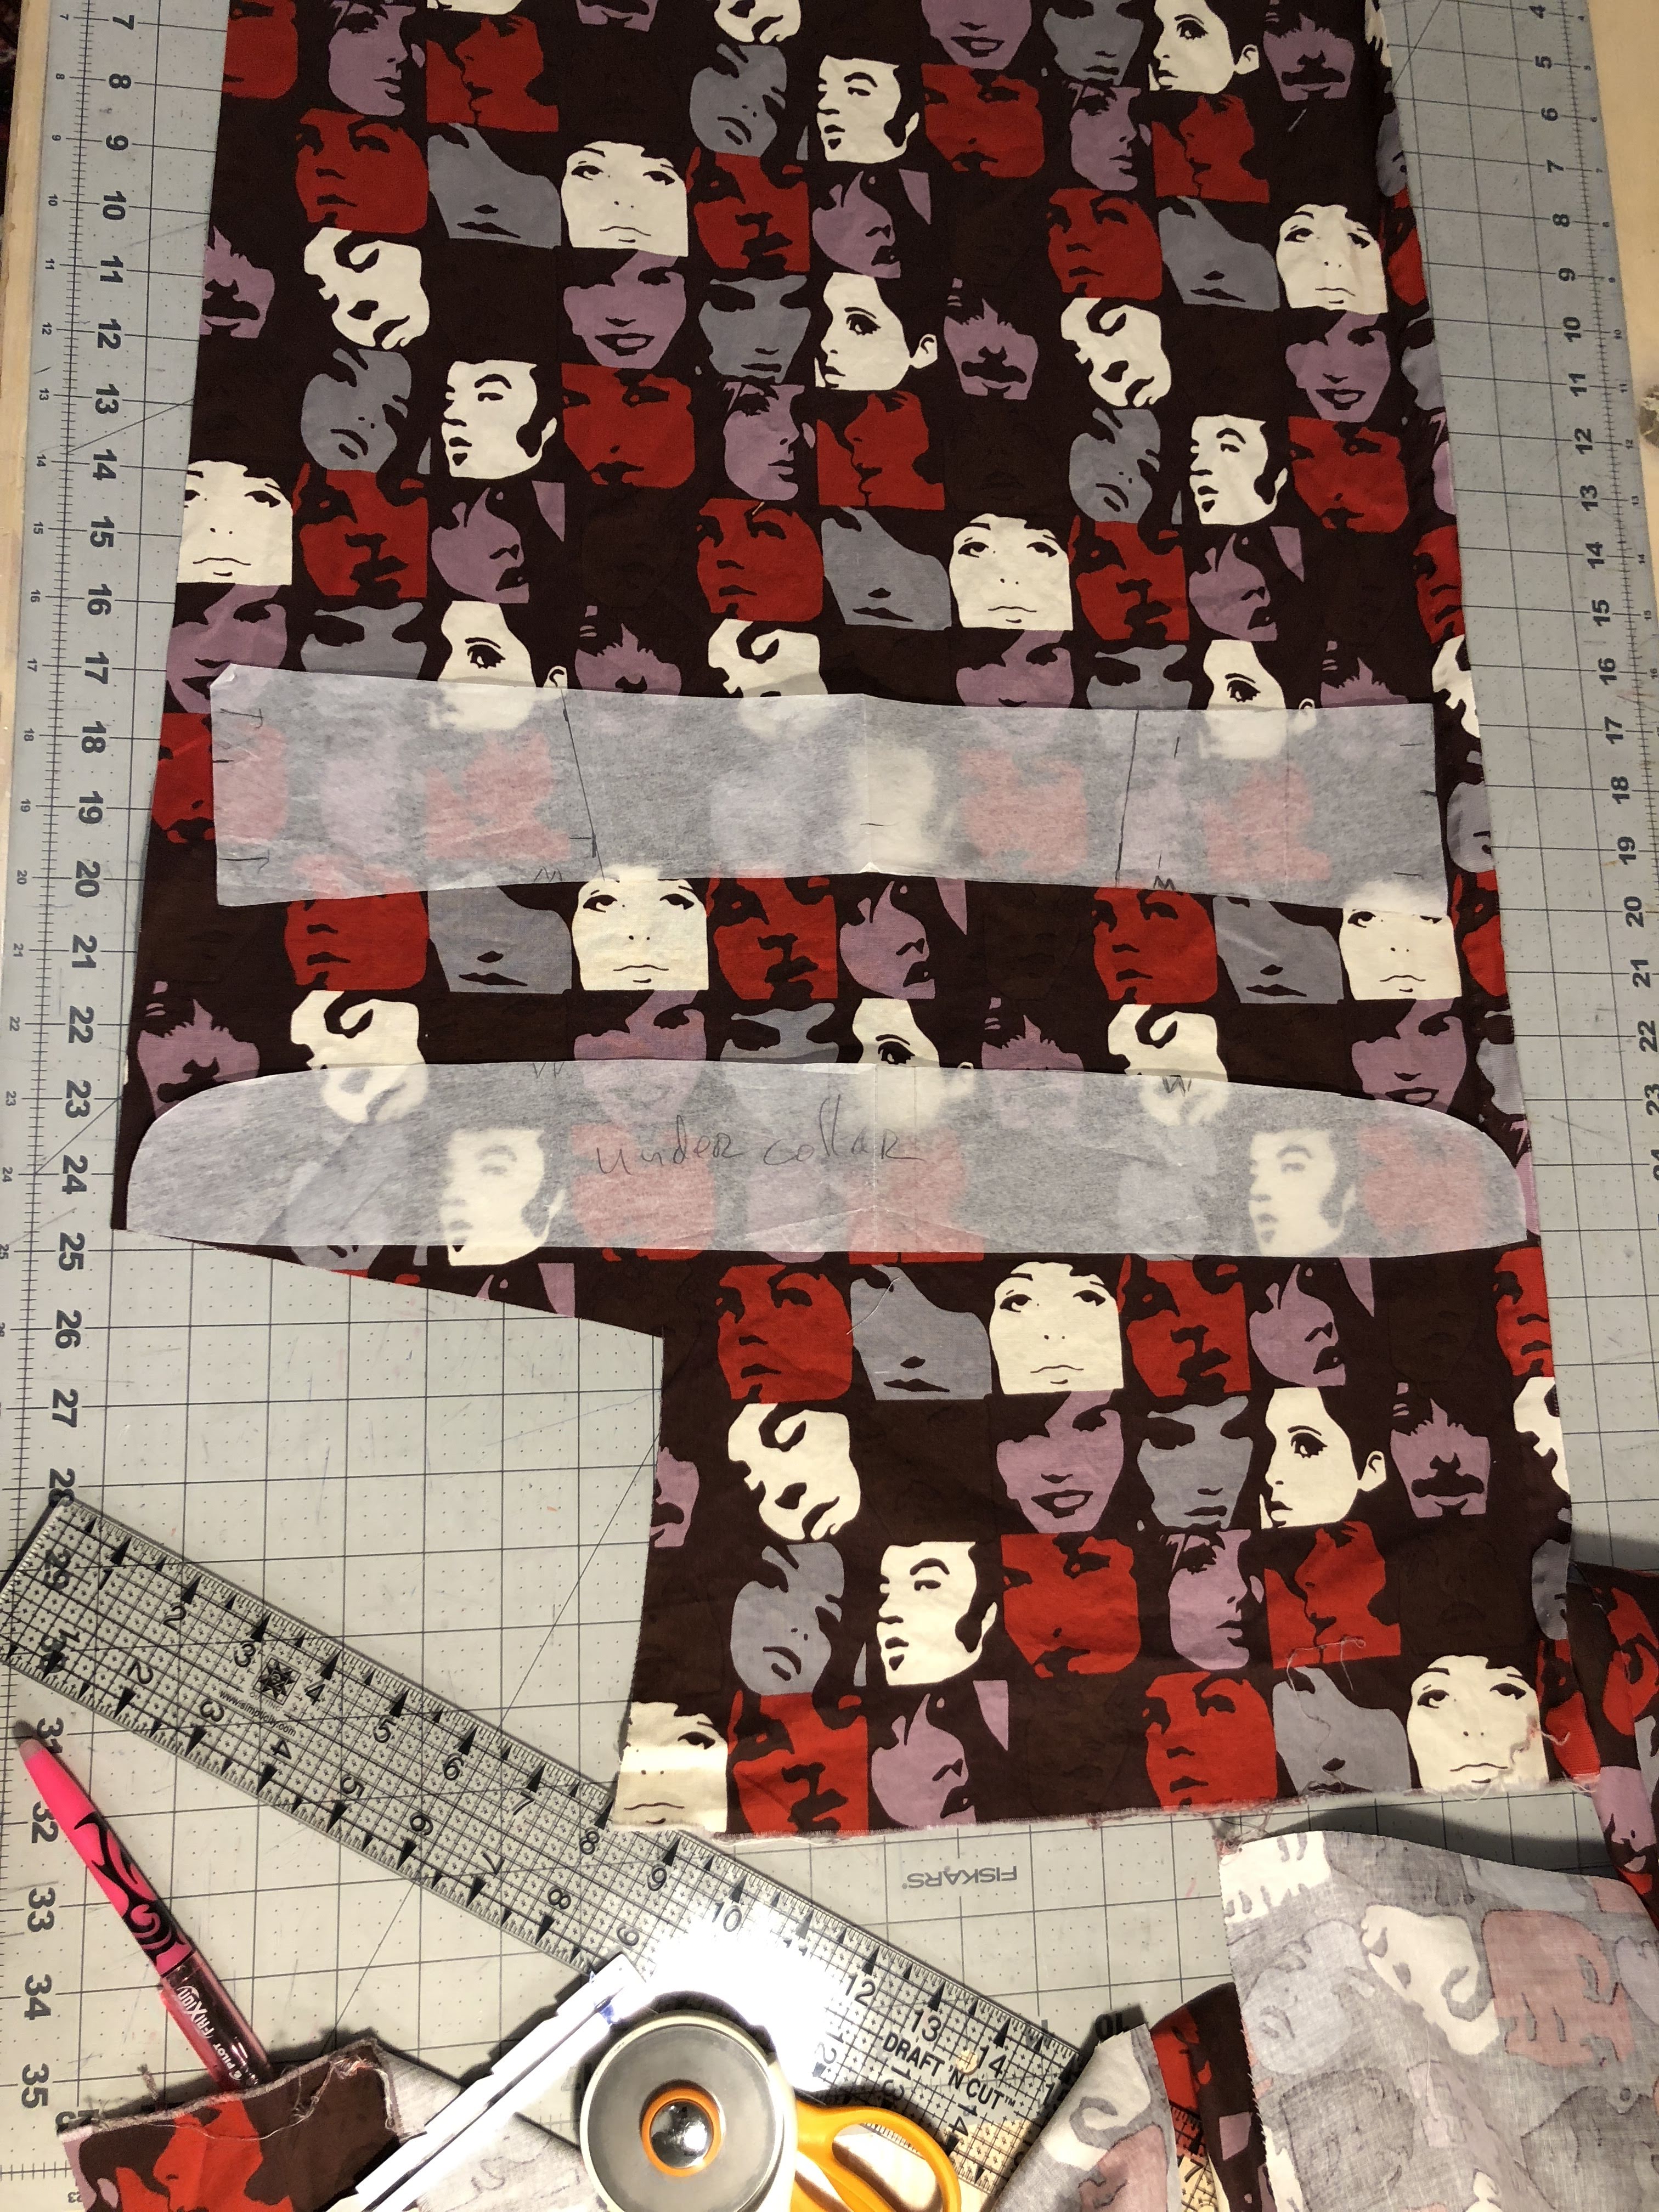 Of course, all of this would have to match the fabric pattern. So the challenge began of getting each piece out of the limited amount of contrasting fabric. With the placket on the sleeves being at a slight angle, that was not as easy as it initially sounded. I had to change how to cut the sleeves from the main fabric to accommodate what contrasting fabric I had left. And even then, trying to get the collar and collar band to fit in the remaining fabric almost didn’t work.


")
")


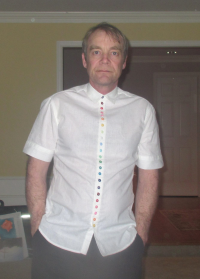 I wore it to that year’s Christmas dinner of my partner’s company with some boring slacks and a sports jacket. Lots of remarks, and all very positive. Great evening, good company, nice food, and a lot of dancing.


")
")